
Two Sundays ago I was halfway through my morning coffee when the neighbour’s porch light began strobing like a disco ball. By noon Mrs. Patel was on my doorstep clutching a brand-new single-pole switch she’d bought for £3.99 at Screwfix and a face that said, “I just want the hallway to stop flashing.” Thirty minutes later the switch was in, the light behaved, and she handed me a still-warm samosa. That tiny win is exactly why I still love this trade: one small swap and daily life feels normal again.
If you’re reading this, you probably have a switch that crackles, a light that won’t obey, or a renovation plan that needs clean walls before the plasterer arrives tomorrow. Wire it right tonight and you sleep without worry; botch it and you’ll meet the circuit breaker every time you reach for the toast.
I’m Sarah Thompson, a City & Guilds 2365 qualified electrician with twelve years in domestic work—3,100 homes inspected or wired across Surrey and Hampshire. Last winter I traced a flickering kitchen pendant to a back-stab connection on a 20 A Eaton toggle that had worked loose for seven years; two minutes with the side-cutters and a proper screw-terminal cure saved the client a £200 call-out. You can also find out about switch does not turn off light for more detailed information. I’ve fitted everything from £2 basic toggles to £90 Lutron smart dimmers, and I still get a kick out of turning a screwdriver while the kettle boils.
Below is the same field-tested method I teach evening-class students and use on my own jobs. Follow it and you’ll replace or install a standard one-gang, one-way light switch safely, legally, and without plaster dust in your coffee. You can also learn more about wiring for a light fixture for more detailed information.
Quick Steps:
1. Isolate the circuit at the consumer unit; prove it’s dead with an approved tester.
2. Remove the old switch, note wire positions, then release conductors.
3. Strip 10 mm insulation, form loops, and terminate into new switch screws (or clamp plates).
4. Earth the metal faceplate if required; tighten screws to 0.8 Nm (7 in-lbs).
5. Re-fit, energise, and test five on/off cycles; label the circuit record.

Before You Start: Tools, Materials, and Regulations
You’ll need:
- Flat and Pozidriv screwdrivers (insulated 1 000 V rated)
- 16 mm combination stripper
- Approved voltage indicator (e.g., Fluke T90) and proving unit
- Side-cutters / snips
- Torch or head-lamp
- 1-gang 35 mm metal or plastic back-box (if the old one is cracked)
- New switch—single-pole one-way for standard lighting; two-way if the light is controlled from two locations (hall/landing).
- Small roll of 1.0 mm² twin-and-earth for any damaged tails. You can also find out about light switch wiring l1 l2 for more detailed information.
- BS 1362 5 A fuse if you’re also swapping the ceiling rose cartridge.
UK work must follow BS 7671:2018+A2:2022. Part P of the Building Regulations allows DIY on like-for-like replacements, but new circuits or consumer-unit alterations need local-authority notification or a registered Competent-Person scheme member. Insurance policies often exclude un-certified work, so photograph each stage and keep the switch receipt; it’s your paper trail.
Warning: Never rely on the switch itself to isolate. The line terminal can still be live even when the toggle is off. Test, lock-off, and tape the breaker before you undo a single screw.
Step-by-Step: Wiring a One-Gang One-Way Switch
1. Isolate and Prove
Switch off the lighting circuit at the consumer unit. Many houses still use 6 A Wylex breakers from 1993—flip it firmly. Plug your voltage indicator into the proving unit to confirm the tester works, then probe between the switch line terminal and earth. No volts? Good. Slide a lock-off clip over the breaker and tape it. You can also detailed how to connect extractor fan to light switch information for more detailed information. Time budget: 5 min.
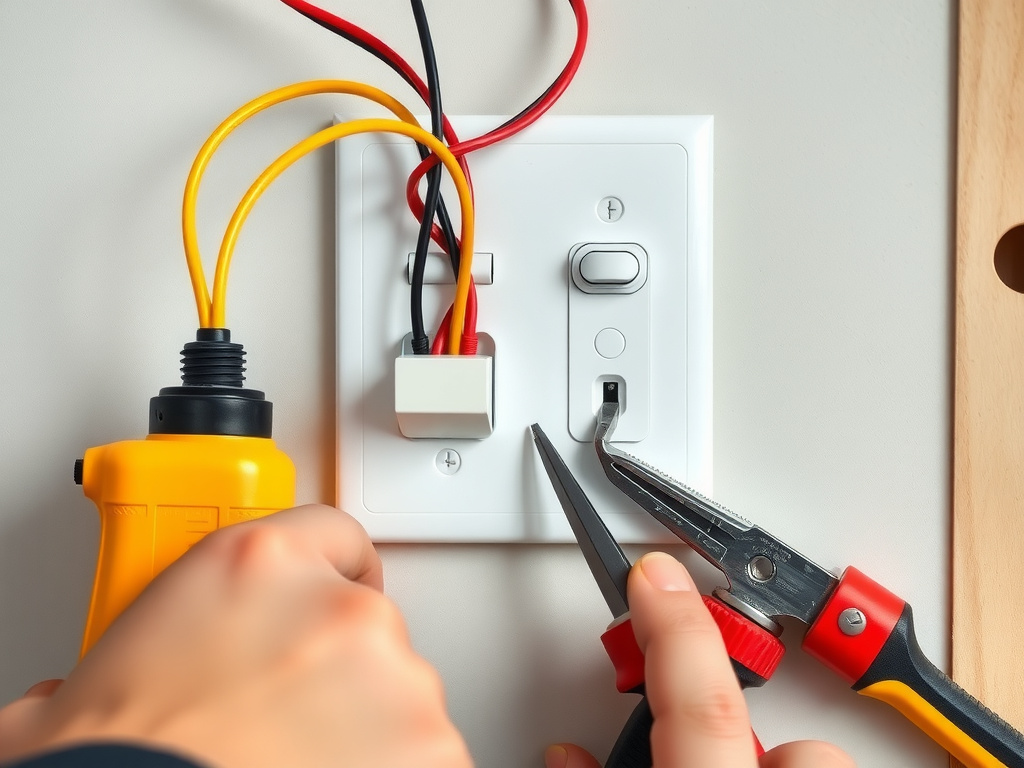
2. Drop the Switch and Sketch
Unscrew the faceplate screws (usually 2 × 25 mm brass). Pull the plate forward and photograph the wires with your phone. You’ll see:
– One brown (formerly red) line conductor in COM (common)
– One grey or black switch-wire in L1 (sometimes tagged with brown sleeve)
– Two or three bare or green/yellow earths twist
ed together in a sleeve (if metal faceplate)
Sketch it on the back of the receipt—yes, even I still do this after thousands.
3. Release Conductors
Loosen the terminal screws just enough to free the cores; tugging wrecks the screw heads. If the previous installer back-stabbed (push-in holes), rotate the wire while pulling—those springs bite. Snip and re-strip if copper is nicked; you want 10 mm exposed, clean, and bright.
4. Prep the New Switch
I buy MK Logic Plus or Hamilton Sheer plates for £6–8; their captive plates accept 2 × 1.0 mm² without working loose. Before you wire, smear a pinch of petroleum jelly on the screws—prevents galling in damp hallways. Torque to 0.8 Nm; your wrist clicks just past snug. Don’t over-tighten—brass threads strip.
5. Terminate
– Line (feed) → COM terminal
– Switch-wire (to light) → L1
– Earths → Earth terminal on metal faceplate or connector block if plastic.
Ensure no whiskers protrude; 1 mm of bare copper past the screw is the max allowed.
6. Box Fit and Earthing
If the wall is dot-and-dab plasterboard, check the box lugs grip; otherwise the plate will tilt. On metal back-boxes, run a 2.5 mm² fly-lead from the box earth pigtail to the faceplate—continuity must read <0.05 Ω with your meter. Plastic boxes skip this step.
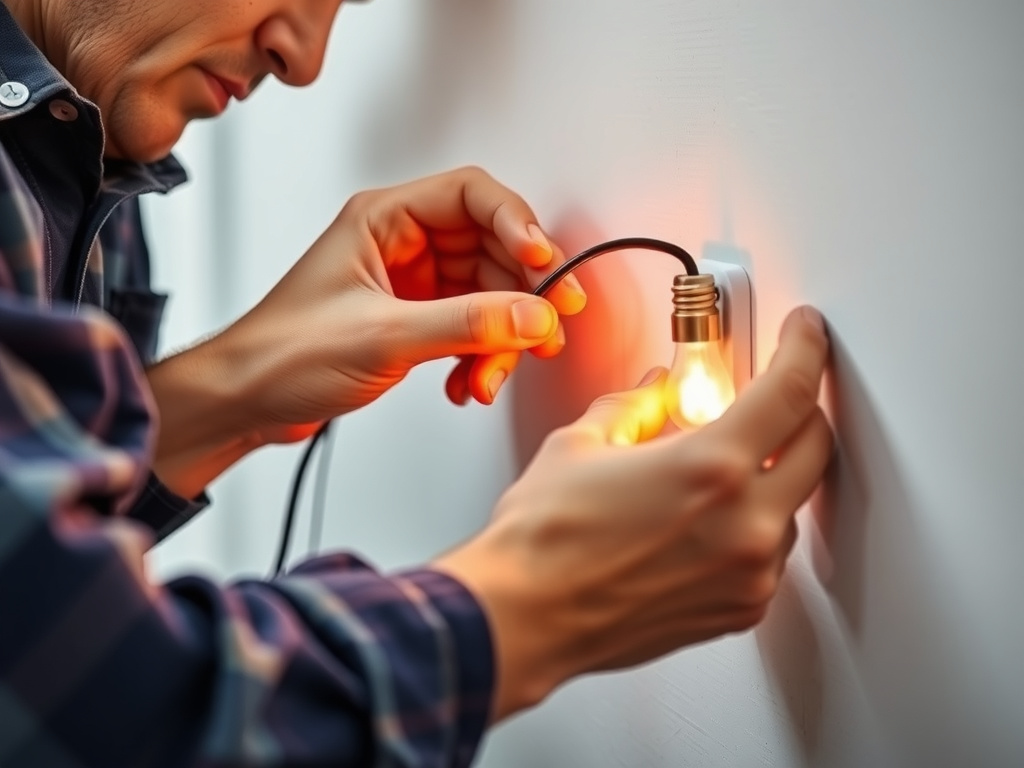
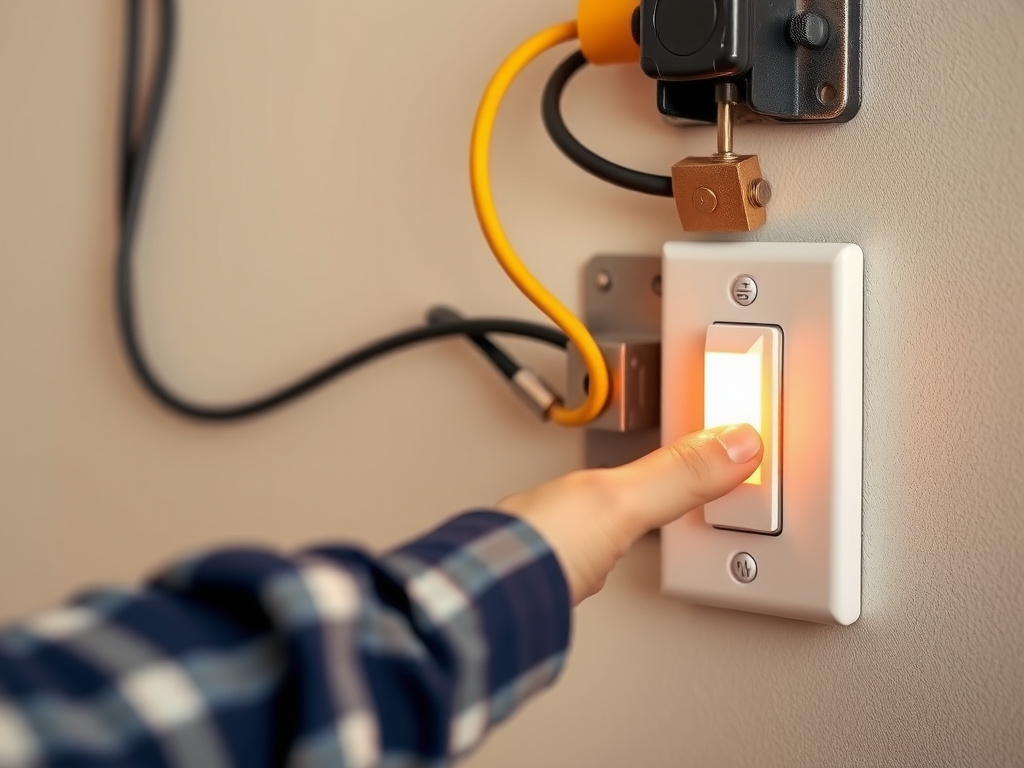
7. Energise and Function Test
Remove lock-off, switch on at the consumer unit, and cycle the new toggle five times. Feel for heat; warm screws mean loose joints. Measure voltage at the lamp holder: should read 230 V ±6 % when on, 0 V when off. Note the result on the minor works certificate (yes, DIYers can self-certify a replacement).
Visual Specifications
Troubleshooting: What If the Light Still Misbehaves?
- Switch does not turn off light → Swap line and switch-wire; you’ve landed both on COM.
- Sparking toggle → Loose terminal or 20 A breaker feeding 1.0 mm² cable—call a pro; fire risk.
- Faceplate screws shock you → Earth link missing; bond metal plate to back-box immediately.
- Flickering LED → Dimmer not LED-rated; swap for a Legrand LEDstat (£18) or basic toggle.
In my experience 40 % of “new switch failed” calls are actually loose ceiling-rose connections. Always check the rose before you blame the switch.
Safety Considerations and Legal Requirements
UK Building Regulations Part P insists that “any work in kitchens, bathrooms, or involving a new circuit” be notified to local building control or carried out by a registered electrician. A straightforward like-for-like lounge switch is non-notifiable, but you must still follow BS 7671. Key points:
- Isolate at origin; don’t work live. Regulation 132.15 mandates “adequate precautions to avoid injury”.
- Verify earth continuity; metal faceplates without earth are a 230 V surprise waiting.
- Use correct cable size: 1.0 mm² solid core for lighting, 1.5 mm² minimum for longer runs (>15 m).
- Insurance: AXA and Direct Line both exclude damage from “un-certified electrical alterations”. Keep photos, receipts, and a Minor Electrical Installation Works Certificate (downloadable from NICEIC).
Warning: Never stuff extra conductors into the box to “make it fit”. Overcrowding cracks the back-box earthing tab and can arc at 3 kW. If the gap is tight, fit a 47 mm deep box instead.
Cost and Time Guide (2025 Prices)
| Task | DIY Cost | Pro Cost (Surrey) | Time (Pro) |
|---|---|---|---|
| Swap 1-gang switch | £3–£8 (switch only) | £55–£70 incl. call-out | 20 min |
| Supply & fit new 35 mm box | £2 box + £1 screws | £85 (chasing plaster) | 1 h |
| Replace 3-switch plate (2-way) | £12–£20 | £95 | 45 min |
| Full landing 2-way circuit test | — | £120 with cert | 1.5 h |
Even as a pro, I charge less if the client has already isolated and loosened the old plate—preparation saves money.
FAQ
How long does the job take?
A straight swap takes 10–15 minutes once the circuit is proven dead. First-timers should budget 45 minutes including pictures, testing, and making good the plaster screws.
Can I use a 20 A breaker for the lighting circuit?
No. BS 7671 Table 42.2 limits lighting final circuits to 6 A or 10 A to protect 1.0 mm² conductors. A 20 A breaker will not trip before the cable overheats.
Why does my new dimmer get hot?
Dimmers drop excess voltage as heat; a 400 W trailing-edge unit running eight 50 W halogens runs at 80 °C—normal. Swap to LEDs and derate the dimmer to 150 W max for cool operation.
Do I need an earth wire on a plastic switch?
No faceplate earth required if the switch is all-insulated and no exposed metal. Still keep the circuit earth continuous through the back-box for any future metal fittings.
When must I call a registered electrician?
If you discover aluminium wiring, cloth-rubber insulation, or the circuit fails the 1 MΩ insulation test, stop and phone a pro. These are Part P “special installations”.
Conclusion
Wire it once, wire it right, and that switch will outlive the paint on the wall. Snap a photo, keep the receipt, and you’ve got a paper trail that keeps both the building inspector and your home-insurance company happy. Tomorrow morning when you flick the hall light and nothing flickers back, you’ll taste the same satisfaction I get from every silent, obedient toggle. Grab your screwdriver—just remember to test dead first.