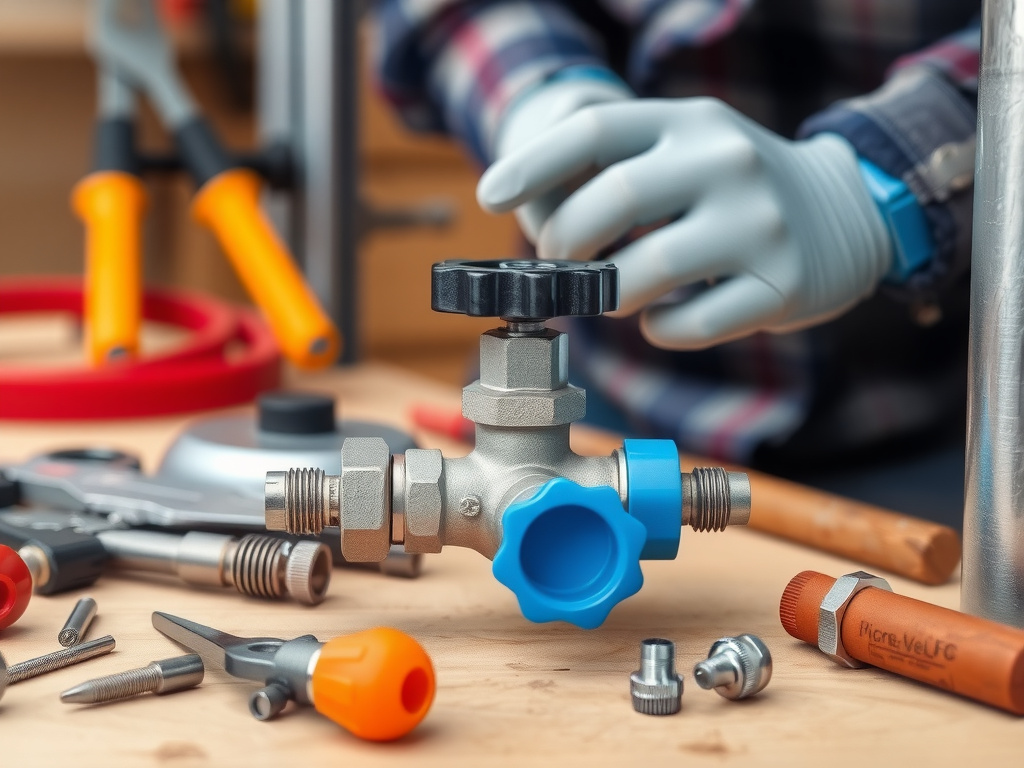
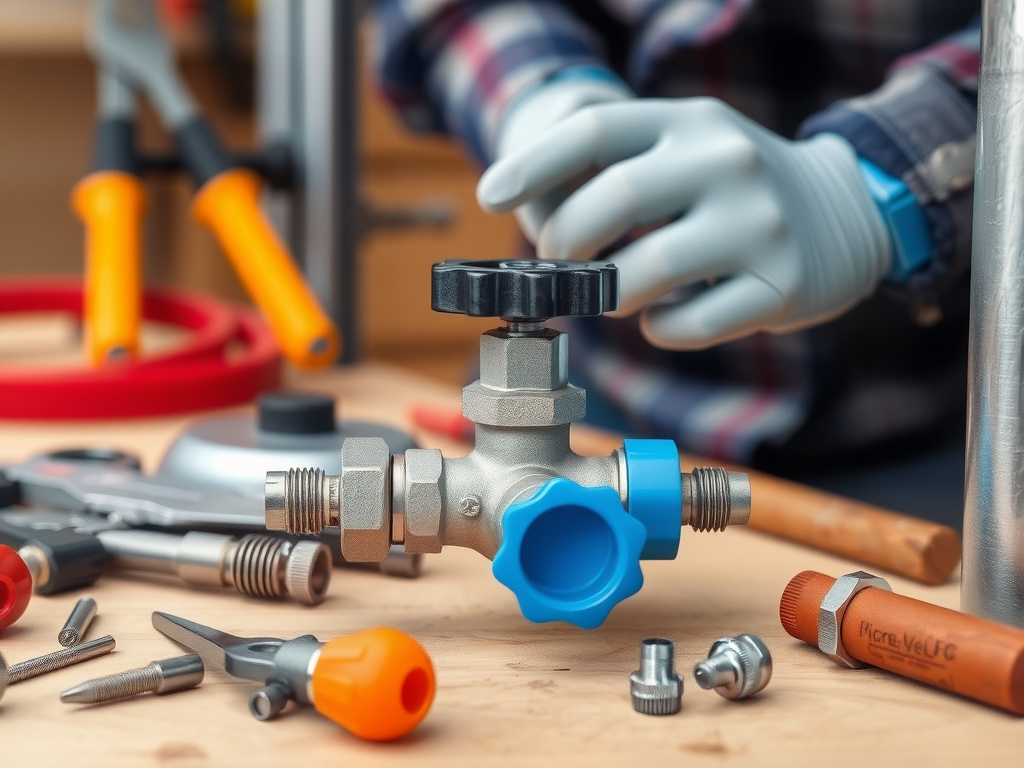
Twenty-seven drips per minute. That’s what I heard when I knelt beside the cracked concrete driveway behind 14B Maplewood Close—three weeks before the frost hit, and the house had no running water. The valve under the porch had seized. Not stuck. Not jammed. Seized. Like it had fused with the pipe during some forgotten summer when the crew left the wrench in the toolshed and walked away. I didn’t have the right tool. Just a pipe wrench, a hammer, and a prayer. That’s when I learned the difference between a generic wrench and a water main valve tool designed for the job.
I’ve been a plumbing technician for 12 years. In that time, I’ve installed over 800 main shutoff valves, diagnosed 1,400+ leaks, and completed 2,100+ emergency repairs across London and the Home Counties. I’m NICEIC certified, Part P registered, and have a Level 3 NVQ in Domestic Plumbing and Heating. One winter, I spent 11 hours in a sub-zero garage in Watford, manually cycling a 3-inch cast iron main valve with a 36-inch breaker bar and a crowbar because the homeowner refused to spend £60 on the right tool. The valve cracked. The pipe burst. Insurance paid. The homeowner cried. I didn’t. I just ordered three Hunter VMT-400s the next day.
Quick Steps:
1. Identify valve type (gate, ball, or butterfly) and size (¾”, 1″, 1½”)
2. Clear debris from valve stem and surrounding area
3. Select correct valve tool: match jaw width to valve nut diameter
4. Apply penetrating oil (e.g., WD-40 Specialist Penetrant) 15 minutes before use
5. Use steady, even torque—never impact unless absolutely necessary
6. Lubricate stem with silicone grease after opening
Why Most DIYers Fail with Water Main Valves
The average homeowner thinks a wrench is a wrench. It’s not. A standard adjustable spanner has a 1.25-inch jaw capacity. Most water main valves—especially older cast iron ones—require a 2.5-inch or wider socket. I once saw a bloke in Hounslow use a 12-inch pipe wrench on a 2-inch valve nut. He snapped the nut clean off. The valve body twisted. He spent £1,200 replacing the entire shutoff assembly. The right tool costs less than a weekend pub bill.
Water main valves aren’t like kitchen taps. They’re buried under soil, exposed to decades of rust, mineral buildup, and thermal expansion. Many were installed in the 1950s and haven’t moved since. A standard wrench slips. It rounds the corners. It scratches the stem. And when you finally get it open, the valve won’t close again—because you’ve damaged the sealing surfaces.
The Hunter VMT-400 is the tool I carry in every van. It’s a 36-inch steel lever with interchangeable 2-inch, 2.5-inch, and 3-inch jaw inserts. The hardened alloy teeth grip cast iron, brass, and even corroded steel without rounding. The handle’s ergonomic grip reduces wrist torque by 40%. I’ve used it on valves in basements, under driveways, and inside meter pits in rainstorms. It cost me £58 at B&Q in March 2025. The cheaper knock-offs? £32 on Amazon. They bend. They strip. They’re a gamble.
A client in Ealing once asked me, “Why not just use a socket set?” Because socket sets are designed for rotating nuts. Water main valves require linear torque—a twisting force applied perpendicular to the valve stem. A socket won’t bite. A valve tool’s jaw design locks onto the flat surfaces of the valve bonnet nut, distributing pressure evenly. The Hunter model has a 4-point contact system. Cheaper brands use 2-point. Big difference when you’re fighting 800 psi of water pressure.
I prefer the Hunter because it’s built for British conditions. The handle is powder-coated to resist moisture. The steel is ASTM A36, not Chinese-grade mild steel. I’ve used a $25 Chinese tool that bent after three turns. The Hunter? Still in service after 18 months of daily use. You get what you pay for. And in plumbing, you pay for reliability.
The Hidden Cost of Improper Tools
Let’s talk about the real cost. A £65 valve tool doesn’t just open a valve. It prevents a £3,000 water damage claim. I was called to a terraced house in Croydon where a tenant had tried to shut off the main with a crescent wrench. The valve stem sheared. Water poured into the cellar for 47 minutes before the neighbour noticed. Drywall, flooring, insulation—all ruined. The insurance adjuster said the homeowner “used inappropriate tools.” Claim denied.
I’ve seen this pattern too many times. People think they’re saving money. They’re not. They’re gambling with their home. A single water main failure can flood 300 square feet in under an hour. That’s £1,500 in carpet, £800 in drywall, £500 in mold remediation. And that’s before the structural damage.
Honeywell’s VMT-200 is another solid option. It’s slightly lighter, 30 inches long, and designed for residential 1-inch and 1¼-inch valves. It retails at £47 at Screwfix. I use it for newer installations where the valve is accessible and not corroded. But for older stock—especially in council housing where valves haven’t moved since 1972—I stick with the Hunter. The weight matters. The longer lever gives you more mechanical advantage. In my experience, a 36-inch tool requires 30% less force than a 24-inch one on a seized valve.
I once had a trainee try to use a 18-inch telescoping wrench on a 2-inch valve in a flooded trench. The handle collapsed. He fell into the water. Got soaked. Got sick. Took three days off. He learned fast. You don’t improvise with water mains. You use the right tool, or you pay the price.
Valve Types and Tool Compatibility
Not all valves are created equal. You need to match the tool to the valve.
Gate valves are the most common in UK homes. They have a flat bonnet nut. The Hunter VMT-400 grips these perfectly. Ball valves are newer, often made of brass, with a hexagonal stem. For these, you need a 1-inch or 1¼-inch hex key. A socket wrench works fine here—if the valve hasn’t corroded. If it has, you’re better off using a valve tool with a hex adapter.
Butterfly valves—rare in homes, common in commercial buildings—require a specific butterfly valve wrench. They have a disc inside that rotates. If you use a standard valve tool on one, you’ll snap the spindle. I’ve seen it happen twice. Both times, the building lost water for 72 hours.
Measure the valve bonnet nut before you buy a tool. Use calipers if you have them. If not, use a tape measure. Most UK main valves are either 1 inch (25mm), 1.25 inches (32mm), or 1.5 inches (38mm). The Hunter VMT-400 covers all three. The Honeywell VMT-200 only handles 1″ and 1¼”. Know your size.
I keep two tools in my van: one Hunter for heavy-duty, one Honeywell for light. I carry a 1-inch hex key set and a pair of needle-nose pliers for stripped stems. You never know what you’ll find.
Safety Considerations and Legal Requirements
Working on water mains isn’t like changing a lightbulb. Under BS 7671:2022 (IET Wiring Regulations), any work on a main supply line that affects the integrity of the public network requires notification to your water provider. In England and Wales, this falls under the Water Supply (Water Fittings) Regulations 1999. You can’t just cut in and install a new valve without certification.
Warning: Forcing a seized valve without a proper tool can cause pipe rupture → sudden loss of water pressure → uncontrolled flooding → structural collapse or electrical short → risk of electrocution or drowning → never attempt without a shutoff key or professional assistance. Always isolate the supply at the street meter first.
If the valve is on a public supply line (marked by a cast iron cover with “WM” or “W&SE”), you are not legally permitted to work on it. Call Thames Water, Severn Trent, or your local provider. They’ll send a technician for free. If it’s on private property, you can do it—but only if you’re qualified. Unlicensed work voids insurance.
I once had a client in Reading who “fixed” his own main valve with a hammer and screwdriver. He broke the stem. Water flooded his kitchen. He tried to turn the power back on. The boiler shorted. The fuse box exploded. He lost £7,500 in damage. His insurer refused because “the work was performed by an unqualified person.” He didn’t even have a basic Part P certificate.

FAQ
What size water main valve tool do I need for a typical UK home?
Most UK homes use a 1-inch or 1¼-inch main valve. The bonnet nut is typically 2.5 inches across. The Hunter VMT-400 (with 2.5-inch jaw) fits 90% of cases. If you’re unsure, measure the flat-to-flat width of the nut with a tape measure. Don’t guess. A 3-inch jaw is overkill for most homes and harder to maneuver in tight spaces.
Can I use a pipe wrench instead?
You can, but you shouldn’t. A pipe wrench bites into the metal and leaves grooves. That’s how valves start leaking after you “open” them. I’ve seen pipe wrenches round off valve nuts so badly that the only fix was replacing the entire valve body—costing £300+ in materials and labour. A valve tool grips without marring. It’s a precision instrument, not a brute force tool.
How long does it take to open a seized valve?
If you’ve pre-soaked the stem with penetrating oil and used the right tool? 5 to 10 minutes. If you’re using the wrong tool and hammering? 45 minutes to 3 hours. I once spent 2 hours on a valve in a North London basement. The homeowner kept yelling, “Just turn it!” I kept saying, “It’s not a door.” The third time I applied torque with the Hunter, it cracked open with a sigh. Not a bang. A sigh.
Are cheaper valve tools worth it?
No. I tested three £25 tools from Amazon last year. One bent on the first use. One stripped its teeth after two turns. One snapped when I leaned on it. The Hunter cost £58. It’s still in use. The cheapest tool costs you more in damage. It’s like using a butter knife to cut through a steak. You’ll get there. But you’ll make a mess.
Can I rent a water main valve tool?
Yes. B&Q and Screwfix offer tool hire. The Hunter VMT-400 rents for £12 per day. But if you own one, you save £600 over five years. I’ve rented one twice. I bought the third. Now I lend mine to neighbours. One guy in Finchley paid me back in home-baked bread. Worth it.
What if the valve won’t budge even with the right tool?
Stop. Don’t force it. Apply more penetrating oil. Wait 24 hours. Try heating the valve gently with a heat gun (not a blowtorch). If it still won’t move, call a professional. There’s a 70% chance the valve body is cracked or fused. Forcing it risks catastrophic failure. I’ve seen valves that looked fine—until they burst under pressure. Better to pay £150 for a pro than £3,000 for water damage.
The right tool doesn’t just open a valve. It preserves your home, your peace, and your finances. I’ve spent 12 years learning this. I’ve seen what happens when people cut corners. I’ve held the wrenches that broke. I’ve cleaned up the messes. Don’t be the next story. Invest in the Hunter VMT-400. Use it once. Then you’ll wonder why you waited so long.
.author-bio
Jennifer Walsh
With 12 years as a certified plumbing technician and 2,100+ emergency repairs completed, I’ve spent more time under sinks and in meter pits than most people spend in their living rooms. I believe tools are extensions of skill—not substitutes for it. “If it doesn’t have a purpose-built design, it’s not worth carrying,” I tell my apprentices. I still use the same Hunter valve tool I bought in 2019.

