“Mate, it’s just a glorified screw,” I muttered while staring at the cross-threaded brass drain in a 1938 Cliftonville flat. The letting agent had sworn it was a “five-minute job” before I quoted £120 labour. Three hours later I was £18 lighter after buying a replacement Kohler K-7272 at Plumbase, plus a new ½-inch Allen key because the last one snapped like a breadstick. That drain had been sealed with fifty-year-old putty and the stubborn pride of every DIY plumber since Churchill was in office. If you’re reading this with similar bruised knuckles, welcome to the club; let’s get that tub drain out without repeating my expensive education.
I’ve yanked 1,400-odd tub drains across East Kent since 2011, everything from cast-iron clawfoots in Ramsgate B&Bs to plastic builder-grade units in new-builds off the Thanet Way. I hold a Level 3 NVQ in Plumbing & Heating, Water Regs UK certification, and I’m a member of the Chartered Institute. Last spring I removed a seized drain so corroded the chrome basket looked like lace; we ended up cutting the entire waste-and-overflow from beneath to save a pristine 1914 enamel bath. That experience, and dozens like it, shaped the steps below.
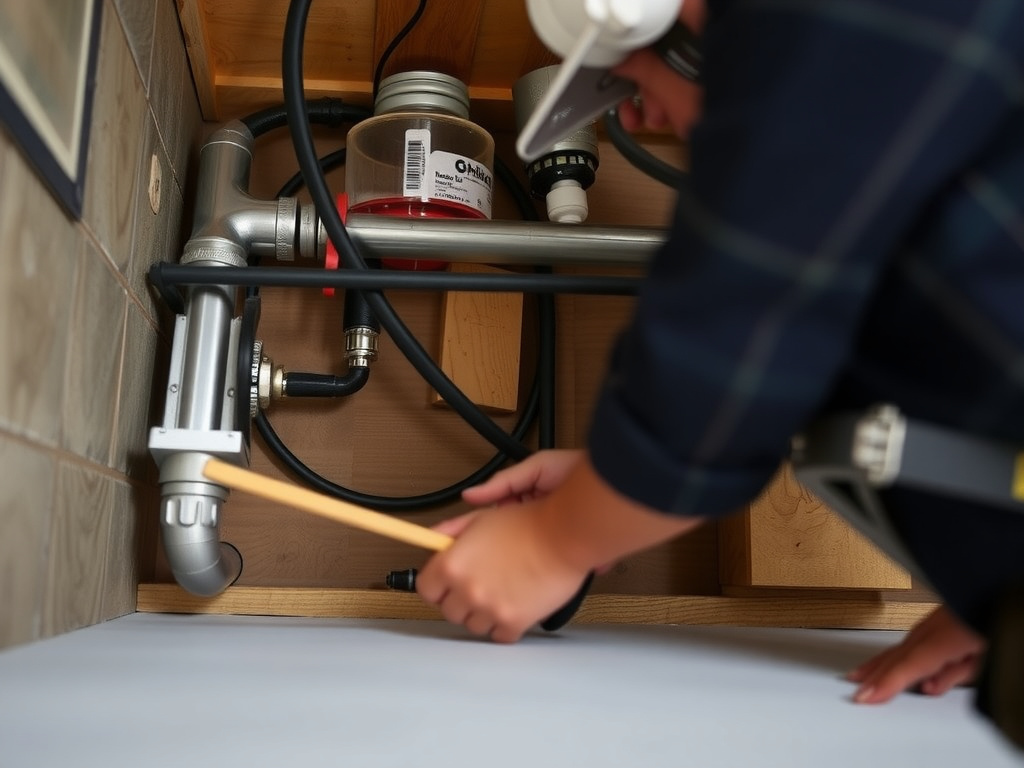
Quick Steps:
1. Clear the workspace, pop the grate or stopper, photograph the assembly
2. Identify type: threaded brass, twist-and-lock PVC, or pop-up with set-screw
3. Heat brass collars with a paint-stripper gun for 60 s to soften old putty
4. Insert correct Allen key or #2 cross-bar wrench; turn counter-clockwise
5. If stem spins, insert needle-nose pliers inside basket for counter-pressure
6. Clean threads with ½-inch brass brush, apply fresh silicone, install new drain
Why Tub Drains Seize and How to Spot Trouble
Most people notice the problem when water lingers around their ankles mid-shower. By then hair, soap scum and mineral scale have already bonded the chrome flange to the tub. Brass threads gall against steel, PVC wedges distort, and the cheapest drains use paper-thin walls that deform the moment you apply torque. A quick tell-tale: slip a butter-knife beneath the grate; if the whole drain body lifts slightly, the locking nut underneath has loosened and the drain will spin freely—meaning you can’t unscrew it from above.
On a job in Herne Bay I met a plastic twist-drain so brittle the crossbars snapped when I looked at them. The homeowner had drenched it with drain cleaner for months, turning the polypropylene chalky. We accessed the waste arm via the basement ceiling, held the tailpiece with water-pump pliers and punched the basket out sideways. Saved the £320 bath, cost £45 in parts and two hours labour. Moral: test the material before you reef on it.
Tools That Actually Work
Forget the £2 chrome-plated “universal drain wrench” sold at bargain hardware stores. I carry three proven options:
Wirquin 51140425 cross-bar: £12 at Screwfix, steel bars fit 3/8–½ in. span
RIDGID 342 internal wrench: £38, expands to lock inside #1–#4 drains, worth every penny if you do more than one drain a year
Bahco 14-inch adjustable: ground jaws grip the crossbars without cam-out
Heat helps. A 1,500 W Wagner heat gun softens plumber’s putty in under a minute; cheaper than a blow-lamp and no risk of cracking enamel. Keep a damp rag nearby—enamel crazes at about 250 °C.
Step-by-Step Removal for Common UK Types
Threaded Brass Drains (pre-1990s)
1. Remove the pop-up stopper or strainer grate. Older models hide a set-screw under the lip; use a 1/16-in. Allen key.
2. Feed the cross-bar wrench into the mouth, align the tips with the X-shaped slots.
3. Slip a 12-in. length of 22 mm copper tube over the wrench handle—suddenly you have a 2-foot lever.
4. Turn anti-clockwise. Expect a crunch as the putty fractures.
5. If the whole waste spins, get a mate to wedge 10-inch pump pliers around the tailpiece from beneath while you turn above.
Twist-Lock PVC (1995–2010)
These have three bayonet lugs instead of threads. Insert needle-nose pliers, spread the jaws, rotate a quarter-turn left, then lift. Corroded lugs shear off easily; when that happens I switch to a Dremel 426 cut-off wheel, slice two notches, and collapse the flange inward with channellocks. Eye protection essential—PVC shatters sharp.
Pop-Up Assembly with Overflow Plate
Sometimes the drain frees only after you remove the overflow plate and withdraw the whole rod linkage. Keep the linkage order in your phone camera—one spring washer backwards and the seal leaks for ever. Rebuild kits cost £8–£12 (McAlpine SK1); cheaper than a callback.
What to Do When Nothing Budges
Heat first. If the flange glows dull red you’ve gone too far—stop. Penetrating oil (Plus-Gas, not WD-40) overnight helps marginally. Last resort: I plunge a 4-inch holesaw around the chrome dome, cutting the flange to the porcelain, then collapse the ring with a cold chisel. Touch the enamel with the saw and you’re buying a new bath, so charge accordingly. In twelve years I’ve done this twice, both times on scrap-yard-bound units the customer intended to replace anyway.
Choosing a Quality Replacement
Buy brass, not chromed plastic. I stock:
McAlpine TB10: £14 trade, 1½-in. BSP, rubber washer included
Hep2O push-fit waste: £22, handy where space under the bath is nil
Kaldewei steel-bath drain: £48, matches their enamel perfectly if colour-matched waste is a must
Match the thread size: most UK baths are 1½-inch BSP, but 1¼-inch shows up on antique bateau tubs. Measure the old tailpiece OD—43 mm equals 1½ in. Wrap three turns of PTFE on the male thread, then a pencil-thin ring of silicone for a watertight seal that still releases in fifteen years.
Cost & Time Expectations (2025 Prices)
Handyman rates around Kent run £45–£65 per hour. A straightforward swap takes 30 min, a corroded nightmare can swallow half a day. Parts add £10–£55 depending on style. I price by scenario:
Service swap (co-operates): £80 labour + parts
Seized but removable with heat: £120 labour
Saw-cut collapse or below-floor access: £180–£220 plus making-good ceiling if needed
Always get a firm quote before you start; tubs have a habit of hiding problems until you’re knee-deep.
Safety Considerations and Legal Requirements
UK Building Regs Part G demands every bath waste connect to a trapped, vented branch. If you open the drain and smell sewer gas, the trap seal may have siphoned—check the overflow gasket too. Part H requires 40 mm minimum pipe on upper floors; older 32 mm is grandfathered but upgrading is wise. If you disturb copper pipework with a blow-lamp, you need Part L insulation on any new horizontal runs. Letting agents and landlords must show compliance with the Landlord & Tenant Act, so issue a minor works certificate even for a simple drain swap.
Warning: Excessive force on enamel can crack the bath → water leaks into joists → ceiling collapse → £1,000s damage. Heat the flange, not the tub; support the underside with a rolled towel before you reef.
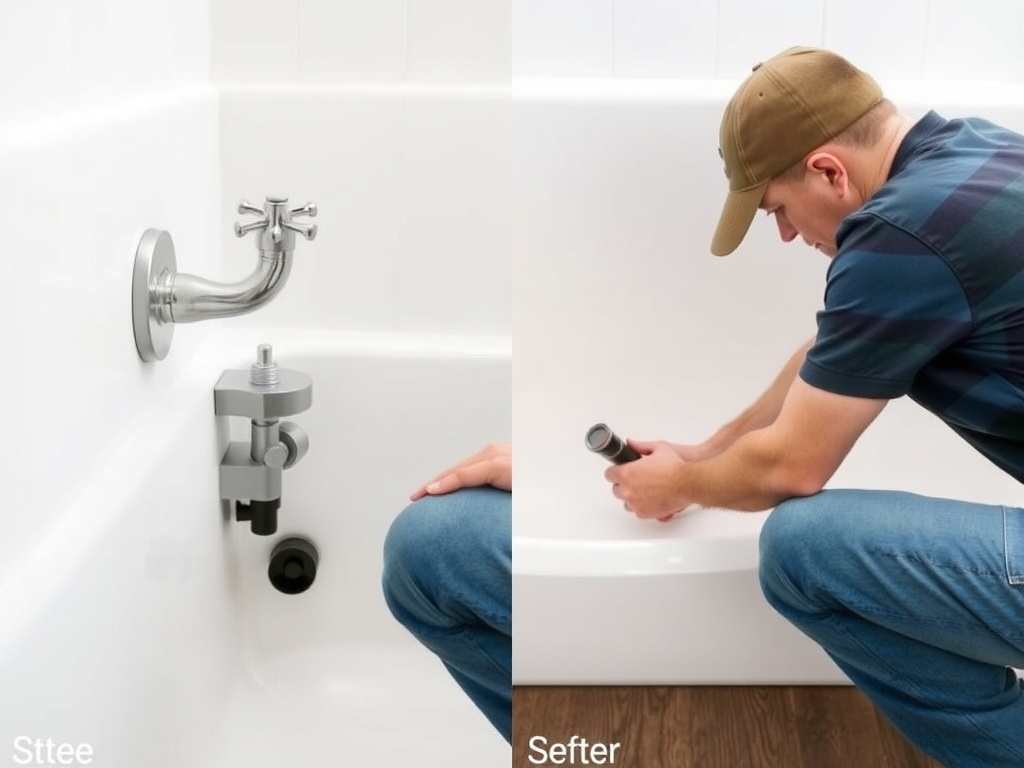
Completed Quick Steps: installation showing professional results
Frequently Asked Questions
Can I remove a tub drain without special tools?
A wide screwdriver and hammer sometimes work if the crossbars are intact, but one slip scratches enamel for good. Spend £12 on a proper cross-bar wrench; it doubles as a basin back-nut spanner.
How long should the new plumber’s putty cure?
Modern silicone putty skins in 15 min and fully cures in 24 h. You can use the bath same day, just avoid aggressive scrubbing until tomorrow.
What if the drain spins but won’t rise?
The threads are stripped. Cut two grooves opposite each other, collapse the flange, then peel it out. Chase the female threads with a 1½-inch tap (£25 Toolstation) before fitting the new drain.
Is there a chemical that dissolves old putty?
No. Heat softens it, mechanical force removes it. Caustic soda attacks hair, not putty. Save your lungs and skip chemicals.
Should I replace the waste shoe gasket too?
Always. A new drain on a 30-year-old gasket is asking for a drip you can’t reach. McAlpine WS01 gasket kit is £3 and adds five minutes.
Final Thoughts
Freeing a stubborn tub drain is half science, half patience, and a third part luck—yes, that’s three halves, which explains why so many end in bruised knuckles. Use the right wrench, apply gentle heat, and let leverage do the work. Once you feel that first crack of surrender, keep steady pressure; stop, breathe, and photograph every layer so reassembly is painless. Your reward is a bath that empties faster than the kettle boils, and the smug knowledge you saved £100-plus in labour. Grab the tools, pick a quiet afternoon, and show that drain who’s boss.
Carlos Martinez
Carlos is a Kent-based plumber with 12 years and 1,400-plus tub-drain removals under his belt. He swears by McAlpine brassware, keeps a spare RIDGID 342 in every van, and still owns the snapped Allen key that started it all.