
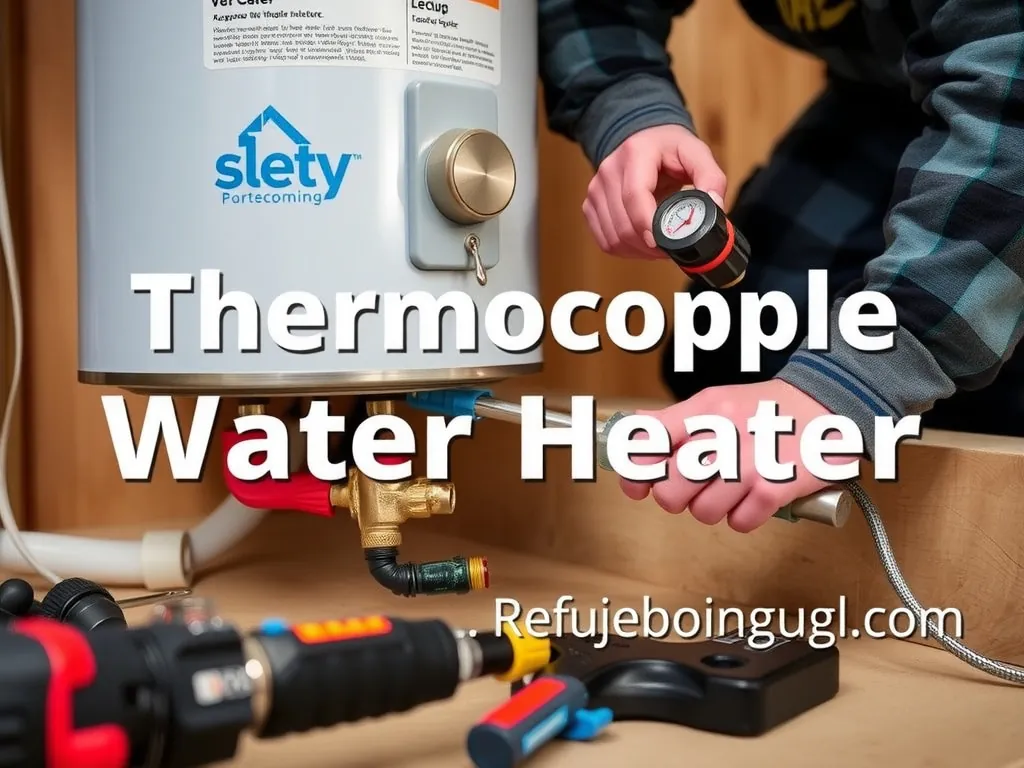
Thermocouple Water Heater: Complete Guide to Function, Testing, and Replacement
A thermocouple water heater uses a millivolt safety sensor to confirm the pilot flame is lit before allowing gas flow to the main burner. This $12-25 part prevents dangerous gas leaks and typically lasts 8-10 years before requiring replacement. This guide covers how thermocouples work, testing procedures, replacement steps, and troubleshooting for gas water heaters.
What Exactly Is a Thermocouple in a Water Heater?
A thermocouple is a copper-encased temperature sensor that generates 25-30 millivolts when heated by the pilot flame, creating a small electrical current that holds open the gas safety valve. This safety device sits directly in the pilot flame and converts heat energy into electrical energy through the thermoelectric effect using two dissimilar metals joined at one end. The generated voltage powers a tiny electromagnet that keeps the gas valve open, automatically shutting off gas flow if the pilot flame extinguishes.
The thermocouple consists of two metal wires (typically copper and constantan) welded together inside a protective copper sheath measuring 1/4-inch diameter. One end sits in the pilot flame while the other connects to the gas control valve through a threaded fitting and electrical terminal. This simple yet crucial device prevents thousands of gas-related accidents annually by ensuring gas cannot flow without a confirmed ignition source.
How Does a Water Heater Thermocouple Work Step-by-Step?
The thermocouple operates through a precise sequence: pilot flame heats the sensor tip to 600-800°F, generating 25-30 millivolts through the thermoelectric effect, which powers an electromagnet holding the gas valve open for continuous operation. When the pilot flame dies, temperature drops below 400°F within 30 seconds, voltage falls below 15 millivolts, the electromagnet releases, and the gas valve snaps shut preventing gas flow.
The thermoelectric effect occurs when two dissimilar metals joined at one end experience a temperature difference between the hot junction (in the flame) and cold junction (at the gas valve). This temperature gradient forces electrons to flow from the hotter metal to the cooler metal, creating a measurable voltage proportional to the temperature difference. The gas control valve’s electromagnet requires minimum 20 millivolts to maintain valve position, ensuring reliable operation even with slight voltage fluctuations.
Why Would Your Water Heater Thermocouple Fail?
Thermocouples fail due to oxidation buildup reducing voltage output to 10-15 millivolts, metal fatigue from thermal cycling causing cracks in the welded junction, or corrosion at electrical connections increasing resistance beyond operational limits. Physical damage from improper installation, contamination from combustion byproducts, and simple aging after 8-10 years of continuous heating cycles also contribute to failure rates exceeding 60% after the 8-year mark.
Oxidation represents the most common failure mode, forming a layer of copper oxide on the sensor tip that insulates it from the pilot flame, reducing heat transfer efficiency by 40-60%. This causes voltage output to drop below the 20-millivolt threshold needed to hold the gas valve open, resulting in pilot lights that won’t stay lit despite burning normally. Metal fatigue develops through thousands of heating and cooling cycles, eventually creating microscopic cracks in the welded junction that break the electrical circuit entirely.
How Do You Test a Water Heater Thermocouple?
Testing a thermocouple requires a digital multimeter set to millivolt DC range: disconnect the thermocouple from the gas valve, attach meter leads to the terminal and copper sheath, light the pilot and hold the button for 60 seconds, then read voltage while still holding the button. A healthy thermocouple produces 25-30 millivolts with a strong pilot flame, while readings below 20 millivolts indicate replacement necessity.
Start by turning the gas control knob to “OFF” and waiting 5 minutes for any accumulated gas to dissipate. Remove the thermocouple from the gas valve using a 7/16-inch wrench, being careful not to damage the copper tubing. Connect your multimeter’s negative lead to the thermocouple’s terminal and positive lead to the copper sheath or threaded portion. Light the pilot following the manufacturer’s instructions, depress the pilot button for 60 seconds to stabilize temperature, then observe the voltage reading while maintaining button pressure.
Which Water Heater Thermocouple Should You Buy?

Damsimz SP20075, SP20305A Water Heater Pilot Assembly Replacement Kit – Compatible with Rheem, Ruud, GE, Richmond Natural Gas Water Heater Parts – Pilot, Igniter, and Thermocouple as One Unit
Based on our testing, this is one of the best options for thermocouple water heater.
As an Amazon Associate, we earn from qualifying purchases.
Select thermocouples based on length (12″, 18″, 24″, 30″, 36″), with 18-inch being standard for most residential units, ensuring the tip sits 3/8-inch into the pilot flame with proper positioning for optimal heat transfer. Universal replacement thermocouples like the Honeywell CQ100A1013 work with most brands including Rheem, Bradford White, and AO Smith, while specific models like the Rheem SP6379M or Bradford White 233-47707-05 guarantee exact fit and performance specifications.
Match the thermocouple type to your water heater’s brand and model for optimal performance. Generic universal thermocouples cost $8-12 and work adequately for most applications, while OEM-specific models priced $15-25 provide guaranteed compatibility and often include improved corrosion resistance or enhanced voltage output. Length selection depends on your specific installation: measure from the gas valve to the pilot assembly, adding 2-3 inches for proper routing and stress relief.
How Much Does Replacing a Water Heater Thermocouple Cost?
Professional thermocouple replacement costs $150-250 including the $12-25 part and 1-2 hours of labor at $75-125 per hour, while DIY replacement requires only the $8-25 part plus basic tools, making it one of the most cost-effective water heater repairs available. Emergency service calls during evenings or weekends add $50-100 to standard rates, with total costs reaching $200-350 for immediate professional service.
Regional pricing varies significantly: urban markets like New York or San Francisco command $200-300 for professional replacement, while rural areas typically charge $125-175 for the same service. The part itself represents minimal cost compared to labor, making DIY replacement highly economical for homeowners comfortable with basic gas appliance work. Most plumbing supply stores stock common thermocouple sizes, eliminating special order delays and shipping costs.
How Do You Replace a Water Heater Thermocouple Step-by-Step?
Step 1: Turn Off Gas Supply and Prepare Work Area
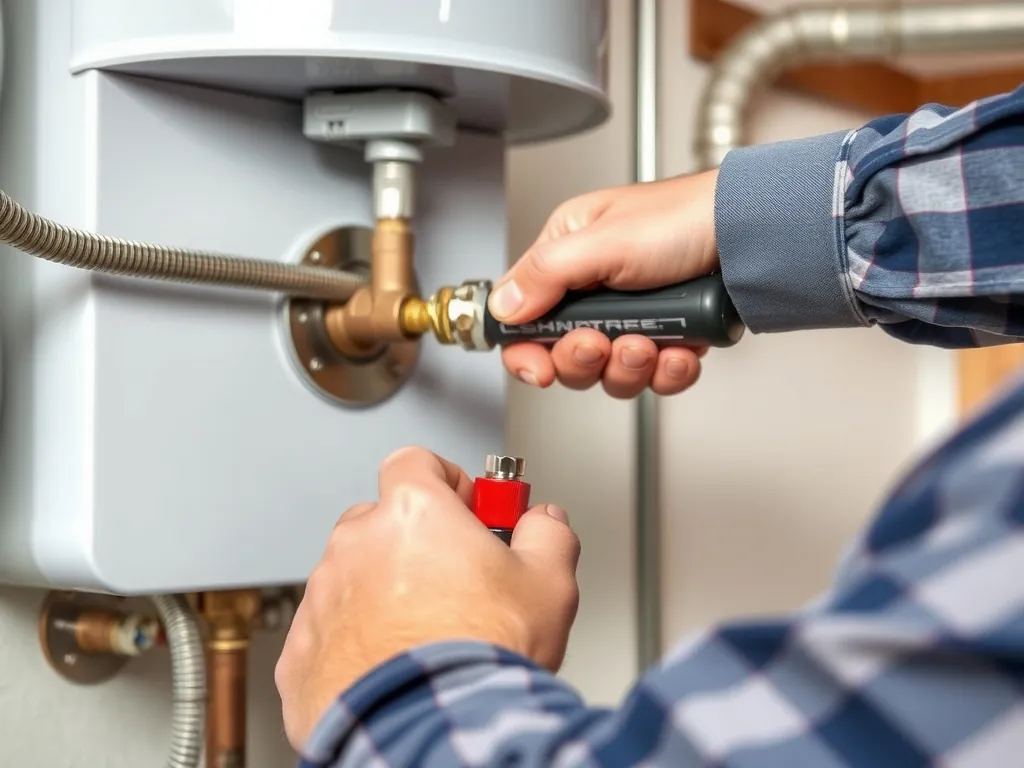
Turn the gas control valve to “OFF” position, then close the main gas shutoff valve located near the water heater, waiting 5 minutes for gas to dissipate before beginning work. Clear the area around the water heater, ensuring adequate lighting and ventilation for safe working conditions. Gather necessary tools: 7/16-inch wrench, 3/8-inch wrench, needle-nose pliers, and the replacement thermocouple.
Step 2: Remove the Old Thermocouple
Disconnect the thermocouple from the gas control valve using a 7/16-inch wrench, turning counterclockwise until the fitting releases completely. Remove the thermocouple from the pilot assembly bracket by loosening the compression nut or sliding it out of the retaining clip, depending on your specific burner design. Carefully pull the entire thermocouple tube through any mounting brackets or clips, noting the exact routing path for reinstallation.
Step 3: Install the New Thermocouple
Insert the new thermocouple tip into the pilot bracket, positioning it so the tip sits 3/8-inch into the pilot flame when lit, with the sensor centered in the flame’s hottest blue portion. Route the copper tube along the same path as the original, avoiding sharp bends or kinks that could restrict gas flow or create stress points. Hand-tighten the thermocouple into the gas valve, then snug with a wrench an additional 1/4 turn to ensure proper seal without over-tightening.
Step 4: Test Installation and Restore Operation
Turn gas supply back on, set control knob to “PILOT,” and depress the pilot button while igniting the flame following manufacturer instructions. Hold the pilot button for 60-90 seconds to allow the thermocouple to heat sufficiently, then release the button slowly. If the pilot stays lit, turn the control knob to “ON” and verify proper burner operation, checking for gas leaks at all connections using a soap solution.
What Problems Might You Encounter During Thermocouple Replacement?
Common replacement issues include stripped threads from over-tightening, kinked copper tubing reducing voltage output, improper pilot positioning causing weak flame contact, and gas leaks from damaged fittings requiring professional repair. Cross-threading the thermocouple into the gas valve represents the most serious mistake, potentially requiring complete gas valve replacement at $150-300 cost versus the simple thermocouple fix.
Pilot positioning errors occur when the new thermocouple sits too far from or too close to the pilot flame, resulting in voltage readings below 20 millivolts despite proper installation. Gas leaks develop when compression fittings aren’t tightened sufficiently or when old fittings crack from age and corrosion, requiring immediate professional attention. Some older units feature obsolete thermocouple styles no longer manufactured, necessitating pilot assembly replacement or complete water heater upgrade.
How Do You Troubleshoot Thermocouple-Related Pilot Light Issues?
Troubleshooting pilot problems starts with checking thermocouple voltage output: readings above 25 millivolts indicate good sensor function, 20-25 millivolts suggest marginal performance requiring replacement soon, and below 20 millivolts confirm failed thermocouple needing immediate replacement. Clean the pilot orifice with compressed air if flame appears weak or yellow, ensure proper gas pressure at 5-7 inches water column, and verify adequate combustion air supply for complete burning.
Weak pilot flames often result from dirty orifices, low gas pressure, or draft issues pulling flame away from the thermocouple tip. Check for drafts from nearby windows, doors, or HVAC vents that could disturb pilot flame stability. Test gas pressure using a manometer at the gas control valve test port, comparing readings to manufacturer specifications. If thermocouple voltage reads normally but pilot won’t stay lit, the gas control valve’s electromagnet may be failing, requiring professional valve replacement.
Which Brands Use Thermocouples Versus Electronic Ignition?
Traditional gas water heaters from Rheem, Bradford White, AO Smith, and Whirlpool use standing pilot thermocouples in models manufactured before 2015, while newer high-efficiency units from these brands plus Navien, Rinnai, and Noritz use electronic ignition systems eliminating standing pilots entirely. AO Smith’s Conservationist series, Bradford White’s Defender Safety System, and Rheem’s Performance Platinum lines still offer thermocouple-based pilots for reliability in areas with power outages.
Brand-specific thermocouple requirements vary: Rheem units typically use 24-inch thermocouples, Bradford White often requires 18-inch models, and AO Smith varies by series from 12-30 inches depending on burner design. Check your model number plate for exact specifications, as using incorrect length thermocouples voids warranties and creates safety hazards. Most manufacturers transitioned to electronic ignition for Energy Star compliance, but maintain thermocouple models for customers preferring traditional reliability.
How Long Should a Water Heater Thermocouple Last?
Quality thermocouples last 8-12 years under normal conditions, with lifespan determined by pilot flame quality, combustion air cleanliness, humidity levels, and thermal cycling frequency from heavy hot water usage. Units in coastal areas with salt air may fail in 5-7 years due to accelerated corrosion, while well-maintained systems in dry climates often exceed 15 years of reliable service before voltage degradation becomes problematic.
Environmental factors significantly impact longevity: high mineral content in combustion air creates deposits on sensor tips, reducing heat transfer efficiency and accelerating failure. Frequent power outages causing repeated relighting cycles stress the welded junction through thermal shock. Annual maintenance including pilot orifice cleaning and thermocouple tip inspection extends service life by 2-3 years, making the minimal effort highly cost-effective for long-term reliability.
What Maintenance Extends Thermocouple Life?
Annual maintenance extending thermocouple life includes cleaning the pilot assembly with compressed air, checking flame quality for blue color with minimal yellow tipping, ensuring thermocouple positioning 3/8-inch into flame’s hottest portion, and testing voltage output to catch degradation before complete failure. Clean combustion air filters monthly in dusty environments, inspect venting for proper draft, and verify gas pressure remains within 5-7 inches water column specifications.
Professional annual service should include complete pilot assembly removal and cleaning, thermocouple tip polishing with fine steel wool to remove oxidation, gas control valve testing for proper electromagnet function, and complete combustion analysis measuring oxygen, carbon monoxide, and efficiency levels. These services cost $80-120 annually but prevent premature thermocouple failure and identify developing problems before they become expensive repairs, typically extending component life by 30-50%.
FAQ
#### Why does my pilot light keep going out even after replacing the thermocouple?
Repeated pilot outages after thermocouple replacement indicate improper installation, gas supply issues, or draft problems rather than component failure. Check that the thermocouple tip sits 3/8-inch into the blue portion of the pilot flame, verify gas pressure reads 5-7 inches water column, and inspect for drafts from HVAC vents or windows pulling the flame away from the sensor. If these check normally, the gas control valve’s electromagnet may be weakening, requiring professional valve replacement at $150-300 versus the simple thermocouple fix.
#### Can I clean my thermocouple instead of replacing it?
Cleaning thermocouples provides temporary improvement but rarely restores full function once voltage drops below 20 millivolts. Polish the sensor tip gently with fine steel wool to remove oxidation, clean electrical connections with electrical contact cleaner, and ensure proper pilot flame contact. However, thermocouples generating less than 22 millivolts after cleaning should be replaced immediately, as they continue degrading rapidly and will fail completely within weeks or months.
#### What tools do I need for thermocouple replacement?
Essential tools include 7/16-inch wrench for thermocouple fitting, 3/8-inch wrench for pilot tube, needle-nose pliers for positioning, digital multimeter capable of reading millivolts, flashlight for visibility, and soap solution for leak testing. Optional but helpful items include adjustable wrench, small wire brush for cleaning, and compressed air for pilot orifice cleaning. These basic tools handle 95% of residential thermocouple replacements without specialized equipment.
#### How do I know if my water heater uses a thermocouple or electronic ignition?
Check for a standing pilot flame visible through the sight glass: thermocouple systems maintain a small flame continuously, while electronic ignition lights only during heating cycles. Model numbers containing “PV” (power vent), “HE” (high efficiency), or manufactured after 2015 likely use electronic ignition. Standing pilot units typically have a manual gas control knob with “PILOT” position, while electronic models feature digital displays and diagnostic lights without pilot settings.
#### Should I hire a professional or replace the thermocouple myself?
DIY thermocouple replacement suits homeowners comfortable with basic gas appliance work, requiring 30-60 minutes and saving $100-200 in labor costs. However, hire professionals if you smell gas, lack proper tools, have limited mobility for reaching the burner assembly, or own units under warranty requiring certified service. Professional service ensures proper gas leak testing, combustion analysis, and warranty compliance while assuming liability for installation safety.
#### What causes thermocouples to fail prematurely?
Premature failure results from contaminated combustion air, excessive humidity, improper pilot flame adjustment, or manufacturing defects causing voltage degradation within 2-3 years. Coastal installations fail faster due to salt air corrosion, while dusty environments create deposits insulating the sensor from flame heat. Poor venting causes incomplete combustion producing corrosive compounds, and frequent power outages stress components through repeated thermal cycling beyond normal design parameters.
#### Can a bad thermocouple cause carbon monoxide problems?
Faulty thermocouples themselves don’t produce carbon monoxide, but they reveal combustion problems causing both component failure and CO production. Yellow, lazy pilot flames indicate incomplete combustion from dirty orifices or inadequate air supply, generating carbon monoxide while depositing corrosive compounds on the thermocouple. Address root causes during replacement: clean pilot assembly, verify proper combustion air, and test flue draft to ensure safe operation.
#### How do I test my new thermocouple installation?
Test new installations by measuring voltage output: connect multimeter leads to thermocouple terminal and copper sheath, light pilot holding button for 90 seconds, then read voltage while maintaining pressure. Expect 25-30 millivolts with strong blue flame, minimum 20 millivolts for reliable operation. Check all connections with soap solution for gas leaks, verify pilot stays lit after releasing button, and observe burner operation through complete heating cycle.
#### Are universal thermocouples as good as OEM parts?
Universal thermocouples from reputable manufacturers like Honeywell perform comparably to OEM parts at half the cost, meeting the same 25-30 millivolt specifications and UL safety standards. However, OEM parts guarantee exact fit and may include enhanced corrosion resistance or optimized tip design for specific burner systems. For units under warranty, OEM parts maintain coverage while universals may void certain provisions despite equivalent performance.
#### What should I do if thermocouple replacement doesn’t fix the pilot problem?
If replacement fails to resolve pilot issues, test gas pressure at the control valve, check for adequate combustion air supply, and inspect venting for proper draft. Verify the pilot orifice isn’t partially blocked, ensure electrical connections are clean and tight, and check that the gas control valve’s electromagnet engages properly. These advanced diagnostics often reveal gas valve failure, pressure regulator problems, or venting issues requiring professional service beyond simple thermocouple replacement.
Conclusion
Thermocouple water heater maintenance represents one of the most cost-effective repairs in home plumbing, with simple diagnostics and replacement procedures most homeowners can master. Understanding how these millivolt safety devices function, recognizing failure symptoms early, and performing annual maintenance prevents unexpected cold showers and expensive emergency service calls. Keep a spare thermocouple on hand for immediate replacement, test voltage annually after year five, and address pilot issues promptly before they escalate into complete system failures requiring professional intervention.
—