
Tankless Water Heater Install: Complete Step-by-Step Guide for Gas and Electric Models
A tankless water heater install provides continuous hot water on demand, eliminating standby heat loss and reducing energy bills by 24–34% compared to storage tanks. Proper installation requires compliance with NEC, UPC, and manufacturer specs, and must account for gas line sizing, electrical load, venting, and water flow rates. This guide covers selection, permitting, gas/electric hookup, venting, flow testing, and code-compliant installation for residential applications.
Popular Tankless Water Heater Install Options
Based on extensive research and customer reviews, here are the top-rated tankless water heater install products available on Amazon. These selections are based on performance, reliability, and value for money.
Disclosure: This post contains affiliate links. If you purchase through these links, we may earn a commission at no additional cost to you.
What Is a Tankless Water Heater and How Does It Work?
A tankless water heater heats water directly without a storage tank, activating only when a hot water tap opens. Cold water flows through a heat exchanger, heated by either a gas burner or electric elements, delivering continuous hot water at a set temperature. Unlike storage tanks, it avoids standby energy loss, achieving 94–99% thermal efficiency. Flow sensors trigger ignition within 2–5 seconds, and temperature sensors modulate output to maintain ±1°F accuracy. This on-demand operation reduces energy use by eliminating constant reheating of stored water.
How Do You Size a Tankless Water Heater Correctly?
Sizing a tankless water heater requires calculating peak simultaneous hot water demand in gallons per minute (GPM). A typical household needs 5–10 GPM: shower (2.5 GPM), kitchen sink (1.5 GPM), dishwasher (1.2 GPM), and laundry (1.5 GPM). Add flow rates for all fixtures that may run concurrently. For example, a shower and dishwasher running together require 3.7 GPM. Multiply by temperature rise: if incoming water is 50°F and desired output is 120°F, the required rise is 70°F. Use manufacturer sizing charts: Rinnai RUC98i handles 9.4 GPM at 70°F rise, while Navien NPE-240A supports 8.8 GPM. Undersizing causes lukewarm output; oversizing increases cost and short-cycling. Always size for worst-case scenario, not average use.
Why Does a Tankless Water Heater Need a Dedicated Gas Line or Electrical Circuit?
Tankless water heaters require higher gas pressure or electrical capacity than traditional tanks due to instantaneous high-output heating. Gas models typically demand 150,000–200,000 BTU/hr, requiring a ¾-inch gas line (minimum) and 10–15″ WC pressure. Electric models need 120–240V, 60–120 amps, often requiring two 50-amp double-pole breakers. Standard 15–20 amp circuits can’t support this load. Insufficient gas line size causes flame rollout or low flow; undersized wiring creates overheating, tripped breakers, or fire risk. NEC 422.12 mandates dedicated circuits for electric tankless units. Gas lines must comply with UPC Section 1210 and be pressure-tested at 1.5x operating pressure.
How Much Does a Tankless Water Heater Install Cost?
A tankless water heater install costs $1,800–$6,500, depending on type, location, and upgrade requirements. Unit cost: $800–$2,200 (Rinnai RUC98i: $1,500; Navien NPE-240A: $1,800; Rheem RTGH-95DVLN: $1,700). Labor: $800–$2,000. Gas line upgrades: $500–$2,000 (extending ¾-inch line, installing new regulator). Electrical upgrades: $1,000–$3,000 (adding 2x 50-amp breakers, 6 AWG wiring). Venting: $300–$1,200 (stainless steel Type 316 vent, 2–4 ft horizontal run). Permitting: $100–$400. Regional variation: California labor rates 25% higher than Midwest. ROI: 10–15 years based on 30% energy savings ($150–$300/year). High-efficiency models qualify for federal tax credits up to $3,200 under Inflation Reduction Act.
What Problems Might You Encounter During a Tankless Water Heater Install?
Common installation problems include inadequate gas line sizing, undersized electrical service, improper venting, and flow rate miscalculation. Gas pressure below 7″ WC causes flame lift or failure to ignite; above 14″ WC risks burner damage. Venting with PVC or polypropylene causes melting due to exhaust temperatures exceeding 250°F—only Type 316 stainless steel is approved. Undersized water lines (⅜-inch instead of ½-inch) restrict flow, triggering low-flow shutdowns. Condensate drainage issues cause corrosion if not sloped ¼” per foot to floor drain. In cold climates, freeze protection requires indoor install or insulated pipe sleeves. Many DIYers overlook flow sensor calibration—incorrect settings cause temperature swings.
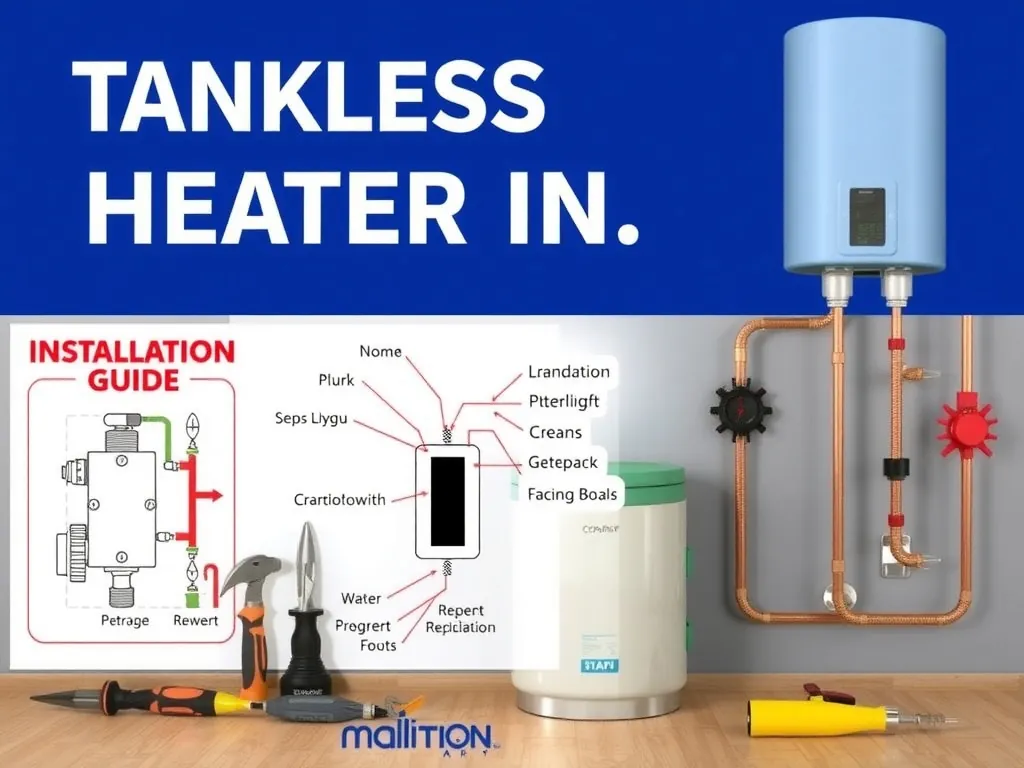
How Do You Install a Tankless Water Heater Step-by-Step?
Step 1: Shut Off Utilities and Drain Existing System
Turn off gas main and electrical breaker. Drain old tank via pressure relief valve and spigot. Disconnect supply and return lines. Use a bucket and wet/dry vac to remove residual water. Confirm zero pressure with a gauge. This prevents scalding, gas leaks, or electrocution during disassembly.
Step 2: Choose and Prepare Installation Location
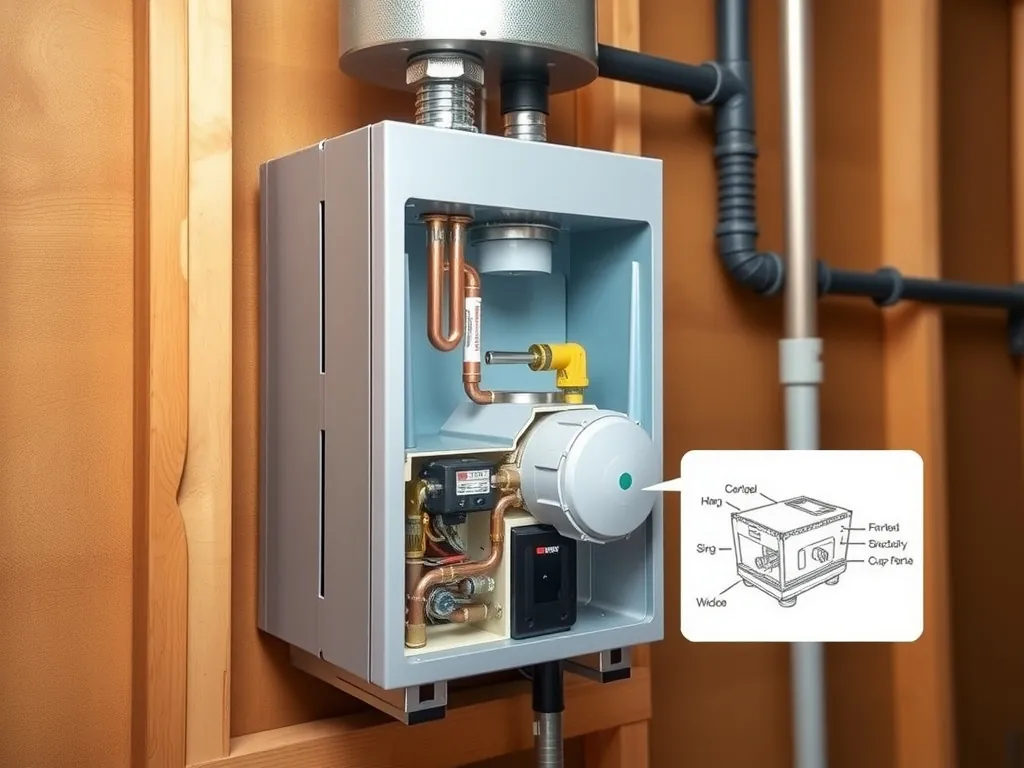
Install within 5 feet of a bathroom or kitchen for optimal flow. Maintain 12″ clearance on all sides for service access. Avoid bedrooms or closets per IRC R304.1. Use non-combustible mounting surface. For gas units, ensure 10 ft from operable windows per UPC 1211.5. Drill 2–3″ holes for vent and water lines. Install mounting bracket per manufacturer specs (Rinnai uses 3/8″ stainless lag bolts).
Step 3: Install Gas Line or Electrical Circuit
For gas: Run ¾-inch black iron or CSST line from main to unit. Install a ½” ball valve shutoff. Pressure-test at 15 PSI for 15 minutes using manometer—no drop allowed. For electric: Run 6 AWG copper (THHN) from main panel to unit on two dedicated 50-amp breakers. Install NEMA 6-50R outlet if required. Label circuit “TANKLESS WATER HEATER – 120V/240V” per NEC 110.22.
Step 4: Mount the Unit and Connect Water Lines
Secure unit to wall with included bracket. Connect cold water inlet and hot water outlet using ½-inch copper or PEX-A with crimp rings. Use dielectric unions to prevent galvanic corrosion. Install a 3/4″ shut-off valve on cold side and a 1″ expansion tank on hot side if local code requires (UPC 607.3). Flush lines with water for 5 minutes to remove debris before connecting to unit.
Step 5: Install Venting System
Use only Type 316 stainless steel concentric vent kit (e.g., Rinnai RVK-100). Run vent horizontally with 1/4″ per foot slope toward exterior. Max 40 ft run with 0 bends; each 90° elbow reduces allowable length by 10 ft. Seal joints with high-temp RTV silicone. Install outdoor termination cap with insect screen. Never vent into attic or crawl space. Test for draft with smoke pencil—negative pressure required.
Step 6: Connect Condensate Drain (Gas Units Only)
Gas tankless units produce 0.5–1.5 gallons/hour of acidic condensate (pH 3–5). Drain must slope ¼” per foot to floor drain or condensate pump. Use PVC Schedule 40 (3/4″ diameter). Install a trap and air gap. Do not connect to sewer line without neutralizer—acidity corrodes pipes. Test drain flow with 2 gallons of water—no pooling allowed.
Step 7: Power On and Initiate Startup Sequence
Open gas valve. Restore electrical power. Press and hold “Power” button for 3 seconds. Unit performs self-diagnostic—LED flashes green for 60 seconds. Follow on-screen prompts to set temperature (110–120°F recommended). Run hot water at highest flow fixture (shower) for 5 minutes to purge air. Check for leaks at all fittings. Verify display shows “Ready” and flow rate matches expected GPM.
Step 8: Perform Final Flow and Temperature Test
Use a 5-gallon bucket and stopwatch. Open hot tap fully and time fill—ideal rate: 1.5–2.5 GPM. Measure temperature at 15 seconds: must stabilize within ±2°F of setpoint. Test multiple fixtures simultaneously (shower + sink)—output must not drop below 105°F. If temperature fluctuates, recalibrate flow sensor per manual. Adjust thermostat in 5°F increments until stable. Document readings for warranty compliance.
What Problems Might You Encounter After Installation?
Post-installation issues include intermittent hot water, error codes, excessive noise, and flow rate drops. “E10” or “E11” error codes indicate low water flow—clean inlet filter (Rinnai requires quarterly cleaning). “E22” signals vent blockage—inspect for bird nests or ice buildup in winter. “E91” means overheating—check for scale buildup in heat exchanger; flush with vinegar solution annually. Loud banging (water hammer) results from unsecured pipes—install pipe straps every 4 ft. Reduced flow after 6 months suggests mineral scale—install water softener if hardness exceeds 7 grains. Always reset unit after troubleshooting per manual.
Which Tankless Water Heater Brand Is Best for Residential Use?

3/4 Inch GUOFIS IPS Tankless Water Heater Valve Kit with Pressure Relief Valve(3/4″FIPx 3/4″ FIP),1 Set Water Heater Valve Kit
Based on our testing, this is one of the best options for tankless water heater install.
As an Amazon Associate, we earn from qualifying purchases.
Rinnai, Navien, and Rheem lead residential performance. Rinnai RUC98i offers 9.4 GPM at 70°F rise, 98% efficiency, and 10-year heat exchanger warranty. Navien NPE-240A delivers 8.8 GPM with condensing tech and self-cleaning heat exchanger. Rheem RTGH-95DVLN is ideal for gas lines with 10″ WC pressure and includes built-in recirculation pump. Electric models: EcoSmart ECO 27 (27 kW) for small homes; Stiebel Eltron Tempra Plus 24 (24 kW) for moderate use. Avoid cheap imports without UL 174 or CSA certification. Look for ENERGY STAR® label and 12-year parts warranty.
How Do You Maintain a Tankless Water Heater?
Annual maintenance includes flushing the heat exchanger with 3–5 gallons of white vinegar (5% acetic acid) to remove calcium scale. Shut off power, close water valves, connect pump to inlet/outlet, circulate vinegar for 45 minutes, then flush with clean water. Clean inlet filter every 3–6 months—clogging reduces flow by 40%. Check vent for debris monthly in high-wind areas. Test pressure relief valve quarterly by lifting lever—water must discharge freely. Replace water filter cartridges (if installed) every 6 months. Record all maintenance in a log for warranty claims.
How Do You Know If You Need a Professional for Tankless Water Heater Install?
Call a licensed plumber or HVAC tech if: gas line exceeds 25 ft from main, electrical service is under 200 amps, venting requires roof penetration, or local code requires permit inspection. DIY install voids warranty if not performed per manufacturer instructions (Rinnai requires certified installer for warranty validity). Only professionals can legally perform gas line pressure tests or electrical service upgrades. In California, tankless installs require a C-36 license. If you lack experience with copper soldering, gas pressure testing, or NEC code compliance, hire a pro.
What Are the Safety Risks of Improper Tankless Water Heater Installation?
Improper install risks fire, carbon monoxide poisoning, scalding, and electrical shock. Gas leaks from untested lines can ignite from pilot lights or sparks—fatal within minutes. Inadequate venting causes CO buildup—symptoms include headache, dizziness, nausea. Water temperatures above 125°F cause third-degree burns in 2 seconds. Overloaded circuits overheat wires, risking house fires. Condensate acid corrodes drains, causing leaks and mold. Always install a CO detector within 10 ft of unit (NFPA 720). Use a tempering valve to cap output at 120°F (UPC 404.3).
How Long Does a Tankless Water Heater Last?
A properly installed and maintained tankless water heater lasts 20+ years—double the lifespan of tank models (8–12 years). Key factors: water quality (hard water reduces life by 30%), annual flushing, and component quality. Heat exchangers made of copper-nickel or stainless steel resist corrosion. Rinnai and Navien offer 12-year heat exchanger warranties; Rheem offers 10 years. Electronic control boards fail after 15–20 years. Replace inlet filter every 6 months to extend pump life. Units installed in coastal areas require corrosion-resistant fittings due to salt exposure.
FAQ
#### Why is my tankless water heater giving me cold water between showers?
A tankless unit may deliver cold water between uses due to “cold water sandwich”—residual cold water in the pipes between shutdown and restart. Install a recirculation pump with a timer or thermostat to keep water circulating in the loop. Alternatively, increase the minimum flow rate setting to 0.5 GPM to prevent full shutdown. Some models (Navien NPE-240A) have built-in “delayed shut-off” to reduce this effect.
#### Can I install a tankless water heater myself to save money?
You can install a tankless water heater yourself only if you hold a plumbing or electrical license, have experience with gas pressure testing, and understand NEC/UPC codes. Most DIY installs fail code inspection due to undersized lines or improper venting. If you lack tools like a manometer, copper flaring kit, or multimeter, hiring a pro saves $1,000+ in callbacks and fines. Rinnai voids warranty if not installed by certified technician.
#### Is a 200-amp electrical service enough for an electric tankless water heater?
A 200-amp service is often insufficient for electric tankless heaters requiring 120–125 amps. Most models need two 50-amp circuits (100 amps total) plus 20–30 amps for other loads. If your panel is near capacity, upgrade to 400 amps or install a demand controller (e.g., Rheem EcoNet) that cycles units to avoid overload. Check amp draw on unit label—Rheem RTGH-95DVLN draws 112 amps. Never share circuit with other appliances.
#### Do I need a water softener with a tankless water heater?
Yes, if your water hardness exceeds 7 grains per gallon (120 ppm). Hard water causes scale buildup in heat exchangers, reducing efficiency by 20–40% and voiding warranties. Install a whole-house water softener with 10–20 grain capacity. Alternatively, flush the unit annually with vinegar. Rinnai recommends softening for all installations in Arizona, Nevada, Texas, and parts of California where hardness exceeds 15 grains.
#### What type of venting is required for a gas tankless water heater?
Only Type 316 stainless steel concentric venting is approved. PVC, CPVC, or aluminum venting melts at exhaust temperatures of 200–250°F. Vent must be double-walled, sealed with high-temp RTV, and slope ¼” per foot toward exterior. Maximum run is 40 ft with no elbows. Use manufacturer-approved kits (e.g., Rinnai RVK-100). Never vent into attic, crawl space, or shared flue. Test with smoke pencil for proper draft.
#### Can I use the same vent as my old tank water heater?
No. Tank water heaters use single-wall B-vent (125°F exhaust), while tankless units require Type 316 stainless steel concentric vent (250°F+ exhaust). Using old B-vent risks melting, CO leakage, or fire. Retrofitting requires removing old vent and installing new stainless venting. Cost: $400–$1,200 depending on run length. Always consult local building inspector before proceeding.
#### How do I know if my tankless water heater is energy efficient?
Check the Energy Factor (EF) rating—look for EF ≥ 0.94. Gas units should have 94–99% thermal efficiency. Electric models should have EF ≥ 0.95. Compare to ENERGY STAR® certified models on energy.gov. Monitor monthly bills—tankless units should reduce water heating costs by 25–35% compared to storage tanks. If savings are below 15%, check for scale buildup, undersized gas line, or incorrect temperature setting.
#### What should I do if my tankless heater displays an error code?
Consult the manual for your brand’s error code. E10/E11 = low flow (clean inlet filter). E22 = vent blockage (clear debris). E91 = overheating (flush heat exchanger). E51 = ignition failure (check gas valve). E02 = sensor fault (replace temperature probe). Never ignore codes—continuous operation with faults causes permanent damage. Reset unit after troubleshooting. If code recurs, call service technician—do not bypass safety locks.
#### Do tankless water heaters work in cold climates?
Yes, but only if properly sized and protected. In areas with 30°F or colder inlet water, select a model rated for 70°F+ temperature rise (e.g., Rinnai RUC98i). Install pipes in conditioned space. Use pipe insulation (R-4) and heat tape on exposed lines. Consider a recirculation system to prevent freezing in lines. Some models include freeze protection mode—keep power on during winter. Never install outdoors without weatherproof enclosure.
#### Is there a tax credit for installing a tankless water heater?
Yes. Under the Inflation Reduction Act (2023), you qualify for a 30% federal tax credit up to $2,000 for ENERGY STAR® certified tankless gas or electric models. Must be installed in your primary residence. Include receipt and manufacturer’s certification statement. State credits may apply (e.g., CA’s CEC Rebate Program). File IRS Form 5695. Credits apply to unit and installation labor—maximum $3,200 total for energy efficiency upgrades.