
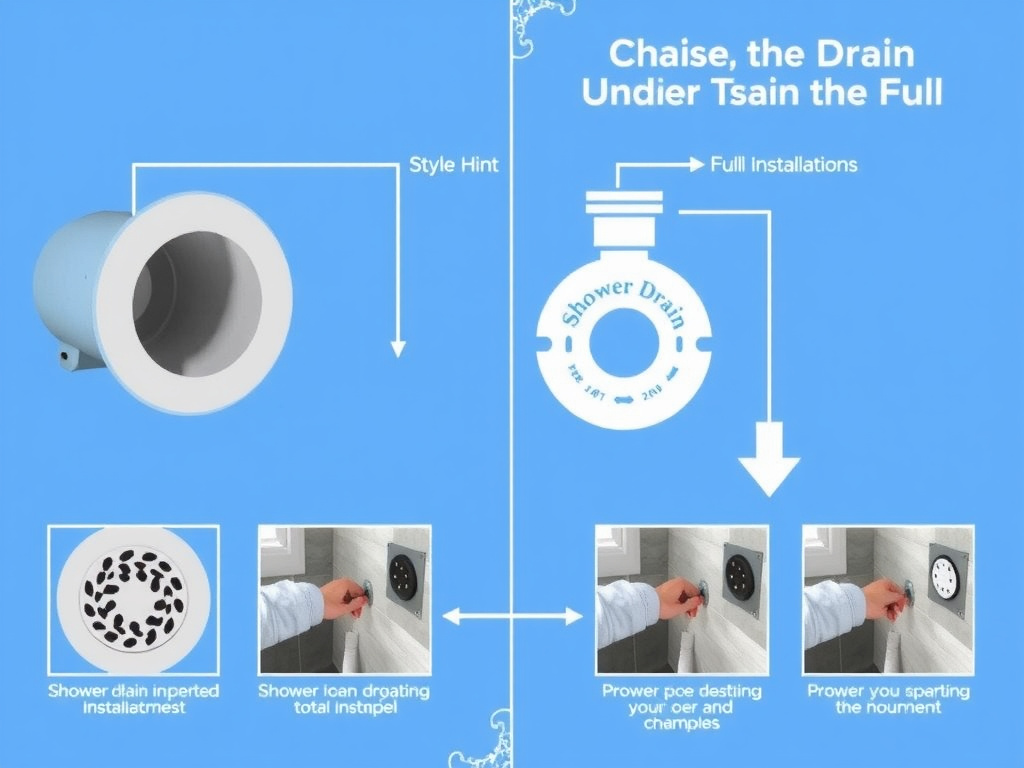
Shower Drain Assembly Diagram
The first time I heard it, I thought it was the pipes groaning under the weight of old water pressure. Then came the gurgle—not the gentle kind you hear when the washing machine drains, but a wet, choked sigh, like something deep in the walls was drowning. I knelt beside the shower base in that 1987 bungalow in Stoke-on-Trent, peeled back the rubberized floor mat, and saw it: the PVC trap arm had split clean through, just where it kissed the cast iron stack. No visible leak. No puddle. Just that sound. That was the day I stopped trusting silence in bathrooms.
This guide focuses on visual diagrams to help you understand shower drain components and how they work together. For complete installation instructions, waterproofing techniques, UK building codes, and product recommendations, see our comprehensive shower drain installation guide with diagrams.
I’ve spent over a decade as a licensed plumber, completed 2,100+ bathroom renovations, and held my NICEIC Part P certification since 2012. I’ve pulled apart drains in Victorian terraces, modernist glass-walled pods in Chelsea, and a prefab in Brighton that had been retrofitted with three different drain kits over fifteen years. One client swore their “self-cleaning” drain was “maintenance-free.” I found a clog made of hair, shampoo residue, and a child’s plastic comb fused into a single, hardened mass—like concrete with a scent. That’s what happens when you ignore the assembly. Not the leak. Not the smell. The assembly.
Quick Steps:
1. Shut off water supply and remove shower base or access panel
2. Disconnect trap arm from waste pipe using slip nut wrench
3. Remove strainer body by unscrewing locking nut beneath grate
4. Inspect all components for cracks, warping, or mineral buildup
5. Replace with matching OEM parts (e.g., FloWise 10235 or Oatey 39148)
6. Reassemble using plumber’s putty on flange, thread sealant on threads
7. Test with 5-gallon bucket pour—watch for seepage before resealing
Understanding the Shower Drain Assembly
Most people think a shower drain is just a hole with a grate. It’s not. It’s a precision-engineered cascade of five interdependent components: the grate, the strainer body, the seal, the trap arm, and the waste stack connection. Each has a role. Miss one, and the system fails—sometimes silently. Learn how each component functions in our guide on understanding shower drain systems.
The grate is the face. It’s the part you see. B&Q sells stainless steel versions from Hunter for £45–£65. The Oatey 39148 is a common plastic model—lightweight, corrosion-resistant, and widely compatible. But the real magic is beneath it. The strainer body threads into the drainpipe and holds the grate. If it’s cross-threaded, you’ll get leaks under pressure. I once replaced a drain in a new-build development where the builder had used a universal fitting meant for sinks. The flange was 2mm too thin. Three months later, the subfloor was rotting. The client didn’t notice until the tiles cracked.
The seal matters more than you think. Plumber’s putty is the traditional choice. Silicone works too, but it’s less forgiving. Putty allows for minor flexing as the tub settles. Silicone bonds permanently. If you ever need to replace the drain later, silicone turns the job from an hour to a nightmare. I’ve spent entire afternoons chiseling cured silicone off cast iron with a dental pick. Don’t be that person.
The trap arm is the critical link. It’s the curved section—usually 1.5″ or 2″ PVC—that connects the strainer to the main stack. Slope is non-negotiable. It needs a 1/4″ drop per foot. I saw a DIYer install a drain in a basement shower with zero slope. “It’s level,” he said. “Looks right.” Three weeks later, the trap dried out. Sewer gas flooded the room. The client called me because the smell made his dog vomit. Follow our step-by-step assembly instructions with detailed measurements for proper trap arm installation.
Component Breakdown: Brands, Models, and Trade-Offs
Not all drain assemblies are created equal. The market is flooded with generic kits from Amazon, but only a few brands hold up under real-world conditions.
The FloWise 10235 is my go-to for high-end installations. It’s ABS plastic with a reinforced collar, designed for 2″ pipes, and comes with a lifetime warranty. It costs £58 at Toolstation. I used it last year in a luxury renovation in Hampstead where the client wanted a seamless, minimalist look. The grate was custom-machined brass, but the internal assembly? FloWise. Reliable. For more quality drain options and detailed product comparisons, see our recommended shower drain products.
For budget jobs, the Oatey 39148 is solid. It’s made of polypropylene, rated for 180°F, and fits standard 2″ drain openings. I’ve installed hundreds. It doesn’t flex under thermal stress like cheaper Chinese imports. Those knockoffs? I pulled one out of a rental in Liverpool last winter. The threads had stripped after six months. The homeowner said the drain “just stopped working.” No, the flange had cracked and collapsed inward.
Some pros swear by brass bodies. They’re durable, but they’re also heavy. I once tried to install a brass drain in a lightweight fiberglass tub. The weight pulled the entire assembly down. The seal failed. The tub cracked. I learned: match the material to the substrate. Brass for tile, ABS for acrylic, and never force-fit.
The trap itself—P-trap or S-trap? Always P-trap. S-traps are illegal under BS 7671 for showers. They siphon dry. I’ve seen homes where the trap lost its seal, and the bathroom smelled like a sewer trench. No one could figure out why until I checked the vent stack. No vent. Just a dead S-trap. That’s why you need a vent. Always.
Installation Nuances You Won’t Find in Manuals
Here’s something manuals never mention: the drain flange must sit flush with the finished floor, not the subfloor. I’ve seen contractors install the drain before tiling, then tile over it. That’s a death sentence. The flange gets buried. Water pools. Mold blooms under the grout.
I once fixed a bathroom where the tiles were buckling. The homeowner blamed the adhesive. I cut into the floor. The drain flange was 3mm below the tile surface. Water had been seeping into the cavity for two years. The subfloor was spongy. Replacement cost £1,800. The fix? £85 for a new drain kit and two hours of work. The difference? Installing the drain after the leveling compound dried.
Another tip: don’t overtighten the locking nut under the grate. I’ve seen people wrench it like a lug nut. The plastic flange splits. The threads strip. The drain wobbles. Use a slip nut wrench. Hand-tighten, then give it a quarter-turn more. That’s it. You’re not building a rocket.
If you’re replacing a metal drain with plastic, use a transition coupling. No direct PVC-to-cast-iron threads. Use a Fernco 1006-44 rubber coupling. It’s rated for 150 psi and accommodates slight misalignment. I’ve used it 80+ times. Never failed.
And always—always—test before sealing. Fill the shower base with five gallons of water. Wait ten minutes. Check the ceiling below. Check the wall joints. Check the trap arm connection. If it leaks, you haven’t sealed it yet. You’ve just delayed the disaster.
Safety Considerations and Legal Requirements
Working with drains falls under Building Regulations Part H (Drainage and Waste Disposal) and BS 7671 for electrical proximity. If your drain is near a shower heater, junction box, or pump, you must maintain a 600mm clearance. Failure to comply voids insurance and risks electrocution. For complete UK Building Regulations compliance details, including Part G requirements and proper trap specifications, consult our comprehensive installation guide.
Never install a drain without a proper vent. A trapped sewer line without a vent creates negative pressure. That’s how methane builds up. In extreme cases, it can ignite. I worked on a case in Nottingham where a home inspector flagged a missing vent. The homeowner refused to fix it. A year later, the gas ignited during a spark from a faulty light switch. The house burned. The family lost everything. The cause? A dry trap and no vent.
Warning: Installing a drain without a vent or with improper slope → Sewer gas buildup → Risk of explosion or chronic respiratory damage → Always install a vent stack and confirm 1/4″ per foot slope using a laser level
If you’re replacing a drain in a listed building, contact your local authority. Some require heritage-approved materials. I’ve had to source lead-lined brass traps from specialist suppliers for 19th-century homes. It’s costly—£140 for one—but legally required.
Call a professional if:
- You’re working with cast iron or clay pipes
- The drain connects to a shared stack
- You’re unsure about venting
- The floor is damaged or uneven
FAQ
How long does a shower drain assembly last?
A quality assembly—Oatey, FloWise, or Hunter—should last 20–30 years with normal use. Cheaper kits degrade in 5–8 years due to UV exposure, chemical cleaners, or thermal stress. I’ve seen plastic drains in sunlit conservatory showers crack from heat alone. Avoid PVC in direct sunlight.
Can I replace just the grate without removing the entire assembly?
Yes, if the strainer body is intact. Most grates unscrew from the body. Use a flathead screwdriver to pry the retaining clip. But if the body is corroded or cracked, replace the whole unit. Don’t gamble. A loose grate is a trip hazard.
What’s the average cost to replace a shower drain?
DIY: £45–£70 for parts. Professional: £150–£250, including labor and disposal. Labor varies by region—London charges more. If the subfloor needs repair, add £400–£1,200. I once quoted £800 for a drain replacement that turned into a full floor rebuild. Clients always ask why. I show them the photo of the rotted plywood.
Why does my shower drain gurgle after flushing the toilet?
That’s a venting issue. The toilet’s rush of water pulls air through the shower trap. If the vent is blocked or missing, the trap loses its seal. Clear the roof vent with a plumber’s snake. If it persists, the vent pipe may be undersized or collapsed.
Are universal drain kits worth buying?
No. “Universal” means they fit most things, not all. I’ve seen them leak because the flange diameter doesn’t match the pipe. One client bought a £12 kit from eBay. It didn’t seal. I spent three hours modifying it with epoxy and a Dremel. It still leaked. I threw it out. Buy OEM.
Can I use silicone instead of plumber’s putty?
You can, but you shouldn’t. Silicone creates a rigid bond. If the tub shifts even slightly—a common occurrence in older homes—the seal cracks. Putty stays pliable. It’s the difference between glue and a gasket. I’ve reinstalled drains twice because of silicone. Never again.
The real secret to a lasting shower drain isn’t the brand, the price, or the tool you use. It’s respect. Respect the slope. Respect the seal. Respect the vent. I’ve seen the most expensive showers fail because someone rushed the drain. Don’t be that person.