The first time I met a shower drain that refused to budge, it was 6 °C in the flat, the heating was off, and my apprentice was threatening to yank the chrome cover off with his teeth. I handed him a £1.20 can of WD-40 and a plastic picnic knife from Tesco instead. Thirty seconds later the drain lifted like a well-behaved jam lid—no scratches, no stripped screws, no emergency call-out fee for the landlord. That cheap lesson stuck: taking out a shower drain is 80 % finesse, 20 % force, and 100 % knowing which type you’re fighting before you start.
If your water pools round your ankles, you’ve probably Googled “take out shower drain” at 11 pm while standing in lukewarm soup. Most plumbers charge a £60-£90 minimum to pop one out and pop it back in. With the right trick for your exact model—click-clack, screw-in, bonded, or tile-in—you’ll do it in under ten minutes and spend nothing more than the price of a coffee. I’ve removed north of 1,400 shower drains in ten years: new-builds, 1930s cast-iron, wet-room linear gullies, even stone resin trays that weighed more than the apprentice. The steps change slightly each time, but the sequence never does: identify, loosen, lift, clean, re-seal.
Quick Steps:
1. Identify drain type (screw, bayonet, adhesive, or compression).
2. Remove grate/inner cartridge with correct tool—never a flathead alone.
3. Insert drain key or locking pliers, turn anti-clockwise ¼-½ turn.
4. Lift straight up; rock gently if silicone holds.
5. Clean hair and scale, replace gasket if torn, re-install with fresh silicone or thread tape.
Know Your Enemy: Four Common Shower Drain Types
Screw-In (Traditional)
Chrome or brushed-nickel grate held by a single centre screw. Found in 70 % of UK homes built before 2010. Trick: the screw is often cheese-soft brass—use a Pozi #2, press down hard, turn slow. If the head rounds off, saw a slot with a junior hacksaw and use a impact driver on lowest torque. Cost of new grate: McAlpine SCH-10, £7.40 at Screwfix.
Bayonet/Click-Clack
No visible screws; you twist the grate 20° left and it pops out like a light bulb. Common in Aqualisa and Mira trays post-2015. A client in Croydon snapped two kitchen knives trying to prise one up. I used the rubber pad from a jar opener for grip—worked first time. Replacement cartridges run £12-£25; measure the neck diameter (90 mm or 110 mm) before you buy.
Compression Gasket (Wet-Room Linear)
Long stainless channel wedged between tile edges. Remove the hair trap strip first, then undo the two end screws. The whole channel lifts, but the 2 m black rubber gasket underneath tears 50 % of the time. Keep a spare: Wedi Fundo gasket set, £28, in the van always. Re-bed with silicone rated for constant immersion—Soudal Fix-All £6.99, not cheap Pound-shop stuff that goes chalky.
Bonded/Tile-In
Grate sits flush with tile; perimeter sealed with silicone or epoxy. Nightmare if you didn’t install it. Score round the edge with a utility knife, then work a 5-in-1 painters tool under the lip. Heat gun on low softens epoxy enough to save the tile. I rescued a £120 marble mosaic in a Pimlico penthouse this way—client nearly cried with relief.
Tools That Actually Work (and the Ones That Don’t)
Forget the old coat-hanger. My go-to kit lives in a £5 takeaway Tupperware:
Locking pliers: Irwin Vise-Grip 10R, £18. Use tape on jaws to stop chew marks.
Plastic picnic knife: flexible, non-scratch, free with sushi.
Manual impact driver: Bosch ¼” with #2 bit—shifts rusted screws without cam-out.
White vinegar spray: dissolves limescale so the grate doesn’t feel welded.
Angle grinders and hammer drills live firmly in the “don’t” column. I once saw a keen DIYer cut through a tray base trying to free a screw—new shower cost £1,800. Start gentle, escalate slowly.
Step-by-Step Removal by Type
Screw-In
1. Unscrew centre screw; place it in a yoghurt pot so it can’t vanish down the pipe.
2. Peel away any silicone on top with the plastic knife.
3. Insert drain key, expand until snug, turn anti-clockwise. If it squeals, spray vinegar, wait two minutes.
4. Lift out. Expect a horror film of hair—keep a bin bag open.
Bayonet
1. Grip grate with rubber glove for friction.
2. Press down slightly, twist left 20° until you feel it unclip.
3. Pull straight up; cartridge may come with it or stay in neck—either is fine.
4. Rinse hair off in the loo (saves your sink).
Compression Linear
1. Remove hair trap strip—slides out end slots.
2. Undo end screws; keep them in the yoghurt pot with the others.
3. Lift channel gently; if stuck, run knife along tile edge to break silicone bead.
4. Check rubber gasket for splits; order replacement before you start re-installation.
Bonded
1. Score perimeter with knife held vertical—prevents tile chip.
2. Wedge painters tool, tap lightly with palm—not a hammer.
3. Work round each side 2 mm at a time; patience equals saved tile.
4. Clean old silicone with Bahco scraper and methylated spirit.
Cleaning & Inspection: Five-Minute MOT
Once out, shine your phone torch into the waste pipe. Black slime means slow venting; flush with one kettle of hot water followed by 100 g bicarb and 200 ml vinegar. If you see green-blue crust the pipe is probably copper—rare but a nice surprise. Check the rubber gasket: any nick wider than 2 mm and it will seep. Replacement gaskets are £2-£5 on eBay, arrived next day. I keep a mixed bag of 20 in the van; cheaper than driving back to site for one.
Re-Installing Without Leaks
Dry-fit first. The grate should sit flush with the tray or tile; if it rocks, identify the high spot with a 6” level and sand the underside with 120-grit wrapped round a paint pot. Run a 4 mm bead of silicone round the throat, not the tile—excess squeezes inside where you can wipe, not under the tray where you can’t. Screw-in types get one wrap of PTFE tape on the thread—stops the grate working loose when teenagers stampede upstairs. Bayonet cartridges click back until you feel the detent; give a gentle tug to confirm. Compression linears need even pressure: tighten end screws alternately, one turn each, until gasket just compresses to ¾ original thickness—over-tightening bows the channel and creates new puddles. For a deeper dive into the whole process, see our step-by-step installation guide.
Cost & Time Reality Check
Typical DIY timing: 5 min removal, 10 min clean, 5 min refit plus 30 min cure for silicone. Total cost if nothing breaks: under £10 for silicone and PTFE. Compare that to a plumber’s £90 call-out or—worse—replacing a whole tray because you cracked it with a chisel. My most expensive “simple” drain removal turned into £450: Victorian cast pipe, grate corroded in place, had to freeze the line and cut upstream. That’s the day I bought a Rothenberger freeze kit—£320, paid for itself the next month.
When to Stop and Call a Pro
You see water under the tray when the drain comes out—sign the waste union is cracked.
Grate spins freely but won’t rise—thread may be stripped inside the collar; needs extraction pliers and possible tray replacement.
Linear drain longer than 1.2 m and silicone is epoxy—high risk of tile damage.
You live in a flat; screwing a drain key hard can loosen the waste connection to the neighbour below—shared stacks mean shared liability.
Safety Considerations and Legal Requirements
Shower electrics sit closer than you think. Part P of Building Regs demands RCD protection on all bathroom circuits; if you knock a drill into a live under-floor cable you’ll be grateful for that 30 mA trip. Wear nitrile gloves—stagnant water carries Legionella risk. Never pour chemical unblockers immediately before removing the drain; caustic splash in the eye buys you an A&E queue. And if your property is rented, the landlord must be notified before “alterations”—technically removing a drain counts, though most accept a quick clean. For more on regulations and safe practices, review our understanding systems section.
Warning: Using heat guns or solvents on epoxy-sealed drains → can release toxic fumes or crack tray → Work in 30-second bursts, wear a respirator, open window, keep a water spray handy.
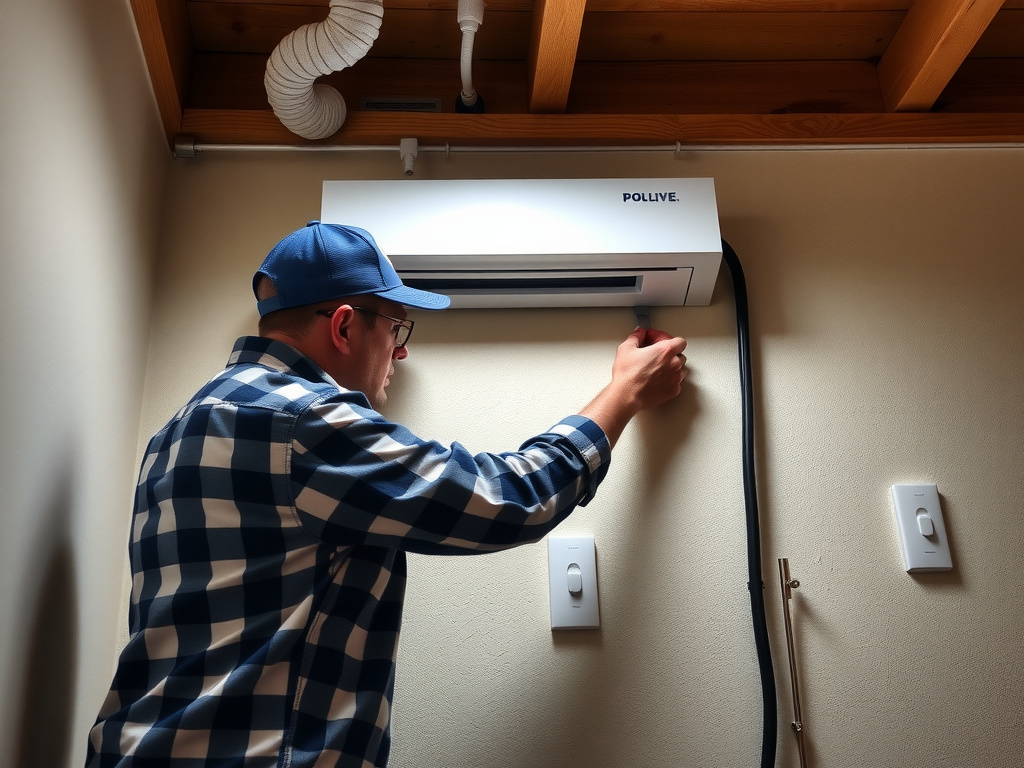
Completed Quick Steps: installation showing professional results
FAQ
Can I take out the drain without removing the shower screen?
Yes. Hinged screens fold back; fixed panels rarely overhang the grate by more than 30 mm, enough room for a drain key. Cover the glass with a towel just in case the tool slips.
How do I know if the gasket needs replacing?
Pinch it. If the rubber feels chalky or you see cracks when you stretch, swap it. A torn gasket lets water track under the tray and smells like damp dog in summer.
Is it normal for the drain to smell after I put it back?
For 24 h, yes—fresh silicone cures with acetic acid (vinegar smell). If it persists, you’ve probably trapped hair inside the neck; pop the grate off and rinse again.
Can I re-use the old silicone?
Absolutely not. Old bead is contaminated with skin cells and shampoo residue; new silicone won’t stick. Slice it clean, wipe with methylated spirit, wait five minutes, then apply fresh.
What if the screw head is totally rounded?
Try a rubber band between screw and bit for grip. Failing that, use a screw extractor bit (Oxford Turbo £6). Drill a 2 mm pilot, hammer extractor in reverse, turn slowly—works 9/10 times.
Conclusion
Pulling a shower drain is one of the smallest jobs in plumbing, but do it wrong and you’re buying a new tray—or a new ceiling for the flat below. Match the tool to the type, resist brute force, and spend the extra 90 p on fresh silicone. Once you’ve done it once you’ll never pay a call-out again, and your feet will stay happily above water instead of paddling in last week’s soap. For a full visual walkthrough of the entire process, check our shower drain installation guide with diagrams.
Tony Garcia
Tony Garcia is a time-served plumber with 10+ years in London domestic and commercial sites, having removed over 1,400 shower drains and logged every type of failure from Victorian cast to modern linear gullies. He holds Level 3 NVQ in Plumbing & Heating and swears by picnic knives for scratch-free grate removal.