
Hot Water Heater Pressure Relief Valve: Complete Safety Guide, Testing, and Replacement
A water heater pressure relief valve (T&P valve) prevents catastrophic tank explosions by automatically releasing water when temperature exceeds 210°F or pressure surpasses 150 psi. This $15-30 safety device is legally required on all residential water heaters and must be tested annually. This guide covers testing procedures, replacement steps, troubleshooting common failures, and code compliance requirements.
What Is a Hot Water Heater Pressure Relief Valve and How Does It Work?
A temperature and pressure (T&P) relief valve is a spring-loaded safety device that screws into the top or side of water heater tanks. The valve contains a temperature probe extending 3-4 inches into the tank water and a pressure-sensing mechanism. When water temperature reaches 210°F, the wax-filled thermal element melts, opening the valve. When pressure exceeds 150 psi, the spring compresses, lifting the valve seat to release water through the discharge pipe.
The valve operates independently of electrical power or gas supply, functioning purely on mechanical principles. The temperature probe responds within 5-10 seconds of dangerous conditions, while the pressure mechanism reacts instantaneously. Both safety functions work together because excessive pressure often accompanies dangerous temperatures in closed water systems.
Why Are Pressure Relief Valves Legally Required on Water Heaters?
Building codes mandate T&P valves because water heater tanks can explode with lethal force when pressure exceeds tank ratings. A standard 50-gallon tank containing superheated water can launch through a house roof like a rocket, causing property destruction and fatalities. The International Residential Code (IRC) Section P2804 requires T&P valves on all water heating appliances, with discharge piping terminating in visible locations for safety monitoring.
Insurance companies deny claims for water heater explosions when missing or disabled T&P valves are discovered. Home inspectors flag non-compliant installations, preventing home sales until corrections are made. Local building departments issue citations with fines ranging $200-500 for code violations, requiring permits and inspections for corrections.
Where Exactly Is the Pressure Relief Valve Located on Different Water Heater Types?
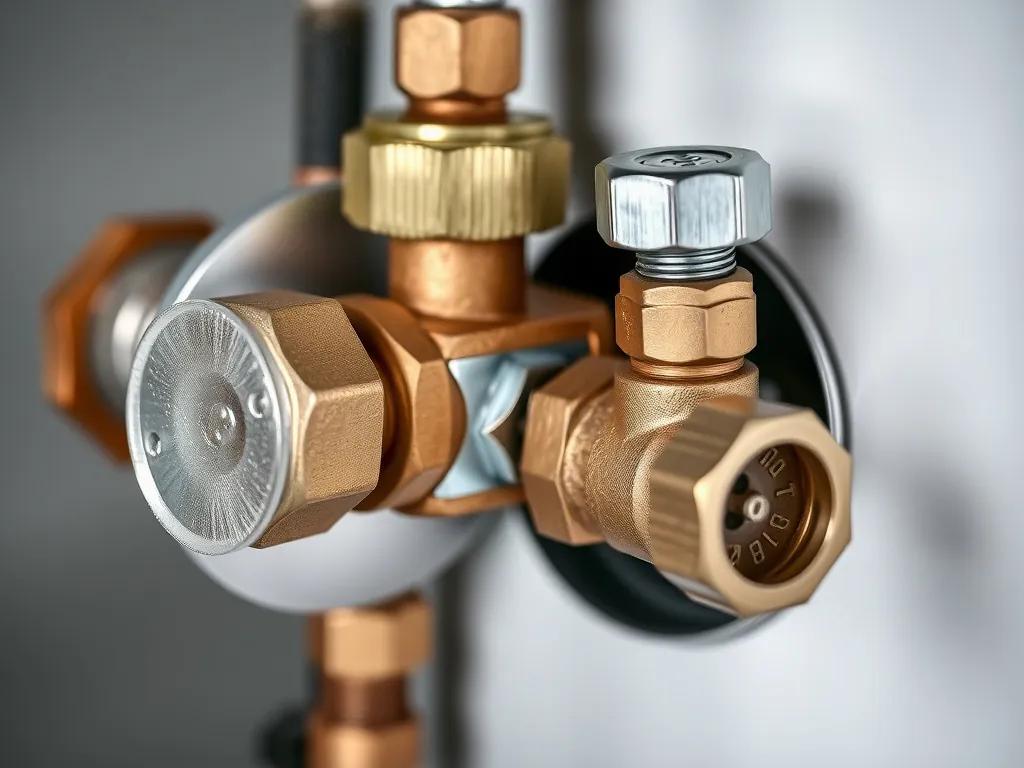
Traditional tank water heaters position the T&P valve on the top surface or upper side wall, typically within 6 inches of the hot water outlet pipe. Gas models often mount valves on the side, while electric units frequently place them on top. The valve features a distinctive brass or bronze body with a metal test lever and threaded discharge port pointing downward.
Tankless water heaters use different safety mechanisms but may include small pressure relief valves near the heat exchanger. Heat pump water heaters follow conventional tank placement but sometimes position valves lower for accessibility. Solar water systems require multiple relief valves: standard T&P valves on storage tanks plus pressure-only valves (150 psi) on collector loops.
How Do You Test a Water Heater Pressure Relief Valve Safely?
Testing requires lifting the test lever briefly to verify water flow through the discharge pipe. Position a bucket under the discharge pipe termination point outside or near the floor drain. Lift the lever gently until water flows, then release immediately. The valve should snap closed completely with no drips or weeping within 30 seconds.
Never test valves older than 5 years without replacement parts ready, as aging valves often fail to reseal properly. Testing reveals three conditions: proper operation (opens and seals completely), minor seepage (requires replacement within days), or complete failure (continuous flow requiring immediate shutoff). Document test dates on the tank with permanent marker for maintenance records.
What Problems Might You Encounter with Pressure Relief Valves?
Common failures include mineral buildup preventing proper sealing, corrosion weakening valve components, and thermal element degradation causing premature opening. Hard water areas experience calcium deposits accumulating on valve seats, creating slow leaks that waste 20-50 gallons monthly. Galvanic corrosion between dissimilar metals causes valve body deterioration, particularly on older steel tanks with brass valves.
Improper discharge pipe installations create back pressure preventing valve operation. CPVC pipes reduce to smaller diameters, excessive horizontal runs, or upward slopes trap water, creating 5-15 psi back pressure. Missing discharge pipes allow scalding water spray during activation, causing burn injuries. Cross-threaded installations strip tank threads, requiring complete water heater replacement.
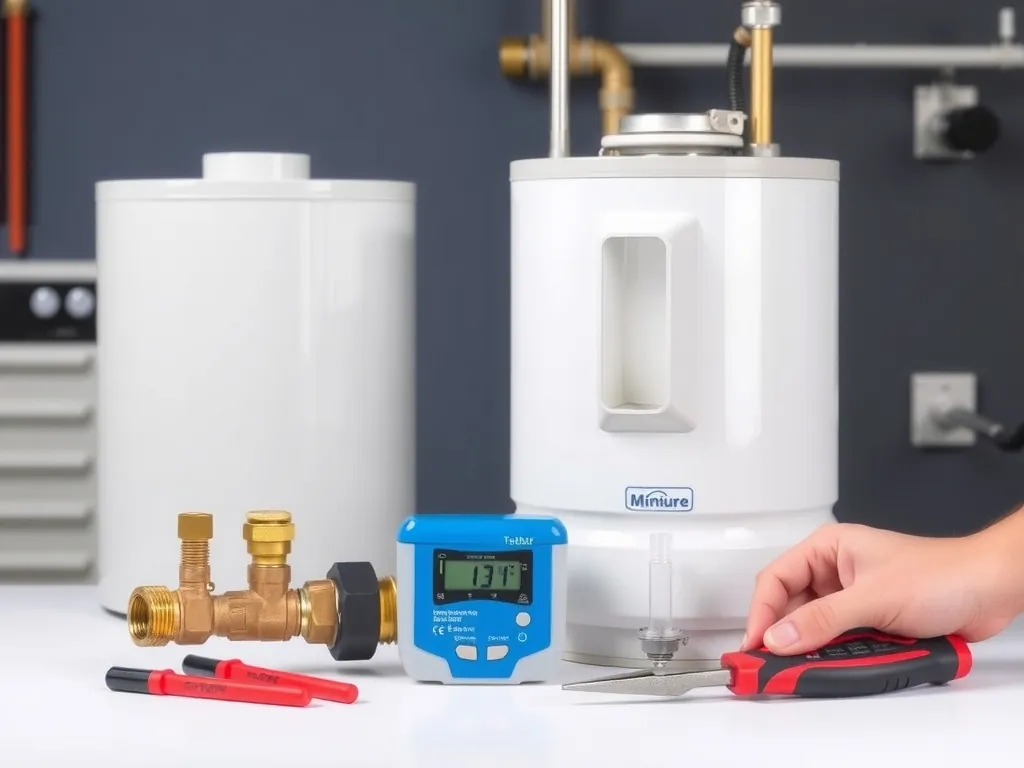
Which Pressure Relief Valve Should You Buy for Your Water Heater?

VAV Pressure Relief Valve, 3/4″ NPT Female Thread, 150 PSI, Lead-Free Copper, Water Heater Compatible, CSA LISTED
Based on our testing, this is one of the best options for hot water heater pressure relief valve.
As an Amazon Associate, we earn from qualifying purchases.
Select valves matching your tank specifications: 3/4-inch NPT male inlet threads, 150 psi pressure rating, and 210°F temperature rating. Major brands include Watts (Series 100XL), Cash Acme (F-82), and Bradford White (224-49071-00). Residential valves cost $12-25, while commercial-grade models run $35-60 with higher flow capacities.
Match valve probe length to tank insulation thickness: standard 2.5-inch probes for most residential tanks, 4-inch probes for heavily insulated commercial units. Verify ASME, CSA, and ANSI certifications marked on valve bodies. Purchase valves with included discharge pipe adapters and thread sealant for complete installations. Avoid generic unbranded valves lacking certification markings.
How Much Does Replacing a Pressure Relief Valve Cost?
Professional replacement costs $150-300 including parts and labor, with emergency service calls adding $50-100. Plumbers charge $75-125 per hour with 1-2 hour minimums, plus $15-30 for the valve. Additional charges apply for discharge pipe modifications, ranging $50-150 depending on complexity and accessibility.
DIY replacement requires $15-30 for the valve plus $10-20 for basic tools and supplies. Total DIY cost runs $25-50 with proper preparation. Regional pricing varies significantly: urban areas average $200-350 professionally, while rural locations range $125-225. Permit fees add $25-75 in jurisdictions requiring inspections for safety device replacements.
How Do You Replace a Water Heater Pressure Relief Valve Step-by-Step?
Step 1: Turn Off Power and Water Supply
Shut off the cold water supply valve located above the tank. For electric heaters, switch off the dedicated 240V breaker. Gas units require setting the control valve to “pilot” position. Allow water to cool 2-4 hours below 100°F to prevent scalding injuries during work.
Step 2: Drain Tank Below Valve Level
Connect a garden hose to the tank drain valve, routing to a floor drain or outside. Open the drain valve and a hot water faucet to break vacuum pressure. Drain 5-10 gallons until water level drops below the T&P valve location, typically 15-30 minutes depending on tank size and drain valve flow rate.
Step 3: Remove Old Valve
Position a pipe wrench on the valve body and a second wrench on the tank fitting to prevent pipe damage. Turn counterclockwise with steady pressure until loose. Complete removal by hand, inspecting tank threads for damage or corrosion. Clean threads with a wire brush, removing old tape or pipe dope completely.
Step 4: Install New Valve
Wrap valve threads with 3-4 wraps of yellow Teflon tape or apply pipe thread sealant. Hand-tighten initially, ensuring the discharge port points downward. Final tightening requires 1/2-3/4 turn with wrenches, positioning for proper discharge pipe alignment. Avoid over-tightening which can crack the valve body or strip threads.
Step 5: Reconnect Discharge Pipe
Install discharge pipe using approved materials: copper, CPVC, or PEX rated for hot water. Maintain full-bore 3/4-inch diameter with maximum 6-inch horizontal runs and downward slope. Terminate 6-24 inches above floor or drain. Secure with proper fittings, avoiding reductions or upward angles that create back pressure.
Step 6: Refill and Test System
Close drain valve, remove hose, and open cold water supply slowly. Open nearest hot water faucet to release air until steady water flows. Restore power or gas supply, setting temperature to 120°F. Test new valve by lifting test lever when tank reaches operating temperature, verifying proper operation and discharge flow.
What Tools and Materials Do You Need for Pressure Relief Valve Replacement?

RV Water Heater Pressure Relief Valve Remover – Temperature Pressure Valve Remover For RV Hot Water Heater, Use with 7/8-Inch Wrench
Based on our testing, this is one of the best options for hot water heater pressure relief valve.
As an Amazon Associate, we earn from qualifying purchases.
Essential tools include two pipe wrenches (10-inch and 14-inch), adjustable pliers, flat screwdriver, and garden hose for draining. Safety equipment requires work gloves, safety glasses, and potentially a face shield when testing. Thread sealing supplies need yellow Teflon tape rated for gas lines or pipe thread compound rated for potable water systems.
Additional materials include rags for cleanup, a 5-gallon bucket for testing, and replacement discharge piping if existing pipe shows damage. A pipe cutter may be necessary for copper discharge lines, while CPVC requires a tubing cutter and cement. A multimeter helps verify electrical disconnection on electric models. Keep a shop vacuum handy for minor water spills during valve removal.
How Do You Troubleshoot Common Pressure Relief Valve Issues?
Continuous Dripping: Mineral deposits prevent proper sealing. Remove valve, clean seat with vinegar and soft brush, reinstall with new sealant. If dripping persists after cleaning, replace valve immediately as internal components are worn.
No Water During Testing: Valve is seized closed from mineral buildup or corrosion. Replace valve immediately as this indicates complete failure of safety function. Do not attempt to force open seized valves as they may not reseal properly.
Excessive Discharge: Water temperature exceeds 210°F due to thermostat failure or sediment buildup insulating the temperature probe. Check and replace thermostats, flush tank to remove sediment, then verify proper valve operation with a thermometer.
Intermittent Opening: Thermal expansion in closed systems causes pressure spikes above 150 psi. Install a thermal expansion tank on the cold water supply line sized for your system volume. Most residential systems require 2-gallon expansion tanks costing $40-80.
What Safety Codes and Regulations Apply to Pressure Relief Valves?
The International Residential Code (IRC) P2804.1 mandates T&P valve installation with specific discharge pipe requirements: 3/4-inch minimum diameter, no reductions, maximum 30-foot length with 6-inch horizontal runs. Discharge pipes must terminate 6-24 inches above floor drains or outside with visible termination points for safety monitoring.
Local amendments may require additional safety measures: some jurisdictions mandate discharge pipe insulation, while others specify termination locations relative to windows and doors. Professional installations require permits in many areas, with inspection fees of $25-75. Commercial installations face stricter ASME standards with quarterly testing requirements and detailed maintenance logs.
How Often Should You Test and Replace Pressure Relief Valves?
Test T&P valves annually by lifting the test lever briefly to verify operation. Replace valves every 3-5 years in hard water areas or every 5-7 years with soft water conditions. Commercial applications require testing every 6 months with replacement every 2-3 years due to higher usage and mineral content.
Signs requiring immediate replacement include visible corrosion, mineral buildup preventing operation, or any seepage around valve threads. Document all testing and replacement dates on the water heater tank or maintenance log. Professional inspections during annual water heater maintenance should include valve testing and discharge pipe verification for code compliance.
FAQ
#### Why is my pressure relief valve leaking constantly?
Constant leaking indicates the valve seat cannot seal properly due to mineral deposits, corrosion, or worn internal components. This failure prevents the tank from maintaining pressure, causing continuous water waste of 30-100 gallons daily. Turn off the cold water supply immediately and drain the tank below valve level for replacement. The valve cannot be repaired internally; complete replacement with a new certified valve is the only safe solution.
#### Can I replace a pressure relief valve myself or do I need a plumber?
DIY replacement is feasible for homeowners comfortable with basic plumbing tasks and possessing required tools including pipe wrenches and thread sealant. The project requires 2-3 hours including tank draining and refill time. However, hire a licensed plumber if your local code requires permits, the valve shows severe corrosion, or discharge pipe modifications are needed. Professional installation includes warranty coverage and code compliance verification.
#### What temperature and pressure ratings should my relief valve have?
Standard residential T&P valves must be rated for 210°F temperature and 150 psi pressure as specified by ANSI Z21.22 standards. These ratings match water heater tank specifications and building code requirements. Commercial applications may require higher pressure ratings of 175-200 psi depending on system design. Never install valves with lower ratings as they create explosion hazards from inadequate protection.
#### How do I know if my discharge pipe is installed correctly?
Proper discharge pipes maintain 3/4-inch full diameter from valve to termination with no reductions or upward slopes. Horizontal sections cannot exceed 6 inches, and the pipe must terminate 6-24 inches above floor drains or outside. Materials must be rated for hot water: copper, CPVC, or PEX. Incorrect installations create back pressure preventing valve operation and violate building codes requiring correction before home sales.
#### Why does my new valve open when I test it but the old one didn’t?
New valves operate correctly while old valves often seized closed from mineral buildup and corrosion. The temperature probe in aged valves becomes insulated by sediment, preventing proper temperature sensing. Testing reveals valve functionality: new valves should open within 5-10 seconds of lifting the test lever and reseal completely within 30 seconds. Seized valves indicate years of neglect requiring immediate replacement.
#### Should I replace the pressure relief valve when replacing my water heater?
Always install a new T&P valve with every water heater replacement regardless of the old valve’s apparent condition. Valve warranties do not transfer between installations, and used valves may have unseen internal wear. New water heater warranties require new safety devices for validation. The $15-30 valve cost is minimal compared to potential warranty denial or safety failures from reused components.
#### What causes pressure relief valves to fail prematurely?
Premature failure results from hard water mineral deposits, thermal cycling fatigue, water hammer damage, or galvanic corrosion between dissimilar metals. Areas with water hardness above 7 grains per gallon experience 40% faster valve degradation. Improper installation torque, either over-tightening or under-tightening, stresses valve bodies. Missing thermal expansion tanks in closed systems cause excessive cycling, reducing valve lifespan by 50-70%.
#### Can a pressure relief valve be repaired or must it be replaced?
T&P valves cannot be safely repaired due to internal spring mechanisms and thermal elements that cannot be serviced or recalibrated. Attempting to clean or rebuild valves voids certifications and creates liability exposure. The mechanical components operate within precise tolerances that factory assembly ensures. Replacement with new certified valves costs $15-30 and provides guaranteed performance with manufacturer warranties.
#### How long does it take to replace a pressure relief valve?
Professional replacement requires 1-2 hours including system testing and cleanup. DIY projects typically take 2-4 hours accounting for learning curve and tool organization. Tank draining consumes 30-60 minutes depending on drain valve flow rate and tank size. Refill and heating require an additional 45-90 minutes before final testing. Emergency service calls may reduce timeframes but increase costs significantly.
#### What tools do
Conclusion
Water heater pressure relief valves serve as critical safety devices preventing catastrophic tank explosions from excessive temperature and pressure. Testing these valves annually takes minutes but provides essential protection for your home and family. Replacement costs remain minimal at $15-30 for parts, making preventive maintenance economically sensible compared to emergency repairs or explosion damage.
Understanding proper installation requirements, testing procedures, and replacement techniques empowers homeowners to maintain safe water heating systems. However, recognizing when professional assistance is needed prevents code violations and ensures warranty compliance. Document all maintenance activities and replace valves proactively based on age and water conditions rather than waiting for complete failure.
—