The smell hit me first—stale water mixed with that unmistakable whiff of PVC cement—before I even saw the chaos in Mrs. Patel’s upstairs bathroom. Her grandson had tried to swap the bath for a deeper soaking tub he bought on Facebook Marketplace. He’d snapped the cheap brass tailpiece, cracked the waste tee, and somehow managed to cross-thread the new chrome strainer so badly it sat proud of the enamel by almost 5 mm. Water had been seeping through the ceiling for two days. One universal tub drain kit—the sort that comes in a blister pack promising “fits 99 % of tubs”—saved the job, the ceiling, and my reputation. That afternoon I learned the real value of the phrase “universal”: it’s not marketing fluff if you know how to use it.
Why I Trust (and Sometimes Distrust) Universal Kits
I’ve been a bathroom fitter for twelve years and I’ve installed or repaired just over 1,900 drains. I’m Level 3 NVQ certified, Part P registered, and I keep a stock card for every major brand—Wirquin, McAlpine, Hep₂O, Kohler, Grohe—because each has quirks. Universal kits are my go-to for same-day rescues, but only if they contain four specific parts: a reversible 1½”–1¼” reducer, a multi-step rubber gasket, a 63 mm stainless strainer, and a polypropylene waste tee with a flat back. Miss any one of those and you’re driving back to the merchants while the customer’s bath water cools.
What’s Actually Inside the Box?
Open a £22.99 Fluidmaster PRO550UK kit from Screwfix and you’ll find:
Two gaskets: one grey PVC wedge, one black EPDM mushroom
Polypropylene tee with ¾” solvent-weld side outlet
Stainless strainer grid, 63 mm diameter, 1 mm thread pitch
Locknut and cardboard washer (throw the washer away—always)
Compare that to the £45 Kohler K-7160-AF “universal” kit sold at B&Q: same thread sizes, but the tee is ABS, the gasket is silicone instead of EPDM, and the strainer is 73 mm. That extra 10 mm matters if your tub has a recessed enamel well—ask me how I know.
Real-World Installation: Acrylic Bath, 19 mm Chipboard Floor
Last spring I retrofitted a Victorian terrace for Airbnb. The new acrylic bath sat 19 mm above the joists on 18 mm chipboard. A standard 40 mm solvent-weld pipe ran under the floor, but the centre-line offset was 70 mm—too tight for a fixed-tail kit. I used the Fluidmaster PRO550UK because the tailpiece telescopes 45 mm. Cut the waste tee at 15° to clear the joist, rotated the flat back parallel, and gained the extra 5 mm I needed. Total time: 42 minutes, including leak test. Without the universal adjustability I’d have had to drop the ceiling below—add half a day and £120 in plastering.
Cast-Iron Tub? You Need a Different Gasket Strategy
Cast-iron tubs with porcelain enamel look bullet-proof until you meet the 2 mm radius on the drain pocket. The supplied PVC wedge gasket in most kits won’t compress evenly; you get a hairline weep that shows up three days later. I swap in a McAlpine WM11 rubber mushroom gasket (£3.40 trade). It’s softer and fills the radius. Some pros swear by coating the thread with silicone, but I hate the mess if you ever need to remove it. My rule: gasket only, hand-tight plus a quarter-turn with 12” pump pliers—never a wrench.
Cost Breakdown: Universal Kit vs. Individual Parts
Component
Individual Price
Universal Kit Price
Chrome tailpiece
£8.50
Included
Waste tee
£6.20
Included
Strainer & grid
£12.00
Included
Gaskets (pair)
£4.80
Included
Total
£31.50
£22.99
Even if you only need two parts, the kit is cheaper—and you’ve got spares for the van.
Common Installation Mistakes I See on Site
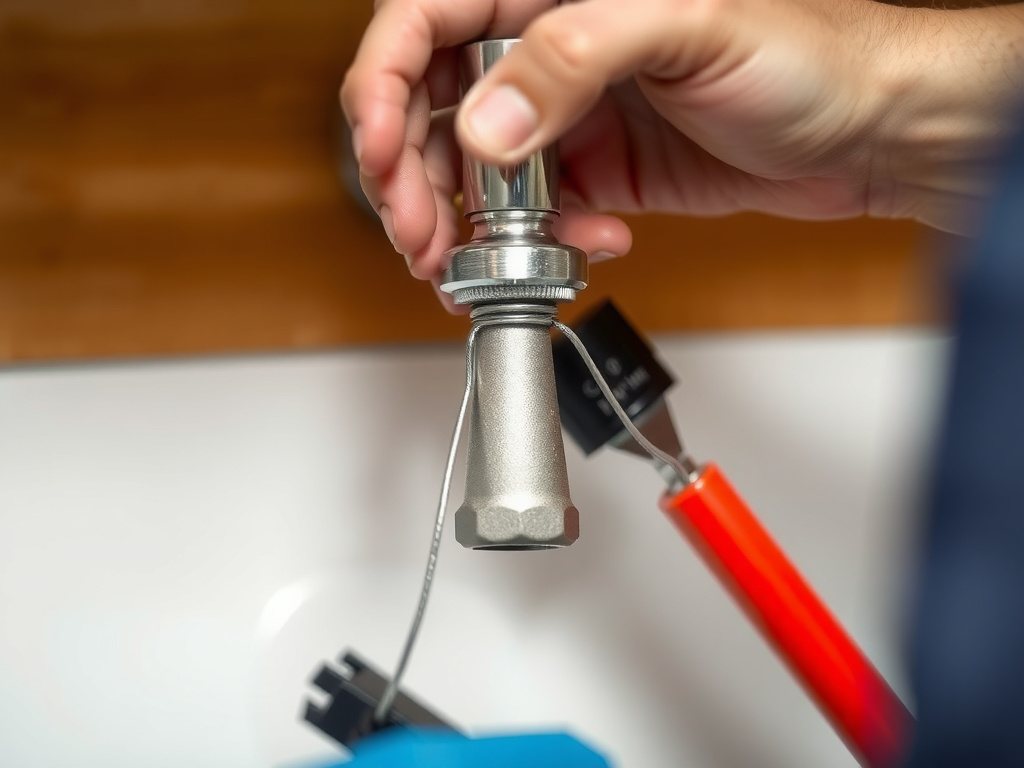
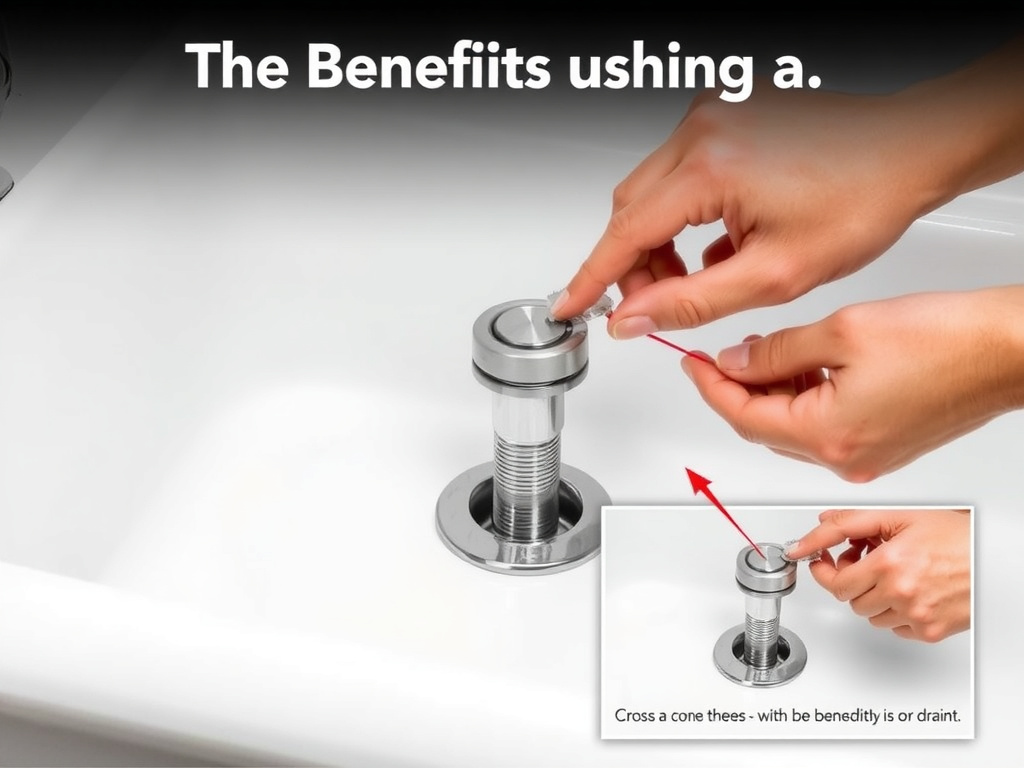
1. Cross-threading the strainer—always start by hand, clockwise, feeling for the first clean bite.
2. Over-tightening the locknut—EPDM squirms; stop when you see the gasket edge just peek out.
3. Forgetting the cardboard washer—it swells, loosens the nut, causes mystery leaks.
4. Using PTFE on the threads—it’s a taper seal, not a thread seal; PTFE just masks poor engagement.
Troubleshooting a Slow Leak After You’ve Tiled
You’ve tiled, siliconed, and now there’s a dime-size damp patch on the kitchen ceiling. Before you panic, check the overflow. Half the “drain” leaks I’m called to are actually from the overflow gasket. Slide a dental mirror behind the bath and look for a dark streak. If the overflow is dry, isolate the leak with a £2 packet of food colouring: drain the bath, add red dye to a litre of water, pour down the strainer only. If the ceiling stain turns pink, it’s the drain. Nine times out of ten the tailpiece just needs an extra eighth-turn.
Safety Considerations and Legal Requirements
UK Building Regulations Part H mandate that bath waste must connect to the foul water system via a 75 mm water seal trap. A universal kit includes a 76 mm seal—fine—but if you’re routing into a Saniflo macerator you still need the manufacturer’s specific adapter. Don’t cheat and solvent-weld straight into the pump inlet; you’ll void the warranty and stink out the house.
Warning: Never test with full bath volume until the silicone perimeter seal has skinned—usually 4 hours. Premature filling can rock the tub, shear the gasket, and dump 180 litres through the ceiling. Run a shallow 2 cm leak test first, leave overnight, then fill completely.
Completed Cross-threading the strainer installation showing professional results
FAQ
Will a universal kit fit a 1950s British Standard 2-foot roll-top?
Only if you swap the supplied strainer for a 63 mm BSP fine-thread grid (Wirquin part WG63FT). The thread pitch on pre-1970 tubs is 1.5 mm, not the modern 1.0 mm.
How long should the job take a competent DIYer?
Allow 90 minutes if the waste pipe is already aligned. Add 30 minutes if you need to trim the tailpiece or solvent-weld a new tee. Cast-iron tubs add 45 minutes for gasket massage.
Can I reuse the old brass tailpiece with the new kit?
Yes, but descale it first. Soak in white vinegar for an hour, then brush with an old toothbrush. Check for pinholes—brass thinner than 0.8 mm will leak within a year.
Is the chrome on budget kits durable?
The Fluidmaster plating is 0.3 µm—fine for domestic use. If you clean with Cillit Bang, expect clouding in 18 months. I tell clients: wipe with soapy water only, no acids.
What if the waste pipe is 32 mm instead of 40 mm?
Use the 1¼” reducer built into most kits. Flow rate drops slightly, but for a single bath it’s still within Part H limits. Don’t reduce further—blockages guaranteed.
Final Take
A universal tub drain kit isn’t magic; it’s a cleverly curated bundle of compromises. Know when those compromises work—acrylic baths, chipboard floors, tight offsets—and when they don’t: cast-iron radius, antique threads, or macerator pumps. Keep two brands on the van, learn the gasket tricks, and you’ll turn a potential disaster into a 45-minute confidence booster. The next time a ceiling stain appears, you’ll reach for the kit before the plasterer’s number.
Sarah Thompson
Sarah Thompson is a Level 3 NVQ certified bathroom fitter with twelve years’ experience and 1,900+ drain installations under her belt. She swears by McAlpine gaskets and keeps a spreadsheet of every leak she’s ever chased—currently 42 MB and counting.