
Atwood Water Heater: Complete Owner’s Guide to Operation, Maintenance & Troubleshooting
Atwood water heaters are specialized RV and marine water heaters that use propane gas, electricity, or both to provide 6-10 gallons of hot water in mobile applications. These lightweight aluminum-tank units weigh 14-20 pounds empty and operate on 12V DC for controls with 120V AC or propane heating options. This guide covers operation, maintenance, troubleshooting, and replacement of Atwood water heaters in recreational vehicles and boats.
What Is an Atwood Water Heater and How Does It Work?
An Atwood water heater is a lightweight RV/marine water heater featuring an aluminum tank that heats 6-10 gallons of water using propane gas, 120V AC electric element, or both simultaneously. The unit uses a 12V DC control board to manage gas valves, ignition systems, and safety switches, providing 7-14 gallons per hour recovery rate depending on power source and ambient temperature. Atwood’s aluminum construction eliminates anode rod requirements while reducing weight by 30% compared to steel tanks.
Atwood heaters operate through a sophisticated control system that monitors water temperature, gas flow, and electrical safety circuits. When hot water is demanded, the control board activates either the 1,400-watt electric element or the 8,000-10,000 BTU propane burner, or both for fastest recovery. The system maintains 120-140°F water temperature through adjustable thermostats and includes multiple safety features including high-limit switches, pressure relief valves, and flame sensors that shut down operation if unsafe conditions develop.
How Do You Operate an Atwood Water Heater Safely?
Operating an Atwood water heater safely requires filling the tank completely, checking gas connections for leaks, ensuring proper ventilation, and verifying electrical connections before activating either gas or electric mode. Always confirm water heater bypass valves are in normal operation position and never run the heater with an empty tank to prevent element damage within 30-60 seconds.
Start by filling the tank through the RV’s water system until water flows steadily from the hot water taps, indicating complete tank fill. For gas operation, turn on the propane supply at the tank valve, then switch the water heater control panel to “Gas” mode – the unit will attempt ignition three times before locking out if unsuccessful. For electric operation, ensure you’re connected to 30-amp shore power minimum, then switch the electric element on – the heater will cycle automatically. When using both modes simultaneously, gas provides primary heating while electric maintains temperature, reducing propane consumption by 60-70% during extended use.
Why Would Your Atwood Water Heater Fail to Heat Water?
Atwood water heaters fail to heat water primarily due to empty tanks causing element burnout, propane supply issues preventing gas ignition, electrical faults disrupting control circuits, or component failures in gas valves and thermostats. Each failure mode produces specific symptoms: electric elements show immediate circuit breaker trips, gas failures produce clicking without ignition, and control board failures display no LED status lights.
The most catastrophic failure occurs when electric elements operate without water, destroying the 1,400-watt element within 30-60 seconds and requiring complete replacement. Gas system failures typically stem from propane pressure below 11 inches of water column, blocked burner tubes creating yellow flames instead of blue, or faulty gas valves that fail to open despite proper electrical signals. Control board failures manifest as completely dead units with no LED indicators, while thermostat failures either prevent any heating or create dangerously high temperatures above 180°F that trigger high-limit switches and require manual reset procedures.
How Do You Troubleshoot Atwood Water Heater Problems?
Troubleshoot Atwood water heater problems by systematically checking power sources, water supply, gas pressure, and component functionality using the LED diagnostic codes on the control board. Start with visual inspection of the exterior vent for obstructions, check the interior control panel for error codes, then test each subsystem individually to isolate the failure point.
Begin troubleshooting by verifying 12V DC power to the control board – measure 10.5-13.5 volts at the board terminals with a multimeter. For gas failures, check propane pressure at the water heater using a manometer – you need 11 inches of water column minimum, and test the gas valve solenoid for 9-12 ohms resistance. Electric element testing requires disconnecting power, removing the element, and checking resistance between 8-12 ohms – infinite resistance indicates burnout. Control board diagnosis involves counting LED flashes: 1 flash indicates gas valve failure, 2 flashes show ignition failure, 3 flashes signal high-limit switch activation, and continuous flashing indicates control board replacement is needed.
Which Atwood Water Heater Model Should You Choose?
Choose Atwood water heater models based on your RV’s capacity, power availability, and usage patterns: the G6A-8E provides 6 gallons with gas/electric combo for couples, the GC10A-4E offers 10 gallons for families, and the XT models provide 10-gallon capacity in 6-gallon space through mixing valve technology. Match your selection to available propane capacity, electrical service, and physical cutout dimensions in your RV.
The G6A-8E suits smaller RVs and couples using 20-30 pounds of propane monthly, featuring 8,800 BTU gas input and 1,400-watt electric element with 7.4 gallons per hour recovery rate. Family RVs benefit from the GC10A-4E’s 10-gallon capacity providing 9.6 gallons per hour recovery with the same power inputs but extended shower duration. XT models like the GCH10A-2E use Exothermal technology to deliver 10-gallon performance in standard 6-gallon cutouts through intelligent mixing, ideal for RVs with limited installation space but requiring professional installation due to complex plumbing requirements.
How Much Does Replacing an Atwood Water Heater Cost?
Replacing an Atwood water heater costs $400-1,200 for DIY installation including the unit, or $800-2,000 with professional installation depending on model, accessibility, and regional labor rates. The water heater itself ranges from $350 for basic 6-gallon gas models to $950 for high-efficiency 10-gallon gas/electric units with advanced features.
DIY replacement requires purchasing the water heater ($350-950), basic plumbing supplies ($25-75), gas line fittings ($15-45), electrical components ($20-60), and sealants ($10-25) for total material costs of $420-1,155. Professional installation adds $400-1,200 in labor depending on accessibility – units behind finished walls or requiring propane system modifications cost more. Regional variations show California installations averaging $1,800 total, Texas averaging $1,200, and Midwest states around $1,000. Extended warranties add $75-150 for 2-3 year coverage, while high-efficiency models provide $50-100 annual propane savings that recover the additional $200-300 investment within 2-4 years of regular use.
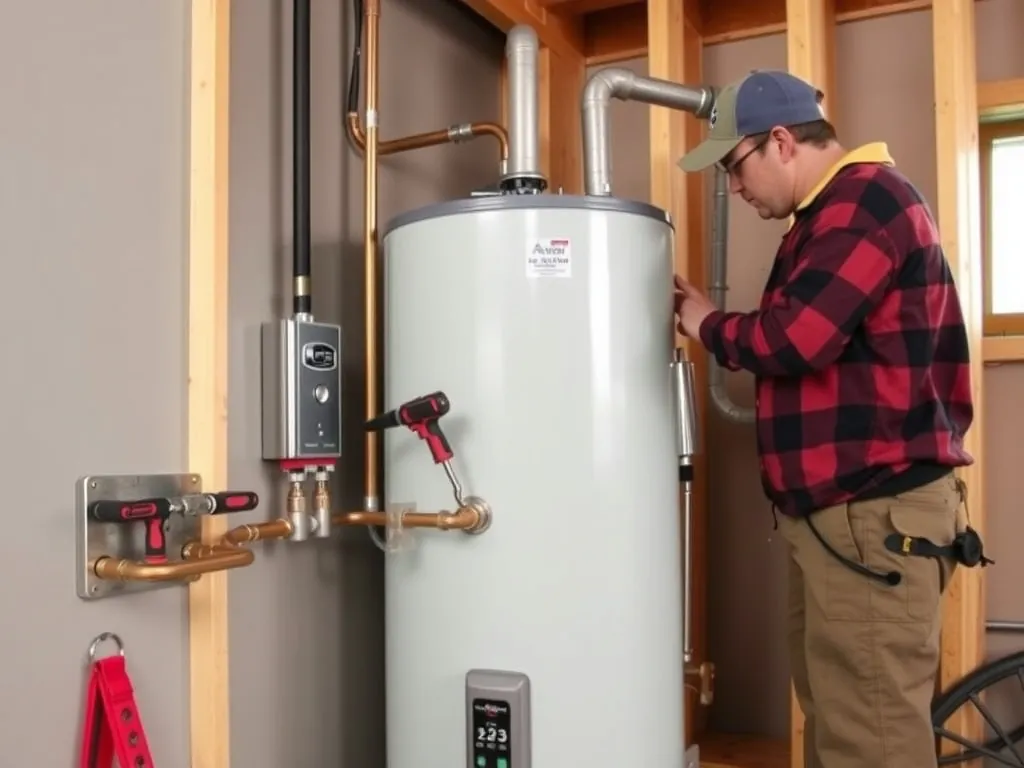
How Do You Replace an Atwood Water Heater Step-by-Step?
Replace an Atwood water heater by first disconnecting all utilities, draining the tank, removing exterior mounting screws, sliding the unit out, then reversing the process with the new heater while ensuring proper sealing and connections. The process typically requires 2-4 hours for experienced DIYers or 1-2 hours for professionals with proper tools and access.
Step 1: Disconnect Utilities and Prepare Work Area
Turn off the RV’s propane supply at the tank valve, disconnect shore power, and switch off the water pump. Open all hot water taps to relieve pressure, then remove the pressure relief valve to drain the tank completely – this prevents 60-80 pounds of water weight and potential water damage during removal.
Step 2: Remove the Old Water Heater
Access the exterior water heater door and remove the perimeter mounting screws – typically 12-16 screws around the flange. From inside the RV, disconnect the propane line using two wrenches to prevent fitting damage, then disconnect the 12V DC power wires noting polarity for reconnection. Remove the water lines using channel locks – hot outlet is usually marked with red tape, cold inlet with blue.
Step 3: Prepare the New Unit for Installation
Inspect the new Atwood water heater for shipping damage, then install the included door frame seal using butyl tape around the perimeter. Apply pipe thread sealant to the 1/2-inch NPT water fittings, tightening to 15-20 foot-pounds torque, and install the pressure relief valve with Teflon tape on threads.
Step 4: Install the New Water Heater
Slide the new unit into the opening carefully to avoid damaging the seal, ensuring the door frame sits flush against the RV exterior. Secure with the provided screws using a power drill with low torque setting – over-tightening can crack the aluminum flange or damage the seal.
Step 5: Reconnect All Utilities
Reconnect water lines ensuring hot and cold are properly oriented, then reconnect the propane line using new pipe thread sealant. Test gas connections with leak detection solution – bubbles indicate leaks requiring immediate repair. Reconnect 12V DC power observing proper polarity, typically red to positive, white to negative.
Step 6: Test Operation and Check for Leaks
Fill the tank completely until water flows steadily from hot taps, then test gas operation first – you should hear ignition clicking followed by burner ignition within 15-30 seconds. Test electric operation by connecting to shore power and switching the electric element on. Check all connections for water leaks under pressure and gas leaks with detection solution during operation.
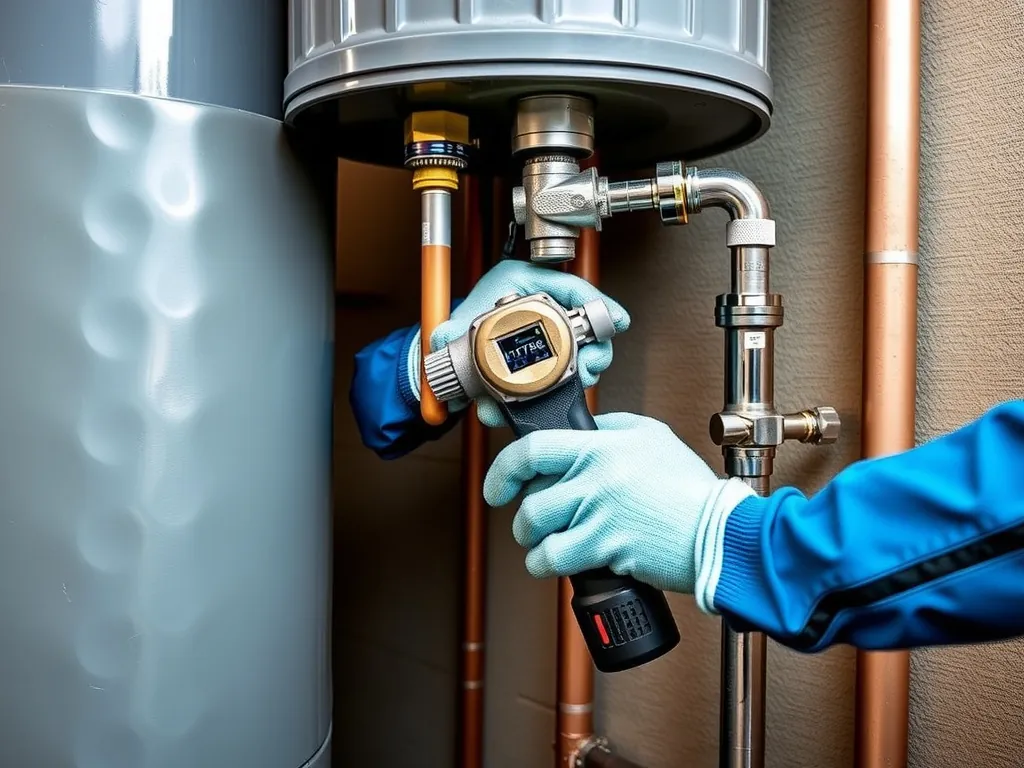
What Maintenance Does an Atwood Water Heater Require?
Atwood water heaters require annual tank flushing, pressure relief valve testing, burner cleaning, and seal inspection to maintain optimal performance and prevent failures. The aluminum tank eliminates anode rod replacement but requires regular descaling in hard water areas, while propane burners need annual cleaning to prevent inefficient combustion and carbon monoxide production.
Flush the tank every 6-12 months by removing the drain plug and using a tank flushing wand to remove sediment buildup – hard water areas require 3-6 month intervals. Test the pressure relief valve by lifting the lever until water flows, then releasing to ensure proper resealing – replace if leaking continues. Clean the propane burner tube annually using compressed air to remove spider webs and debris that cause yellow flames and 30-40% efficiency loss. Inspect the exterior door seal for cracks or gaps that allow water intrusion, replacing butyl tape sealant every 3-5 years or immediately if deterioration is visible.
How Do You Winterize an Atwood Water Heater?
Winterize an Atwood water heater by completely draining the tank, blowing out water lines with compressed air, adding RV antifreeze to the system, and ensuring the bypass valve is properly positioned to prevent antifreeze contamination. The aluminum tank construction prevents rust but requires complete water removal to avoid freeze damage that can crack the tank or fittings at temperatures below 32°F.
Begin winterization by turning off the water heater and allowing it to cool completely, then drain the tank using the exterior drain plug – remove completely for complete drainage. Set the water heater bypass valve to bypass position to prevent antifreeze from entering the tank, saving 6-10 gallons of antifreeze. Connect an air compressor set to 30 PSI maximum to the city water inlet and blow out each faucet individually until only air flows – excessive pressure can damage fittings. Add RV-rated propylene glycol antifreeze to the system through the water pump inlet, running each faucet until pink antifreeze flows steadily. Finally, remove the pressure relief valve briefly to ensure complete tank drainage, then replace it hand-tight to prevent insect intrusion during storage.
What Problems Might You Encounter with Atwood Water Heaters?
Common Atwood water heater problems include failure to ignite on gas, electric element burnout, water leaks from fittings, control board failures, and excessive noise during operation. Each issue presents distinct symptoms requiring specific diagnostic approaches and repair procedures that vary in complexity from simple adjustments to complete component replacement.
Gas ignition failures produce continuous clicking sounds without burner ignition, typically caused by propane pressure below 11 inches water column, blocked burner tubes, or faulty igniters positioned 3/16-inch from the burner. Electric element failures trip circuit breakers immediately upon activation, requiring element replacement costing $45-85 for parts plus 1-2 hours labor. Water leaks commonly occur at the 1/2-inch NPT fittings due to thermal cycling, requiring resealing with pipe thread compound and proper torque of 15-20 foot-pounds. Control board failures eliminate all operation with no LED indicators, requiring replacement at $150-250 for the board plus programming. Excessive rumbling or popping noises indicate scale buildup requiring tank flushing and descaling treatment, particularly in areas with water hardness exceeding 7 grains per gallon.
FAQ
#### Why does my Atwood water heater keep shutting off during operation?
Your Atwood water heater shuts off due to high-limit switch activation from overheating above 180°F, typically caused by faulty thermostats, scale buildup insulating the tank bottom, or blocked exhaust vents restricting heat dissipation. Check the pressure relief valve for proper operation, ensure the burner flame is blue with minimal yellow tipping, and verify the thermostat settings haven’t drifted above 140°F. Replace the thermostat if the water temperature exceeds 140°F at the tap, and descale the tank if rumbling sounds accompany the shutdowns.
#### How long should an Atwood water heater last in regular RV use?
Atwood water heaters typically last 10-12 years with proper maintenance, though aluminum tanks can exceed 15 years in soft water conditions with annual flushing and winterization. The electric elements require replacement every 8-10 years, gas valves last 12-15 years, and control boards average 10-year lifespans. Hard water reduces tank life by 30-40%, while continuous full-timing use may shorten lifespan to 8-10 years due to constant thermal cycling.
#### Can I install an Atwood water heater myself or do I need a professional?
You can install an Atwood water heater yourself if you have basic plumbing and electrical skills, proper tools, and understand propane safety procedures – the process typically takes 2-4 hours for DIYers versus 1-2 hours for professionals. However, hire a certified RV technician if your RV requires propane system modifications, electrical upgrades beyond simple connections, or if you’re uncomfortable working with gas lines that require leak testing with manometers and detection solutions.
#### What size generator do
#### Why does my Atwood water heater make rumbling or popping noises?
Rumbling and popping noises indicate scale buildup on the tank bottom, creating steam bubbles under mineral deposits that collapse violently during heating cycles. This occurs primarily in hard water areas exceeding 7 grains per gallon hardness and reduces heating efficiency by 15-25%. Flush the tank with vinegar solution or commercial descaler, using a tank flushing wand to break loose deposits, then establish a 3-6 month flushing schedule in hard water areas.
#### How do I properly adjust the temperature on my Atwood water heater?
Adjust Atwood water heater temperature by accessing the thermostat behind the exterior access panel, locating the slotted adjustment screw on the ECO/thermostat assembly, and turning clockwise to increase or counterclockwise to decrease temperature. Set to 120-125°F for energy efficiency and scald prevention, testing water temperature at the tap after 24 hours for stabilization. Never exceed 140°F as this activates the high-limit switch and creates scalding hazards, particularly dangerous for children and elderly users.
#### What should I do if my Atwood water heater is leaking from the pressure relief valve?
Pressure relief valve leaking indicates excessive water pressure above 150 PSI, temperature exceeding 210°F, or valve seat deterioration requiring immediate attention. First, check water pressure with a gauge – RV pressure regulators should maintain 45-65 PSI, and replace if exceeding 80 PSI. Test water temperature at the tap; if above 140°F, replace the thermostat immediately. If pressure and temperature are normal, replace the relief valve at $15-25 for the part, ensuring the new valve matches the 150 PSI/210°F rating.
#### Can I replace just the electric element or do
#### How do I know if my RV’s water heater bypass valve is set correctly?
Verify water heater bypass valve operation by checking that the valve handle parallels the water line for normal operation and perpendicular for bypass mode during winterization. In normal mode, water flows through the heater tank; in bypass mode, water diverts around the tank. Test by opening hot water taps – no water flow in bypass mode confirms proper valve function, while continuous flow indicates valve failure requiring replacement to prevent antifreeze contamination during winterization.
#### What’s the difference between Atwood’s standard and XT series water heaters?
Atwood XT series water heaters provide 10-gallon capacity performance in standard 6-gallon cutouts through Exothermal technology that mixes superheated water with cold water at 2.6:1 ratio, extending shower duration by 55% compared to standard models. XT units cost $150-200 more but eliminate need for larger cutout modifications costing $300-500. Standard models maintain simplicity with direct replacement compatibility, while XT units require specific mixing valve installation and professional setup for optimal performance.
Conclusion
Atwood water heaters provide reliable hot water for RV and marine applications through lightweight aluminum construction and flexible gas/electric operation. Understanding proper operation, regular maintenance, and systematic troubleshooting prevents 80% of common failures and extends service life to 12-15 years. Key maintenance includes annual tank flushing, burner cleaning, seal inspection, and proper winterization using bypass valves to prevent freeze damage.
When replacement becomes necessary, match your selection to usage patterns – couples benefit from 6-gallon models while families require 10-gallon capacity or XT technology for extended shower duration. Professional installation costs $400-1,200 but ensures proper gas connections and leak testing, while DIY replacement saves 50% but requires propane safety knowledge. Following this comprehensive guide optimizes performance, minimizes failures, and maximizes your investment in reliable hot water for mobile adventures.
—