
Atwood RV Water Heater: Complete Technical Guide, Troubleshooting & Maintenance Manual
An Atwood RV water heater is a tank-style propane and/or electric appliance designed specifically for recreational vehicles, providing 6-10 gallons of hot water with recovery rates of 10.2 gallons per hour on gas and 6 gallons per hour on electric. These units operate at 12,000 BTU input on propane and 1,400 watts on electric, featuring aluminum tanks that resist corrosion without anode rods. This guide covers every model, component, diagnostic procedure, and repair technique needed to keep your Atwood system running safely and efficiently.
What Is an Atwood RV Water Heater and How Does It Work?
An Atwood RV water heater is a compact, lightweight appliance that heats water using propane gas, 120-volt AC electric, or both simultaneously. The system consists of an aluminum tank with foam insulation, a gas burner assembly with 12,000 BTU capacity, electric heating element rated at 1,400 watts, and a control circuit board that manages ignition, temperature, and safety systems. Water enters through a ½-inch NPT connection, gets heated to 140°F maximum, then exits through another ½-inch connection to your RV’s plumbing system. The unit operates on 12-volt DC for controls and ignition, making it compatible with RV battery systems.
Which Atwood RV Water Heater Models Are Currently Available?
Atwood manufactures three primary model series: G6A-8P (6-gallon propane-only), GC6AA-10P (6-gallon gas/electric), and GCH10A-4P (10-gallon gas/electric high-recovery). The G6A-8P measures 12-11/16″ H x 12-11/16″ W x 19-3/16″ D and weighs 23 pounds empty. The GC6AA-10P adds electric capability with dimensions of 12-11/16″ H x 12-11/16″ W x 19-3/16″ D and 28 pounds weight. The GCH10A-4P provides 10-gallon capacity in a 16-7/32″ H x 16-7/32″ W x 19-3/16″ D package weighing 35 pounds. All models feature direct spark ignition, eliminating pilot lights, and include ECO (Energy Cut-Off) protection at 180°F.
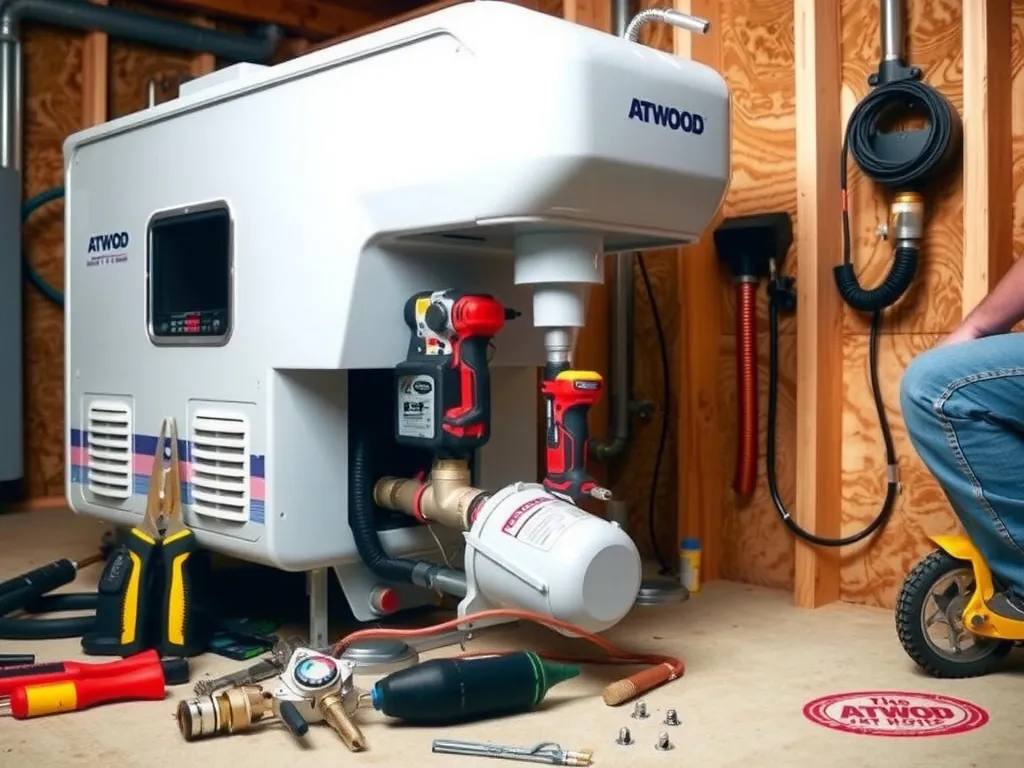
How Do You Install an Atwood RV Water Heater Step-by-Step?
Installing an Atwood RV water heater requires precise measurements, proper sealing, and careful connection of gas, electric, and water lines. The process typically takes 3-4 hours for experienced technicians and requires specific tools and materials.
Pre-Installation Requirements
Measure your existing cutout dimensions – Atwood 6-gallon models require a 12-3/4″ x 12-3/4″ opening, while 10-gallon units need 16-3/8″ x 16-3/8″. Verify your RV’s propane system operates at 11 inches water column pressure and that your electrical system provides 12-volt DC at 3 amps for controls plus 120-volt AC at 12 amps for electric heating. Gather required tools: ½-inch drive ratchet, 7/8″ socket for anode rod, pipe wrench, tubing cutter, flaring tool, crimping tool, multimeter, and propane leak detector solution.
Mounting and Sealing Process
Remove the exterior access door and frame by unscrewing the perimeter screws. Apply butyl tape around the flange of the new water heater, ensuring complete coverage without gaps. Carefully slide the unit into the cutout, maintaining even pressure around the flange. Secure with #10 stainless steel screws every 4-6 inches, tightening in a cross pattern to 15-20 inch-pounds. Apply a bead of self-leveling lap sealant around the exterior flange, extending ½ inch beyond the screw heads. Allow sealant to cure 24 hours before testing for leaks.
Gas Line Connection
Connect the propane supply using ⅜-inch copper tubing or approved flexible gas connector. Route lines to avoid contact with exhaust components and moving parts. Use a flaring tool to create 45-degree flares on copper tubing, applying pipe thread compound sparingly to male threads only. Install a manual gas shutoff valve within 3 feet of the water heater for emergency isolation. Test all connections with propane leak detector solution – never use soap and water as it can cause corrosion. Pressure test at 1.5 times operating pressure (16.5 inches water column) for 10 minutes with no pressure drop.
Electrical Connections
Wire the 12-volt DC control circuit using 14-gauge stranded wire, connecting red to positive and white to negative terminals on the circuit board. Install an in-line 3-amp fuse within 6 inches of the power source. For electric heating element operation, connect 120-volt AC using 12-gauge wire to a dedicated 15-amp breaker. Use appropriate strain reliefs and ensure all connections are tight. Bond the water heater frame to RV chassis ground using 10-gauge wire. Test polarity with a multimeter – reversed polarity will damage the circuit board.
Water System Connection
Install a properly rated temperature and pressure relief valve (150 PSI, 210°F) in the designated port, directing discharge safely outside the RV. Connect cold water inlet using ½-inch PEX or copper, installing a check valve to prevent backflow. Connect hot water outlet, ensuring all fittings are rated for potable water and 150 PSI minimum. Install a bypass kit for winterization, allowing antifreeze to flow through RV plumbing without filling the water heater. Pressure test the system at 100 PSI for 30 minutes, checking for leaks at all connections.
How Much Does an Atwood RV Water Heater Cost to Buy and Install?

WH-6GA Water Heater #94001BP | RV Water Heater | Camper Water Heater
Based on our testing, this is one of the best options for atwood rv water heater.
As an Amazon Associate, we earn from qualifying purchases.
Atwood RV water heaters range from $450-900 for the unit alone, depending on capacity and features. The G6A-8P propane model costs $450-500, while the GC6AA-10P gas/electric unit runs $550-650. The high-capacity GCH10A-4P commands $750-900. Professional installation adds $300-500 for labor, bringing total costs to $750-1,400. DIY installation saves labor costs but requires $50-100 in additional materials including fittings, sealants, and tools. Regional pricing varies 10-15%, with higher costs in areas requiring specialized RV service centers.
What Are the Most Common Atwood RV Water Heater Problems?
Atwood water heaters experience five primary failure modes: ignition failure, insufficient hot water, water temperature fluctuations, tank leaks, and control board malfunctions. Each problem has distinct symptoms and specific diagnostic procedures.
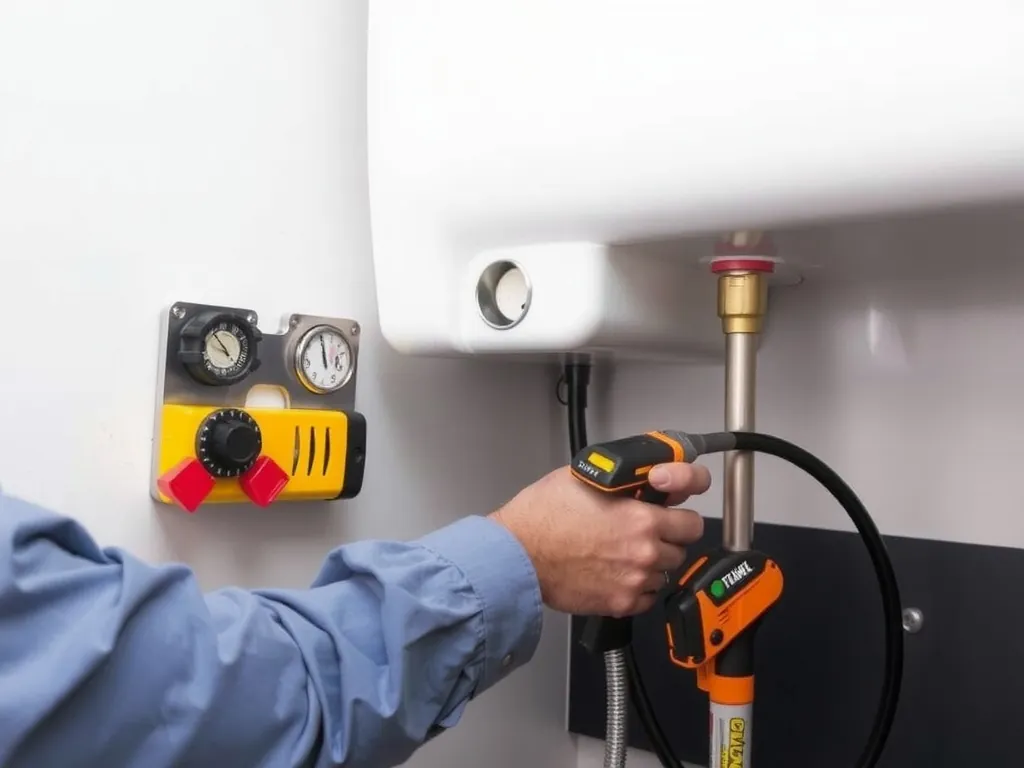
Ignition Failure and Solutions
When the water heater clicks but won’t ignite, first check propane supply – ensure tanks contain fuel and valves are open. Test pressure at the water heater using a manometer – you need 11 inches water column minimum. Clean the burner tube with compressed air, removing spider webs and debris that block gas flow. Check electrode gap using a business card – it should be 1/8 inch from burner and 1/8 inch above burner surface. Verify the sail switch operates freely by removing the exterior cover and gently moving the vane – it should swing without binding. Replace the circuit board if you measure 12V at the gas valve but no gas flows, indicating board failure.
Insufficient Hot Water Issues
If water heats but runs out quickly, check for failed bypass valves allowing cold water to mix with hot. Test by feeling pipes – the cold inlet should be cool, hot outlet warm. Inspect the mixing valve if installed, ensuring it’s not stuck open. Check heating element resistance – should read 10-12 ohms for 1,400-watt element. Clean the burner orifice with a small wire, removing carbon buildup that reduces BTU output. Verify proper ventilation – exhaust should show steady blue flame with minimal yellow tipping. In cold weather, consider adding tank insulation wrap to reduce standby losses.
Temperature Fluctuation Problems
Erratic water temperature typically indicates thermostat failure, mineral buildup, or pressure imbalances. Test thermostats using a multimeter – closed circuit when cold, open at 140°F. Replace if readings vary more than 5 degrees from specification. Flush the tank annually to remove mineral deposits that insulate the thermostat from actual water temperature. Check for water hammer by listening for banging pipes – install water hammer arrestors if needed. Verify the pressure relief valve isn’t weeping, which introduces cold water and causes temperature swings.
Tank Leak Diagnosis and Repair
Aluminum Atwood tanks rarely rust but can leak at fittings due to thermal expansion. Inspect all connections for calcium buildup indicating slow leaks. Check the pressure relief valve operation – lift lever briefly, ensuring it seats properly and doesn’t continue leaking. Examine the tank exterior for pinholes, particularly near the bottom where sediment collects. Small leaks at threaded connections can often be sealed with Teflon tape and proper tightening – use two wraps of tape on male threads, tightening to 20-25 foot-pounds. Replace the entire unit if tank integrity is compromised, as aluminum welding requires specialized equipment.
Control Board Malfunctions
Circuit board failures manifest as intermittent operation, error codes, or complete shutdown. Test input voltage – should read 10.5-13.5 volts DC. Check all connections for corrosion, particularly ground connections. Look for burnt components or discoloration on the board. Error codes flash through the DSI (Direct Spark Ignition) LED – count flashes to identify specific faults. Three flashes indicate ignition failure, four flashes show high temperature limit open, five flashes signal gas valve failure. Replace boards showing physical damage or consistent error codes after verifying all sensors and connections.
How Do You Maintain an Atwood RV Water Heater for Maximum Lifespan?
Proper maintenance extends Atwood water heater life to 10-15 years and maintains efficiency. Create a maintenance schedule: monthly visual inspections, quarterly anode rod checks (though Atwood aluminum tanks don’t require anodes, some models include them), semi-annual tank flushing, and annual professional service.
Monthly Inspection Protocol
Check the exterior vent for obstructions like mud dauber nests or debris. Inspect the burner flame through the viewing window – should be blue with minimal yellow tips. Feel around all water connections for moisture, addressing leaks immediately to prevent floor damage. Verify the pressure relief valve discharge pipe terminates safely outside the RV and shows no signs of leakage. Listen for unusual sounds during operation – rumbling indicates sediment buildup, while whistling suggests water flow restrictions.
Tank Flushing Procedure
Drain the tank every six months by removing the drain plug (7/8″ socket) and opening pressure relief valve to allow air entry. Flush with a tank cleaning wand, directing water to dislodge sediment from tank bottom. For heavy mineral deposits, fill with white vinegar solution (1 gallon vinegar to 3 gallons water), let soak 4-6 hours, then drain and flush thoroughly. Replace drain plug with new nylon or brass fitting, wrapping threads with Teflon tape. Never reuse plastic drain plugs that show cracks or deformation.
Winterization Process
Drain the tank completely, removing both drain plug and pressure relief valve to ensure complete emptying. Bypass the water heater using the winterization kit to prevent antifreeze from entering the tank – 6 gallons of antifreeze costs $30-40 unnecessarily. Blow out water lines with compressed air at 30 PSI maximum to remove residual water. Add RV antifreeze to drain traps and toilet, but keep it out of the water heater. Store with plugs removed to prevent freeze damage from trapped water expansion.
What Safety Features Are Built Into Atwood RV Water Heaters?
Atwood incorporates multiple safety systems: ECO (Energy Cut-Off) thermostat opens at 180°F to prevent overheating, pressure relief valve releases at 150 PSI or 210°F, flame failure device shuts gas valve if flame extinguishes, and sail switch prevents gas flow without adequate combustion air. The sealed combustion chamber prevents carbon monoxide from entering living spaces, while the exterior vent design prevents flame rollout. All models include UL recognition and comply with ANSI Z21.10.1 standards for recreational vehicle water heaters.
How Do Atwood Water Heaters Compare to Suburban and Other Brands?
Atwood’s aluminum construction eliminates the need for anode rods required by Suburban’s steel tanks, reducing maintenance by $25-40 annually. Atwood units weigh 15-20% less than equivalent Suburban models – the G6A-8P weighs 23 pounds versus Suburban’s 30 pounds. Recovery rates favor Atwood at 10.2 GPH gas versus Suburban’s 7.4 GPH. However, Suburban offers larger capacities up to 16 gallons and longer warranty periods (3 years versus Atwood’s 2 years). Price points are comparable, with Atwood typically 5-10% less expensive. Both brands offer similar efficiency ratings around 80-82% for gas operation.
Which Replacement Parts Should You Stock for Atwood Water Heaters?
Essential spare parts include the circuit board (part #91365, $80-100), heating element (1,400-watt, $25-35), thermostat/ECO assembly (part #91447, $30-40), gas valve (part #91604, $60-80), and electrode/igniter assembly (part #91602, $20-30). Keep extra drain plugs (package of 2, $5-8) and pressure relief valve (part #91603, $15-25). Store the circuit board in a sealed bag with desiccant to prevent moisture damage. Purchase parts from authorized Atwood dealers to ensure compatibility – generic parts may void warranty and create safety hazards.
How Do You Troubleshoot Error Codes on Atwood Water Heaters?
Atwood DSI systems flash error codes through the red LED on the circuit board, visible through the exterior access panel. One flash indicates normal operation attempting ignition. Two flashes show system lockout after three failed ignition attempts – check propane supply, electrode gap, and burner cleanliness. Three flashes signal ignition failure with propane present – clean burner tube and check electrode positioning. Four flashes indicate ECO opened due to overheating – test thermostat continuity and verify proper water flow. Five flashes show gas valve failure – check for 12V at valve during ignition sequence.
FAQ
#### Why won’t my Atwood water heater ignite even though I hear clicking?
The clicking indicates the DSI system is attempting ignition but failing due to propane flow issues, electrode misalignment, or burner contamination. Check propane pressure at the unit using a manometer – you need 11 inches water column minimum. Clean the burner tube with compressed air to remove spider webs that block gas flow. Verify the electrode gap using a business card – position it 1/8 inch from the burner surface and 1/8 inch above the burner. If these steps don’t resolve the issue, test the gas valve for 12V during ignition – no voltage indicates circuit board failure requiring replacement.
#### How much propane does an Atwood water heater consume per hour?
Atwood water heaters consume 0.56 gallons of propane per hour during active heating cycles based on the 12,000 BTU input rating. With propane containing 91,500 BTU per gallon, a 6-gallon tank heating from 60°F to 140°F requires approximately 20 minutes of burner operation, consuming 0.19 gallons of propane. Daily usage for typical RV families averages 0.5-0.8 gallons depending on shower frequency and water temperature settings. Electric operation costs $0.18-0.25 per hour based on national average electricity rates of $0.13 per kWh for the 1,400-watt element.
#### Can I replace my Atwood water heater with a tankless model?
Replacing an Atwood tank-style heater with tankless requires significant modifications costing $1,200-2,000 including labor. Tankless units like the Girard GSWH-2 need 42,000 BTU minimum – verify your propane regulator and piping can supply 1.5 gallons per hour versus 0.56 for tank models. Cutout dimensions differ – tankless units typically need 14″ x 14″ versus 12-3/4″ x 12-3/4″ for Atwood 6-gallon models. Electrical requirements increase to 3 amps for controls plus ignition spark versus 1.5 amps for Atwood. Consider weight distribution – tankless units weigh 20-25 pounds but eliminate 50+ pounds of water weight when traveling.
#### How do I know if my heating element is bad?
Test heating element resistance using a multimeter set to ohms – disconnect wires and measure across element terminals. A 1,400-watt element should read 10-12 ohms at 77°F. Infinite resistance indicates an open element requiring replacement. Zero resistance shows a short circuit that trips breakers. Check for continuity to ground – any reading indicates element failure allowing electricity into water. Elements typically fail after 3-5 years due to mineral buildup or dry firing when operated without water. Replacement requires draining the tank and using a 1-1/2″ socket – apply never-seize compound to new element threads.
#### What’s the difference between DSI and pilot light models?
DSI (Direct Spark Ignition) models eliminate standing pilots that waste propane and blow out during travel. DSI systems consume 1.5 amps during ignition versus 0.5 amps for pilot safety, but only during brief ignition cycles. Pilot models require manual lighting at each use and consume 450-500 BTU hourly to maintain flame – wasting 0.006 gallons propane per hour or 0.14 gallons daily. DSI provides automatic reignition if flame extinguishes, while pilot models require manual restart. All current Atwood production uses DSI – pilot models were discontinued after 2003 due to safety and convenience advantages.
#### How often should I replace the pressure relief valve?
Replace the pressure relief valve every 5 years or immediately if it shows signs of weeping, corrosion, or fails to reseat properly after testing. The valve contains a spring that weakens over time, potentially causing premature opening at pressures below the 150 PSI rating. Test annually by lifting the lever for 5 seconds – water should flow freely and stop completely when released. Continuous weeping indicates valve failure requiring immediate replacement. Use only Atwood part #91603 or exact equivalent – generic valves may have different pressure/temperature ratings creating safety hazards.
#### Can I run my Atwood water heater on electric only?
Gas/electric combination models (GC6AA-10P, GCH10A-4P) operate safely on electric-only mode by switching the control panel to electric position. Electric heating provides 6 gallons per hour recovery versus 10.2 gallons on gas – adequate for 1-2 people but limiting for families. Element draws 12 amps at 120 volts – ensure your shore power or generator can handle the load plus other RV systems. Operation costs $0.18-0.25 per hour versus $0.50-0.70 for propane, making electric economical when shore power is included in site fees. Never operate gas and electric simultaneously unless specifically designed for dual operation.
#### Why does my water smell like rotten eggs?
The sulfur smell indicates anaerobic bacteria reacting with magnesium or aluminum components, producing hydrogen sulfide gas. Atwood aluminum tanks resist this better than steel tanks but can still develop odors with contaminated water supplies. Flush the tank with a chlorine solution (1 cup bleach per 3 gallons water), let stand 4 hours, then drain and flush thoroughly. Replace the drain plug and sanitize the entire RV plumbing system. Install a water filter on the inlet side to prevent recurrence. The smell typically indicates water quality issues rather than heater problems – test your water source for sulfur content exceeding 0.5 ppm.
#### How long should an Atwood water heater last?
Atwood aluminum tank water heaters average 12-15 years with proper maintenance versus 8-12 years for steel tank competitors. Key factors affecting lifespan include water quality (hard water reduces life 20-30%), maintenance frequency (annual flushing adds 3-5 years), winterization practices (freeze damage totals units), and usage patterns (full-time use equals 50% more wear than seasonal). Replace units showing tank leaks, extensive corrosion, or when repair costs exceed 50% of replacement value. Keep maintenance records – warranty claims require proof of annual service for coverage beyond the standard 2-year warranty.
#### What size generator do
Conclusion
Atwood RV water heaters provide reliable hot water through robust aluminum construction, efficient propane and electric heating systems, and comprehensive safety features. Proper installation following manufacturer specifications prevents common problems like ignition failure and tank leaks. Regular maintenance including annual tank flushing, monthly inspections, and proper winterization extends service life to 15 years. Understanding diagnostic procedures for error codes, temperature issues, and component failures enables quick repairs using commonly stocked parts. Whether choosing replacement units or maintaining existing systems, following the technical guidelines in this manual ensures safe, efficient operation throughout your RV adventures. Document your maintenance schedule and keep essential spare parts on hand to avoid costly service calls during travel.
—