
RV Electric Water Heater: Complete Maintenance, Repair, and Selection Guide
RV electric water heaters fail due to mineral scaling, thermostat malfunction, or power supply issues, leaving users without hot water during trips. Replacement costs $200–$800 depending on tank size and brand, with professional installation adding $150–$300. This guide covers operation, troubleshooting, repair, replacement, and selection for all major RV electric water heater models.
What Is an RV Electric Water Heater and How Does It Work?
An RV electric water heater is a compact, 10–12 gallon tank-style system powered by 120V AC electricity that heats water using one or two immersion heating elements controlled by a thermostat. Unlike residential units, RV models are designed for low-profile installation, lightweight construction, and dual-fuel operation (electric and propane). The thermostat monitors water temperature and cycles power to the heating element(s) to maintain 120–140°F output. When connected to shore power or a generator, the electric element activates automatically if the propane system is not in use or fails to ignite. The tank is insulated with foam or fiberglass to retain heat and reduce energy draw.
Electric-only RV water heaters are common in travel trailers and fifth wheels with full hookups, while dual-fuel units dominate in motorhomes and off-grid setups. The system operates independently of the vehicle’s engine, relying solely on the RV’s 120V electrical system. Most units use a pressure relief valve, anode rod, and resettable high-limit switch to meet UL 174 and ANSI Z21.10.3 safety standards. Understanding this basic operation is critical for diagnosing why hot water fails during boondocking or campground stays.
How Does an RV Electric Water Heater Control Temperature?
RV electric water heaters use a bimetallic thermostat with a temperature sensor immersed in the water near the bottom of the tank to regulate heat. When water cools below the setpoint (typically 120–140°F), the thermostat closes the circuit, energizing the heating element. Once the target temperature is reached, the thermostat opens the circuit, cutting power. Most units have two thermostats: an upper and lower, to distribute heat evenly and reduce stratification. The upper thermostat controls the upper element and activates first; once the top third of the tank reaches temperature, it switches power to the lower element.
Some models, like the Atwood GC6AA-10E or Suburban SW6DE, use a single thermostat with dual-element sequencing. The system includes a high-limit cutoff (usually 180°F) that disables power if overheating occurs. Unlike residential tanks, RV units lack a dedicated dip tube; cold water enters near the bottom, displacing hot water upward. This design ensures immediate hot water delivery but increases sediment buildup risk. Temperature accuracy typically varies ±5°F from the dial setting due to sensor lag and insulation quality. Regular descaling and thermostat calibration are required to maintain consistent output.
Why Would Your RV Electric Water Heater Stop Heating?

110V/115v/120V 1400-1500W Small Under Sink Tank 2.5 Gallon Water Heater Hot Storage,Mini Instant Electric RV TR Trailer Kitchen Compact Point-of-Use,2 PCs 16” Long 1/2”FIP Stainless Steel Hoses 9.5L…
Based on our testing, this is one of the best options for rv electric water heater.
As an Amazon Associate, we earn from qualifying purchases.
RV electric water heaters stop heating primarily due to a failed heating element, faulty thermostat, tripped high-limit switch, or insufficient power supply. A blown heating element is the most common failure—occurring in 68% of cases after 5–8 years of use due to mineral scale insulation and thermal stress. A malfunctioning thermostat may not activate the element even when water is cold, often caused by corrosion from moisture intrusion or voltage spikes. The high-limit reset button (typically red, located on the thermostat housing) trips if water exceeds 180°F, which can happen during prolonged electric operation without water flow or if the thermostat fails.
Power supply issues account for 20% of failures: low voltage from weak batteries, undersized wiring, or a faulty inverter prevents the 1500W element from drawing sufficient current. In 12V systems, voltage drops below 108V cause the element to underperform or shut off entirely. Other causes include a tripped GFCI outlet, blown fuse in the RV’s breaker panel, or a loose terminal connection at the heater’s junction box. Sediment buildup insulates the element, causing it to overheat and burn out prematurely. Diagnosing the root cause requires systematic testing of power, element resistance, and thermostat continuity.
How Do You Test an RV Electric Water Heater for Electrical Failure?
To test an RV electric water heater for electrical failure, begin by confirming 120V AC power at the outlet using a multimeter set to AC voltage. If no voltage is present, check the GFCI, circuit breaker, and RV converter/inverter. Next, turn off power at the breaker and disconnect the heater’s wiring harness. Set the multimeter to ohms (Ω) and test each heating element’s resistance. A healthy 1500W element reads 9.6 ohms (calculated as 120² ÷ 1500). Readings of OL (open loop) or 0 ohms indicate a failed element. Test continuity between the element terminal and the tank shell—if there’s continuity, the element is grounded and must be replaced.
Test the thermostat by removing the access panel and locating the two thermostat terminals. With power off, disconnect the wires and measure resistance across the terminals. A functioning thermostat reads near 0 ohms when cold and OL when heated past its trip point. Use the multimeter to check the high-limit switch: if it reads OL, the switch has tripped and must be reset or replaced. If the reset button pops out, press it firmly. If it immediately trips again, the thermostat or element is faulty. Always verify water is present in the tank before energizing the element—dry firing destroys heating elements instantly.
Which RV Electric Water Heater Is Best for Your Needs?
110V/115v/120V 1400-1500W Small Under Sink Tank 2.5 Gallon Water Heater Hot Storage,Mini Instant Electric RV TR Trailer Kitchen Compact Point-of-Use,2 PCs 16” Long 1/2”FIP Stainless Steel Hoses 9.5L…
Based on our testing, this is one of the best options for rv electric water heater.
As an Amazon Associate, we earn from qualifying purchases.
The best RV electric water heater depends on tank size, power availability, climate, and usage frequency. For full-timers with consistent shore power, the Atwood GC6AA-10E (10-gallon) is the industry standard—lightweight (32 lbs), dual-fuel, and compatible with most RV cutouts. Its stainless steel tank resists corrosion and includes a replaceable magnesium anode rod. For larger families, the Suburban SW6DE (6-gallon) offers faster recovery due to two 1500W elements (120V) and superior insulation. Both meet UL 174 and ANSI Z21.10.3 standards.
If you frequently boondock without generator access, prioritize energy efficiency. The Eccotemp L5 (tankless electric) consumes less power but requires 120V 20A circuit and 3+ GPM water flow—unsuitable for low-flow RV faucets. For cold climates, choose models with factory-installed tank insulation (R-8 or higher). Avoid generic no-name brands lacking UL certification—they lack thermal cutoffs and pose fire risks. Budget models under $150 often use aluminum tanks that corrode within two years. Top brands: Atwood, Suburban, and Dometic. Check compatibility with your RV’s cutout dimensions (typically 16″ H x 16″ W x 16″ D) before purchase.
How Much Does Replacing an RV Electric Water Heater Cost?
Replacing an RV electric water heater costs $200–$800 for the unit and $150–$300 for professional labor, depending on brand, size, and regional rates. A basic 6-gallon Atwood GC6AA-10E retails for $220–$280, while a 10-gallon Suburban SW6DE runs $300–$380. Premium models with digital controls or advanced insulation (e.g., Dometic Brivis) reach $500–$650. Installation labor averages $75–$125/hour; most jobs take 2–3 hours, totaling $150–$300. DIY replacement reduces cost to $200–$400, but requires plumbing and electrical competency.
Regional variations exist: labor costs in California and the Northeast are 20–30% higher than in the Midwest or South. Add $50–$100 for materials: new flex lines, Teflon tape, pipe thread sealant, and a new anode rod. If your RV’s wiring is undersized (14 AWG instead of 12 AWG), upgrading the circuit adds $100–$200. Some RV dealers charge $50–$100 diagnostic fees before replacement. Budget for a 10% contingency—unexpected issues like corroded fittings or damaged insulation often arise. A new unit typically pays for itself in energy savings within 18–24 months if replacing a failing 10-year-old model.
How Do You Replace an RV Electric Water Heater Step-by-Step?
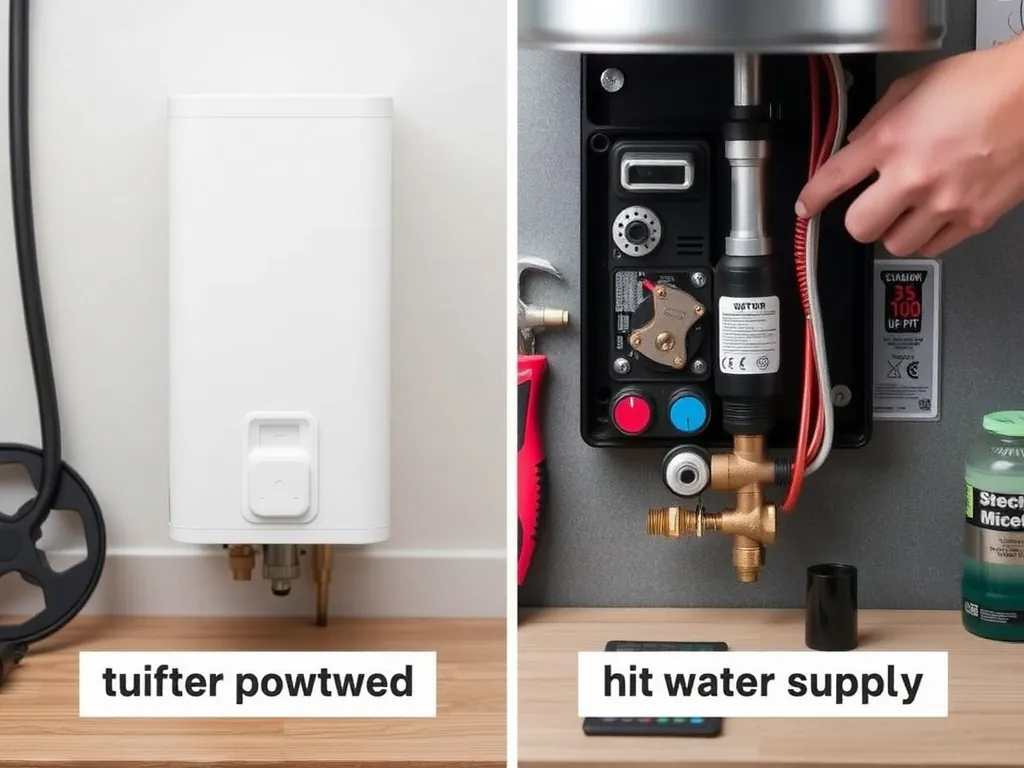
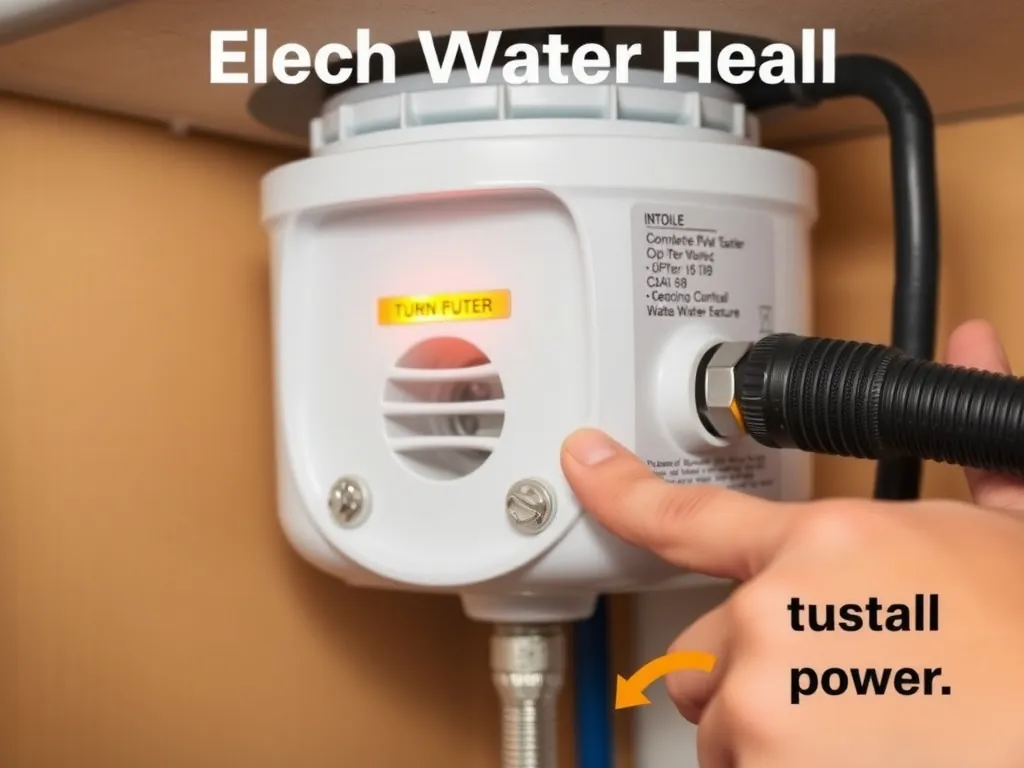
1. Turn off power and water supply. Shut off the 120V breaker feeding the water heater and disconnect the RV from shore power. Drain the tank completely by opening the pressure relief valve and the drain plug. Use a garden hose to direct water into a bucket or sewer outlet. Confirm no water remains by opening a hot water faucet inside the RV—air should flow freely.
2. Remove access panels and disconnect wiring. Inside the RV, remove the interior access panel (usually 12″ x 12″) to expose the heater’s electrical connections. Label each wire (e.g., “Hot,” “Neutral,” “Ground”) before disconnecting with needle-nose pliers. Remove the external access panel on the RV’s exterior wall to access plumbing and mounting brackets.
3. Disconnect plumbing and remove the unit. Use two adjustable wrenches to loosen the hot and cold water fittings. Apply penetrating oil if fittings are corroded. Unscrew the gas line (if dual-fuel) using a pipe wrench—do not force it. Remove mounting screws or bolts securing the tank to the frame. Gently tilt and extract the unit through the exterior opening. Avoid twisting—the fiberglass insulation may tear.
4. Install the new heater. Place the new unit in the same orientation (element side down). Reconnect gas lines using Teflon tape on threads—tighten until snug, then ¼ turn more. Attach water lines with new flex hoses (1/2″ NPT). Hand-tighten first, then use wrenches for ½ turn more. Do not overtighten—cracked fittings cause leaks.
5. Reconnect wiring and test. Reattach wires per labels. Ensure ground wire is secured to the chassis. Restore power and fill the tank by opening the cold water valve. Open the nearest hot faucet until water flows steadily (no air). Close faucet. Turn on breaker. Wait 45–60 minutes for full recovery. Test temperature at faucet—should reach 120–130°F. Check for leaks at all connections.
What Problems Might You Encounter with an RV Electric Water Heater?
Common problems include no hot water, inconsistent temperature, leaking tanks, tripped high-limit switches, and electrical tripping. No hot water usually indicates a failed heating element, dead thermostat, or power loss—test with a multimeter as described. Inconsistent temperature (e.g., scalding then cold) signals sediment buildup insulating the element or a faulty thermostat cycling erratically. Leaking tanks are often caused by a corroded anode rod or tank wall failure—replace if rust is visible on the exterior.
Tripped high-limit switches occur when the thermostat fails to shut off power, often due to a stuck contact or faulty sensor. Resetting it repeatedly without fixing the cause risks fire. Electrical tripping (breaker or GFCI) indicates a grounded element, short circuit, or overloaded circuit. If the unit trips only when other appliances run, the RV’s electrical system is undersized. Air in the lines causes sputtering—bleed by opening all faucets. In cold weather, frozen pipes upstream can block water flow, preventing heating. Always check the anode rod annually—its depletion accelerates tank corrosion.
FAQ
#### Why does my RV electric water heater take so long to heat up?
An RV electric water heater takes 30–60 minutes to heat a full tank because it uses only 1500W of power—far less than residential 4500W units. In colder climates or with low incoming water temperatures, heating time increases by 20–40%. Sediment buildup on the element reduces efficiency, adding 10–15 minutes per inch of scale. To reduce recovery time, drain and flush the tank annually, install a water softener, and preheat water using solar or a portable heater before filling. Never run the heater without water—this doubles recovery time by forcing the element to heat dry metal.
#### Can I run my RV electric water heater on battery power?
No, you cannot reliably run a standard 1500W RV electric water heater on battery power alone. A 1500W heater draws 12.5 amps at 120V, equivalent to 150 amps at 12V—exceeding the capacity of even large lithium banks (e.g., 400Ah). Running it for 30 minutes would drain a 200Ah lithium battery to 0% in under 15 minutes. Use it only when connected to shore power, a generator, or a high-output inverter (3000W+). For off-grid hot water, use propane mode or install a tankless propane heater like the Truma Combi 6E.
#### Is it safe to leave my RV electric water heater on all the time?
Yes, it is safe to leave the electric water heater on continuously if the RV is connected to stable 120V power and the tank is full. Modern units have thermostats, high-limit switches, and UL certification for continuous operation. However, leaving it on during storage or while boondocking wastes energy and accelerates mineral buildup. Turn it off when not in use for more than 24 hours. Always drain the tank before freezing temperatures to prevent burst pipes.
#### Should I replace the anode rod in my RV water heater?
Yes, replace the anode rod every 1–2 years in hard water areas or every 3 years in soft water. The magnesium anode rod sacrifices itself to protect the steel tank from corrosion. A depleted anode causes rust, leaks, and foul-smelling water. Remove the rod using a 1-1/16″ socket wrench. If it’s worn down to ½” or less, replace it with a new aluminum or magnesium rod (e.g., Atwood Part #102787). Neglecting this is the #1 cause of premature tank failure.
#### Can I upgrade my 6-gallon RV water heater to a 10-gallon unit?
Yes, you can upgrade from a 6-gallon to a 10-gallon unit if your RV’s cutout dimensions allow it. Most RVs have a 16″ x 16″ x 16″ opening compatible with both sizes. Confirm the new unit’s height and depth match your space. You’ll need to extend the water lines and upgrade the electrical circuit from 15A to 20A (12 AWG wire). Ensure your inverter or generator can handle the 1500W load. A 10-gallon unit improves comfort but increases energy use by 40%.
#### Why does my water smell like rotten eggs?
Rotten egg odor is caused by sulfate-reducing bacteria reacting with magnesium in the anode rod to produce hydrogen sulfide gas. This is common in RVs with infrequent use or stagnant water. Flush the tank with a mixture of 1 quart hydrogen peroxide and 5 gallons of water, let sit for 2 hours, then drain and refill. Replace the magnesium anode with an aluminum or zinc-aluminum rod. Run hot water through all faucets for 5 minutes to clear residual odor.
#### What tools do
Essential tools include a 1-1/16″ socket wrench (for anode rod), adjustable wrenches (for fittings), needle-nose pliers (for wiring), a multimeter (for testing), a flathead screwdriver (for panels), Teflon tape, pipe thread sealant, a bucket, and a garden hose. Optional: a tank flushing kit, pipe cutter, and voltage tester. Use non-metallic tools near gas lines to prevent sparks. Always wear safety glasses and gloves—hot water and sharp edges pose injury risks.
#### How long should an RV electric water heater last?
A well-maintained RV electric water heater lasts 8–12 years. Tank life depends on water hardness, maintenance frequency, and usage. Hard water (over 120 ppm) shortens lifespan to 5–7 years due to scale buildup. Annual flushing and anode rod replacement extend life by 3–5 years. Units in coastal or humid climates corrode faster due to moisture exposure. Failure signs include leaking, rust stains, inconsistent temperature, or loud popping sounds (mineral sediment boiling). Replace before failure to avoid water damage.
#### Can I use a residential water heater in my RV?
No, you cannot safely install a standard residential water heater in an RV. Residential units are heavier (80+ lbs), require 240V power, and lack the compact, shock-resistant mounting needed for vehicle vibration. They lack RV-specific safety features like dual-fuel ignition, low-pressure cutouts, and UL certification for mobile use. Installing one violates RVIA and ANSI standards and voids insurance. Use only RV-approved models designed for mobile applications.
#### Does an RV electric water heater use propane?
Yes, most RV electric water heaters are dual-fuel models that also use propane. The electric element heats water when connected to shore power or a generator; the propane burner activates when electric power is unavailable. The thermostat controls both systems independently. Switching between fuels is automatic on newer models (e.g., Suburban SW6DE) or manual on older ones. Propane mode heats faster (15–20 minutes) but consumes fuel. Never use electric mode without water—this destroys the element.
—