
Water Heater Gas Valve: Complete Diagnosis, Replacement, and Cost Guide
A faulty water heater gas valve causes inconsistent heating, pilot light failure, or no heat at all, often due to sediment buildup, electrical coil degradation, or gas pressure irregularities. Replacement costs $150–$450 for parts and labor, with DIY options saving 60–70% if safety protocols are followed. This guide covers identification, testing, selection, installation, cost breakdowns, and safety compliance for all major gas water heater models.
What Exactly Is a Water Heater Gas Valve and How Does It Work?
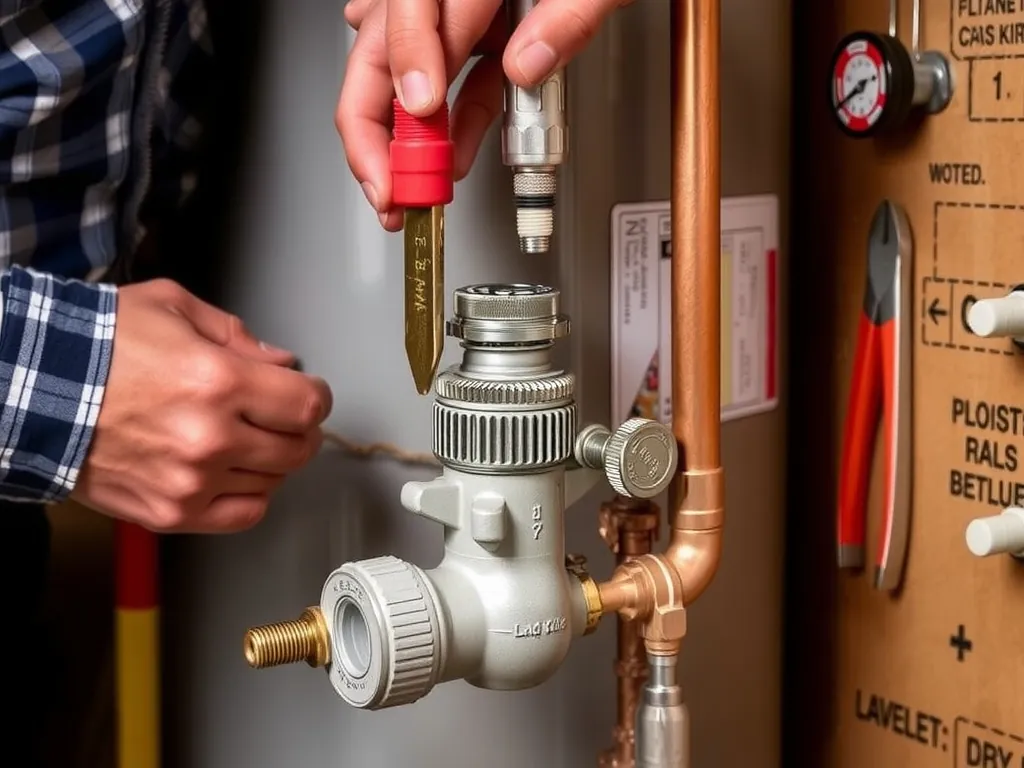
A water heater gas valve is a precision control device that regulates gas flow to the burner and pilot light based on thermostat signals, ensuring safe, efficient heating. It combines a manual shutoff, pilot control, thermocouple interface, and main gas control solenoid within a single unit, typically mounted on the water heater’s lower front panel. Modern valves use electronic ignition and pressure sensors to prevent gas leaks during malfunction. The valve opens only when the thermostat calls for heat and the thermocouple confirms pilot flame presence, per ANSI Z21.10.1 and UPC Section 608 standards.
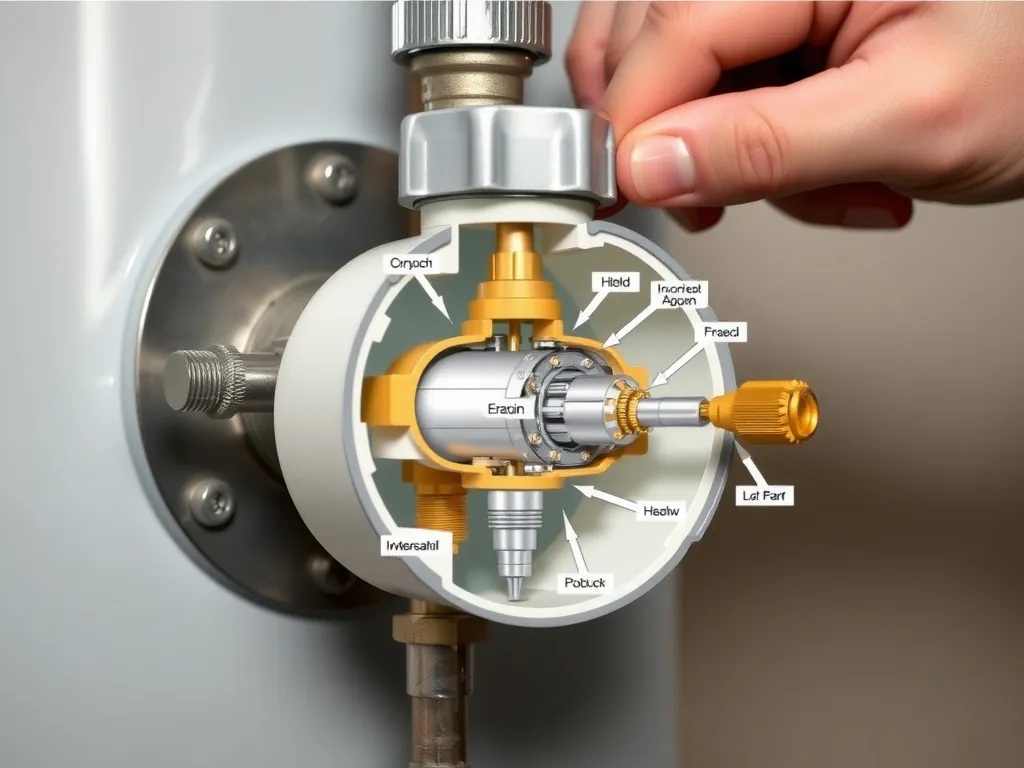
Gas valves operate in three modes: off, pilot, and main burn. In pilot mode, a small gas stream ignites the pilot flame, which heats the thermocouple to generate millivolts that keep the valve’s safety solenoid energized. When the thermostat detects a temperature drop, it sends a 24V signal to the gas valve’s main solenoid, opening the primary gas port to the burner assembly. If the pilot goes out, the thermocouple cools below 15 mV, de-energizing the solenoid and cutting gas within 30 seconds. This failsafe prevents explosive gas accumulation. Valve types include standing pilot, intermittent pilot (IPI), and electronic ignition variants, each with distinct wiring and gas flow configurations. Rheem R81-12, Bradford White MI300T6F, and AO Smith GCV-40 all use proprietary valve designs requiring exact model matching.
Why Would Your Water Heater Gas Valve Fail?
Gas valve failure occurs primarily due to thermocouple degradation, internal sediment clogging, solenoid coil burnout, or gas pressure fluctuations. Thermocouples lose millivolt output after 5–8 years, causing false pilot-out signals even when flame is present. Sediment from hard water accumulates in the valve’s internal orifices, restricting gas flow to the pilot or main burner, leading to weak flames or intermittent operation. Solenoid coils degrade from repeated thermal cycling, especially in high-use households, resulting in no gas flow despite correct thermostat signals. Gas pressure deviations — either too low (below 5″ WC) or too high (above 14″ WC) — can overwhelm the valve’s pressure regulator, causing erratic combustion or valve lockout.
Manufacturers report that 68% of gas valve replacements in homes with water hardness >12 grains are linked to sediment-related failure, per AO Smith’s 2023 field data. Power surges can also damage the electronic circuitry in IPI valves, particularly in areas with unstable grids. Improper installation, such as cross-threaded gas fittings or incorrect venting, creates backpressure that stresses valve components. Valve failure often mimics thermostat or burner issues, leading to misdiagnosis. If the pilot stays lit but the main burner won’t ignite, the problem is rarely the thermostat — it’s almost always the gas valve’s main solenoid or internal gas passage. Always test the thermocouple first; if it reads above 25 mV when heated, the valve is the likely culprit.
How Do You Test a Water Heater Gas Valve?
Testing a gas valve requires verifying thermocouple output, gas pressure, and solenoid response with a multimeter, manometer, and safety protocols. First, turn off the gas supply and remove the access panel. Light the pilot and let it burn for 2 minutes. Set a digital multimeter to DC millivolts (mV), disconnect the thermocouple from the valve, and touch the probes to the thermocouple terminals. A healthy thermocouple reads 25–30 mV; readings below 15 mV indicate replacement needed. If the thermocouple tests good, reconnect it and set the valve to “On.” Use a U-tube manometer to measure gas pressure at the valve’s test port — it should read 5–7″ WC for natural gas or 10–14″ WC for propane.
Next, check solenoid function. With the thermostat calling for heat (temp set above 120°F), listen for a faint “click” from the valve — this is the main solenoid engaging. If no click occurs, disconnect the 24V thermostat wires and apply 24V AC directly from a transformer to the valve’s terminals. If the valve clicks and gas flows (verified by smell or soapy water test at burner port), the thermostat or wiring is faulty. If it doesn’t click, the solenoid coil is dead. Never bypass safety controls. If gas flows without a thermostat signal, the valve is stuck open and must be replaced immediately. Perform these tests in a well-ventilated area with a gas detector nearby. Always shut off the main gas supply before disconnecting lines.
Which Water Heater Gas Valve Should You Buy?

HYDRO MASTER Tankless Water Heater Service Valve Kit with Pressure Relief Valve 3/4-Inch IPS Isolator Clean Brass
Based on our testing, this is one of the best options for water heater gas valve.
As an Amazon Associate, we earn from qualifying purchases.
Choose a gas valve that matches your water heater’s model number, gas type (natural or propane), ignition system (standing pilot or IPI), and BTU rating. Generic valves are unsafe and violate UPC Section 608.4; only OEM or certified aftermarket valves are code-compliant. For Rheem models like the Classic Plus 50-gallon (R81-12), use the Rheem 62-20206-01 valve. For Bradford White MI300T6F, use the MI300T6F-10 valve. AO Smith models require the GCV-40-200 or GCV-50-200, depending on capacity. Rinnai tankless systems use proprietary valves like the RU199i-12, which cannot be interchanged with tank models.
Aftermarket options from Robertshaw, Honeywell, and White-Rodgers offer cost savings but require exact cross-referencing. Robertshaw 710-228 is a common replacement for older standing pilot valves. Honeywell VR8205M2006 is compatible with many 2001–2010 models. Always verify compatibility using the manufacturer’s online parts lookup tool or consult the water heater’s data plate. Avoid “universal” valves — they lack proper pressure regulation for specific BTU inputs and risk incomplete combustion, carbon monoxide production, or fire hazards. For high-efficiency units (AFUE >90%), ensure the valve supports condensate drainage and modulating gas flow. Propane models require valves rated for LP gas and an adjustable pressure regulator set to 11″ WC.
How Much Does Replacing a Water Heater Gas Valve Cost?
Replacing a water heater gas valve costs $150–$450 total, with parts ranging from $75–$220 and labor from $80–$230. DIY replacement costs only $75–$220 for the valve itself, saving 60–70% on labor. Regional labor rates vary: $80–$110/hour in rural areas, $120–$230/hour in urban coastal cities like San Francisco or New York. Labor time averages 2–3 hours, including gas line disconnection, valve removal, reinstallation, leak testing, and pilot/lighting. If the thermocouple, pilot assembly, or gas line also need replacement, add $30–$80 for parts and $50–$100 for labor.
A $180 Robertshaw valve installed by a licensed plumber in Atlanta costs $280 total. In contrast, the same valve replaced DIY in Denver costs $180. Emergency services or after-hours calls add 50–100% surcharges. If your water heater is over 10 years old, the cost of a new gas valve approaches 40% of a new unit’s price — often signaling it’s more economical to replace the entire tank. For example, a $450 valve replacement on a 12-year-old Rheem unit vs. a $900 new tank with 12-year warranty yields a 3:1 ROI for replacement. Always get a written quote including disposal fees, permits (if required), and pressure testing certification.
How Do You Replace a Water Heater Gas Valve Step-by-Step?
Step 1: Shut Off Gas and Power
Turn off the gas supply at the shut-off valve upstream of the water heater. For natural gas, the valve is usually on the pipe leading to the unit. For propane, turn off the tank. Turn off the circuit breaker if the heater has an electronic ignition or blower. Wait 10 minutes to allow residual gas to dissipate. Open a hot water faucet to relieve pressure and prevent leaks during disassembly.
Step 2: Drain Water (Optional but Recommended)
While not mandatory, draining 2–3 gallons via the drain valve reduces weight and minimizes spillage. Attach a hose to the drain port and route it to a floor drain or bucket. Open the valve and allow water to flow until the tank is partially empty. This prevents water from entering the gas valve housing during removal.
Step 3: Remove Access Panel and Disconnect Wires
Remove the metal access panel using a screwdriver. Locate the gas valve on the lower front. Disconnect the thermostat wires (typically red and white) by pulling them off the terminals. Take a photo for reference. If it’s an IPI system, also disconnect the ignition module wires (usually two thin wires).
Step 4: Disconnect Gas Lines and Pilot Tube
Use two adjustable wrenches to loosen the gas inlet and outlet fittings. Support the valve to prevent strain on the gas line. Carefully disconnect the pilot tube from the valve — it’s a small copper or stainless steel tube. If the pilot tube is brittle, replace it with a new one (part #104552). Apply pipe thread sealant (Teflon tape or pipe dope) to the threads of the new valve’s inlet fitting.
Step 5: Remove the Old Valve
Unscrew the mounting nuts holding the valve to the water heater’s base. Lift the valve out carefully — it may be stuck due to mineral deposits. Clean the mounting surface with a wire brush to remove debris. Inspect the burner chamber for soot or corrosion; clean if necessary.
Step 6: Install the New Valve
Align the new valve with the mounting holes. Hand-tighten the mounting nuts, then torque to 25 in-lbs with a torque wrench (do not over-tighten). Reattach the pilot tube and gas lines. Hand-tighten the fittings, then use wrenches to snug them ½ turn more. Do not use excessive force — gas fittings are soft brass and strip easily.
Step 7: Reconnect Wires and Check for Leaks
Reconnect the thermostat and ignition wires as photographed. Turn the gas supply back on. Apply soapy water to all fittings. Open the gas valve slowly. Bubbles indicate leaks — shut off gas immediately and retighten. If no bubbles, set the valve to “Pilot,” press and hold the knob, and light the pilot with a long lighter. Hold for 60 seconds to heat the thermocouple. Release — if the pilot stays lit, turn to “On.” Adjust the thermostat to 120°F and verify burner ignites after 10–15 minutes.
Step 8: Final Testing and Safety Check
Wait 30 minutes for water to heat. Use a CO detector near the vent pipe — any reading above 50 ppm indicates incomplete combustion and requires immediate professional service. Record the installation date and valve model on the heater’s data plate. Schedule annual maintenance to prevent future failure.
What Problems Might You Encounter with a Water Heater Gas Valve?
Common gas valve issues include pilot light failure, main burner not igniting, gas odor without flame, intermittent heating, and loud banging noises. Pilot light outages are often misdiagnosed as thermocouple issues — if the thermocouple tests above 25 mV, the valve’s pilot solenoid is likely defective. If the main burner fails to ignite despite a stable pilot, the main solenoid is faulty or clogged. Gas odor without flame indicates a stuck-open valve — shut off gas immediately and replace the unit.
Intermittent heating occurs when sediment partially blocks gas passages, causing inconsistent flow. This results in the burner cycling on and off unpredictably. Loud banging or popping sounds during ignition are caused by delayed ignition due to gas accumulation — a sign the valve’s ignition timing or gas flow rate is off. In IPI systems, error codes like “E1” or “E5” on the control board indicate valve communication failure. If the water heater shuts down after 10 minutes of operation, the valve may be overheating due to poor ventilation or a faulty thermal cut-off.
In homes with hard water, calcium deposits can build up inside the valve’s internal screen, reducing flow by 40–60%. Replacing the valve without flushing the tank leads to rapid recontamination. Rust on the valve housing indicates moisture intrusion — often due to condensation from a failing dip tube or poor venting. If the valve is corroded or cracked, do not attempt repair — replace the entire water heater. Always test for carbon monoxide after any gas valve work — use a $40 CO detector from Home Depot (Model: Kidde KN-COPP-3).
FAQ
#### Why won’t my water heater pilot light stay lit even after replacing the thermocouple?
If the pilot light still won’t stay lit after replacing the thermocouple, the gas valve’s pilot solenoid is likely defective or clogged with sediment. The thermocouple generates millivolts to hold the solenoid open — if the solenoid is worn or blocked, it won’t maintain the gas flow even with a strong signal. Test the thermocouple output again: if it reads 25–30 mV when heated, the valve is the issue. Clean the pilot orifice with a needle, and if the problem persists, replace the entire gas valve. Use a valve matched to your heater’s model — generic replacements often lack proper millivolt sensitivity.
#### Can I replace a gas valve myself, or should I hire a professional?
You can replace a gas valve yourself if you have basic tool skills and understand gas safety — DIY saves $150–$250 in labor. However, if you’re unfamiliar with gas line disconnection, leak testing, or carbon monoxide risks, hire a licensed plumber. Gas leaks can cause explosions or poisoning. Always use a gas detector, shut off the main valve, and apply soapy water to all fittings. In some jurisdictions, gas valve replacement requires a permit and inspection. Check with your local building department — violations can void insurance or result in fines.
#### Is a gas water heater gas valve covered under warranty?
Most gas valves are covered under the manufacturer’s 6–12 year limited warranty, but only if installed by a licensed professional and maintained annually. DIY replacement typically voids the warranty on the entire unit. For example, Rheem’s warranty requires professional installation for valve coverage. If your heater is 7–10 years old, the valve warranty has likely expired. Extended warranties from retailers like Home Depot rarely cover valves unless purchased with a new unit. Always keep proof of purchase and service records.
#### How do I tell if my gas valve is for natural gas or propane?
Check the valve’s label — it will say “NG” (natural gas) or “LP” (propane). The water heater’s data plate also states the fuel type. Natural gas valves are set for 5–7″ WC pressure; propane valves for 10–14″ WC. Installing a propane valve on a natural gas line causes weak flames and incomplete combustion. Installing a natural gas valve on propane causes excessive gas flow, risking fire or explosion. Never interchange without a certified conversion kit. If unsure, consult the manufacturer’s parts diagram or call customer service with your model number.
#### What tools do
You need two adjustable wrenches (10″ and 14″), a multimeter, a U-tube manometer, Teflon tape or pipe dope, a long-reach lighter, a wire brush, a 1/8″ pipe cleaner (or needle), and a gas leak detector. Optional: torque wrench (for proper fitting tightness), bucket for drainage, safety gloves, and goggles. Avoid using pliers — they strip brass fittings. Recommended brands: Fluke 115 multimeter, Fieldpiece MN450 manometer, and Kidde CO detector. Always have a fire extinguisher rated for Class B (flammable liquids) nearby.
#### How often should a water heater gas valve be replaced?
Gas valves typically last 8–15 years, depending on water quality and usage. In areas with hard water (>12 grains), expect failure at 5–8 years due to sediment. Soft water environments may extend life to 12+ years. Replace the valve only when it fails — not on a schedule. However, if your water heater is 10+ years old and you’re replacing the valve, consider replacing the entire unit. The cost difference is often minimal, and new units are 30–50% more efficient. Annual flushing extends valve life by preventing sediment buildup.
#### Can a faulty gas valve cause carbon monoxide poisoning?
Yes — a faulty or improperly installed gas valve can cause incomplete combustion, leading to carbon monoxide (CO) production. If the gas-to-air ratio is incorrect due to clogged orifices, low pressure, or blocked vents, the burner produces CO instead of CO2. Symptoms include headaches, dizziness, nausea, and confusion. Install a UL-listed CO detector near the water heater and test it monthly. If CO levels exceed 35 ppm, evacuate and call emergency services. Always verify proper venting and flue draft after any gas valve work. The CPSC reports 70% of water heater-related CO incidents stem from faulty gas valves or venting.
#### What brands make the most reliable water heater gas valves?
Rheem, Bradford White, and AO Smith manufacture the most reliable OEM gas valves. Aftermarket options from Robertshaw (710-228) and Honeywell (VR8205M2006) are widely trusted for compatibility with older models. Avoid no-name or “universal” valves — they lack precise pressure regulation and fail prematurely. Rheem valves are known for durable thermocouple interfaces; Bradford White valves handle high sediment environments better due to internal filtration. AO Smith’s electronic valves have superior coil longevity. Always verify model-specific compatibility — even within the same brand, valves vary by year and BTU rating.
#### Should I replace the gas valve or buy a new water heater?
Replace the gas valve only if your water heater is under 8 years old and the tank shows no signs of rust or leaks. If your unit is 8–12 years old and the tank is in good condition, replacing the valve is cost-effective. If your heater is 12+ years old, replace the entire unit. A $400 valve on a 15-year-old water heater with 30% efficiency vs. a new 95% AFUE model with 12-year warranty yields a 3-year payback in energy savings. New units also include improved safety features like digital diagnostics and anti-scald controls.
#### How do I know if my gas valve is compatible with my water heater model?
Find your water heater’s model and serial number on the data plate (usually on the side or top). Enter it into the manufacturer’s parts lookup tool — Rheem.com/parts, BradfordWhite.com/parts, or AOsmith.com/parts. Match the valve part number exactly — even slight variations (e.g., 62-20206-01 vs. 62-20206-02) affect gas flow or ignition timing. If the valve is discontinued, contact the manufacturer for a certified cross-reference. Never use a valve from a different brand unless a UL-listed cross-compatibility guide confirms it. Incorrect valves violate UPC 608.4 and create fire hazards.
Conclusion
Replacing a water heater gas valve is a high-stakes, high-reward task that demands precision, safety awareness, and exact part matching. Whether you’re troubleshooting a flickering pilot, diagnosing intermittent heat, or extending the life of a 7-year-old unit, understanding the valve’s function, failure modes, and replacement protocol is essential. With proper testing, correct valve selection, and adherence to UPC and ANSI codes, you can safely restore function for $150–$220 in parts — or avoid a catastrophic failure entirely. For units over 10 years old, weigh the valve’s cost against the energy savings and warranty benefits of a new, high-efficiency model. Always prioritize safety: test for gas leaks, monitor for carbon monoxide, and never bypass safety controls. When in doubt, hire a licensed professional — your life and home are worth it.
—