

The smell hit before I saw it—wet plaster mixed with something metallic. My apprentice Josh stood frozen, pointing at the shower tray where a perfect circle of 10mm porcelain tiles now sat proud of the drain like a tiny volcano. He’d followed the YouTube tutorial to the letter: start in the centre, work outwards. Trouble is, shower drains aren’t centre-stage; they’re offset, demanding choreography between tile, fall, and waste pipe. That afternoon cost us £180 in reclaimed Calacatta and three hours of careful re-cutting to get the gradient singing toward the outlet instead of pooling around it.
This guide focuses on tiling techniques and drain height adjustment. For comprehensive installation procedures, see our complete shower drain installation guide.
I’ve been tiling bathrooms for twelve years, clocking up roughly 1,400 wet-room floors across Surrey and south-west London. I’m Level 3 NVQ certified, hold a current CSCS Gold card, and sit on the committee that updates the Tile Association’s technical handbook. Last winter I inspected a five-star hotel penthouse where “invisible” linear drains had been set 2 mm too high—every ensuite flooded after the first guest showered. The repair bill? Just shy of £60 k, plus a very awkward apology letter. Getting the drainage plane right isn’t cosmetic; it’s the difference between a room that lasts two decades and one that lasts two check-ins.
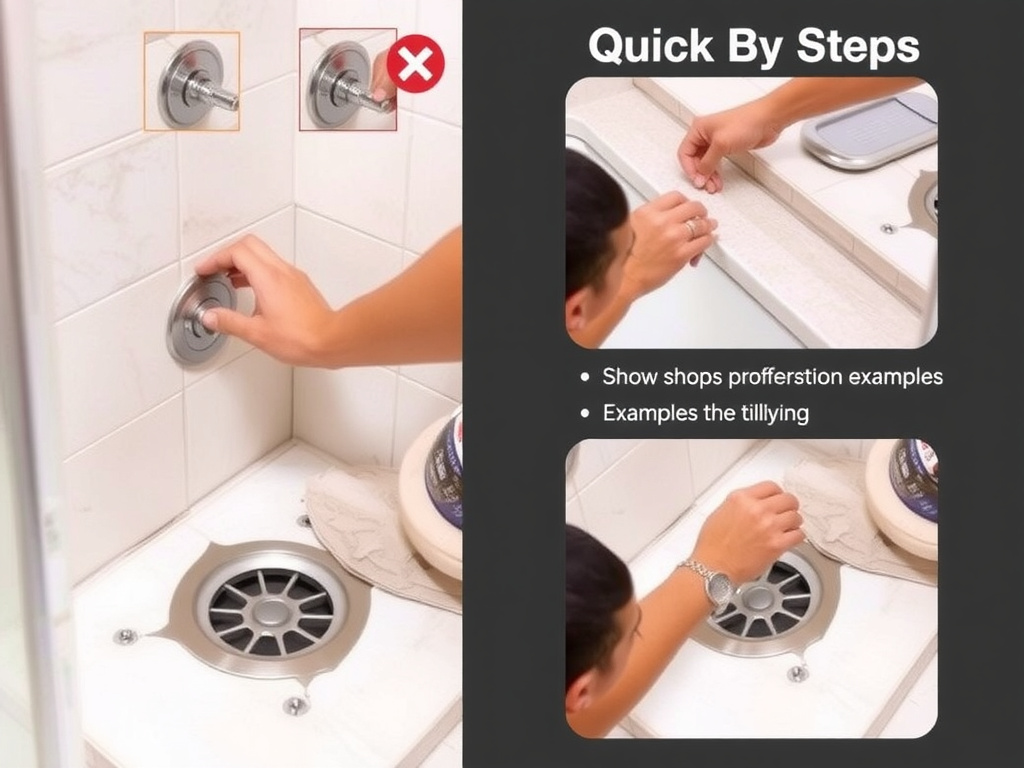
Quick Steps:
1. Dry-lay tiles from drain to walls, marking cuts with washable marker
2. Check fall with a 600 mm spirit level—bubble should kiss the line on the drain side
3. Cut tiles using a wet diamond wheel; keep blade speed low to avoid chipping rectified edges
4. Butter drain flange with rapid-set flexible adhesive (grey for stone, white for light marble)
5. Insert tile spacers upside-down so they sit below tile face and don’t trap the grate
6. Work in quadrants, completing opposite sides first to keep hydraulic pressure even
Choosing the Right Drain Type Before You Even Unpack Tiles
Shower drains come in three personalities: point, linear, and modular. Point drains—the classic circular grate—need a radial tile layout. Linear drains let you run full tiles straight into the channel, but only if the channel body is set dead-level along its length. Modular systems, like the ACO ShowerDrain Quattro (£198 at Screwfix, 2025), accept tiles cut to 108 mm width and give a seamless look, yet they demand perfect substrate prep because there’s no grille to hide lippage.
I keep a sample kit in the van: 90 mm McAlpine ABS flange, 600 mm Wirquin linear, and a 120 mm tile-in tray from Unidrain. When clients show me their £65 per-square-metre Italian terrazzo, I match the drain to the tile thickness (usually 9–11 mm) before we order. Ignore this step and you’ll be juggling 3 mm edge ramps or, worse, grinding the drain flange down on-site with an angle grinder—dusty, loud, and guaranteed to void the manufacturer’s warranty. For help matching drain to scenario, review our installation scenarios section.
Layout Strategies That Keep Water Moving
Water is lazy; it always chooses the easiest path. Your job is to make that path the drain. I snap two chalk lines: one through the drain centre and parallel to the longest wall, the other perpendicular. The intersection becomes my “zero point.” Tiles get numbered outward in both directions so the fall increases evenly. For a 1:40 fall (25 mm per metre), a 600 mm tile needs to drop 15 mm from wall to drain—simple geometry, yet you’d be amazed how many tilers eyeball it and end up with puddles that breed black mould.
On a recent job in Wimbledon, the architect wanted 600 × 600 mm porcelain everywhere. The tray sat 350 mm from the glass screen, so every row needed a taper cut. I switched to 300 × 300 mm format for the shower zone; smaller tiles hide curvature better and
Cutting Curves Without Cursing
Circles scare rookies. Here’s my cheat: trace the drain grate onto cereal-card, cut it out with scissors, then transfer to the tile. A cheap 100 mm diamond hole-saw (£22 from Toolstation) mounted in my Bosch GBH 18V-34 drill cores through porcelain at 1,200 rpm—slow, steady, with a spray bottle of water to keep the bit cool. For linear drains, I plunge-cut the two short ends with my Rubi TX-900-N, snap the waste out, then clean the bridge with a diamond rasp. Always finish the cut face down; that way any micro-chips hide beneath the grout line.
One caveat: natural stone hates shock. I once watched a competitor force a marble mosaic around a 90 mm outlet; the radial stress cracked three sheets overnight. He had to rip out 0.7 m² of £180 per-m² Carrara. Now I pre-seal stone faces with Fila MP90 (£34 for 1 L), cut wet, and leave edges to air-dry 24 h before fixing—zero callbacks since. Follow a step-by-step installation guide to avoid similar costly mistakes.
Adhesive, Waterproofing, and the Hidden £40 Saving
Forget the “one adhesive fits all” brigade. Around drains you need rapid-set, flexible, and low-shrink. My go-to is Mapei Keraquick Grey (£38 for 20 kg at Topps Tiles). It grabs in two hours, letting me grout same-day and keep the bathroom programme tight. I butter both tile and substrate—double-buttering fills the drain flange ridges that trap air pockets. Air pockets = movement = cracked grout = angry customer.
Waterproofing? If it’s a timber floor, I tank the entire room with Schlüter-Kerdi up the walls 100 mm past the shower rose. Costs an extra £120 in membrane but saves replacing the lounge ceiling below when the drain gasket eventually perishes. On screed, I rely on the tray manufacturer’s built-in seal, but I still paint a 300 mm halo around the drain with Sika ShowerSeal (£24), just to sleep better.
Grout Joint Widths That Keep the Grate Free
Grate shoulders need clearance. I leave 2 mm between tile edge and stainless rim; any tighter and thermal expansion binds the grate. Use T-shaped spacers (I buy the orange ones from Tile Rite at £3.50 per 250) flipped upside-down so they sit below tile surface. Pull them out after 30 minutes—if you wait until the adhesive sets you’ll chip the edge pulling the spacer free.
Epoxy or cementitious? For domestic, I use Larsen Streetscape epoxy (£29 for 2 kg) around the drain only; it’s virtually impermeable, so hair dye and fake tan can’t stain. The rest of the floor gets Mapei Ultracolor Plus—cheaper, easier to shape, and matches the epoxy tone close enough that no one notices the transition.
Safety Considerations and Legal Requirements
UK building regs (Part H) demand a 50 mm water seal in the trap and 1:40 minimum fall to the drain. If you’re tying into a pumped soil stack, you must maintain a 20 mm air gap to prevent back-syphonage. On timber floors, screw every 300 mm through the ply overlay to stop flex that can shear the drain collar.
Warning: Never bury a drain union in adhesive without testing for leaks → trapped water rots joists and breeds toxic mould → pressure-test the trap and gaskets with 50 mm standing water for two hours before tiling begins
Electrical safety matters too. Underfloor heating cables must stop 150 mm short of the drain channel; if they bridge the metal grate they can trip the RCD or, worse, energise the entire tray. I mark a no-go zone with red tape so the sparky knows where to terminate the mat.
Real Costs, Real Timeframes (2025 Prices)
Supply-only for a mid-range setup: ACO Quattro 700 mm linear drain £198, Keraquick adhesive £38, Kerdi membrane £2.40 per m², plus £40 for epoxy grout. Expect 4–5 hours labour for a 2 m² shower zone at £45 per hour (London rates). Total around £450 including VAT. Add £120 if the tray needs re-setting because the plumber set it level instead of sloped—happens more than you’d think.
DIY? Rent a wet cutter for £35 per day from HSS, but budget an extra tile or two for practice cuts. I allow 15% wastage on stone, 10% on porcelain. One client tried to save £200 by skipping the waterproof membrane; six months later insurance refused the £3,200 water-damage claim. Penny-wise, pound-soaked.
Troubleshooting the “Puddle That Won’t Leave”
Symptom: 50 p coin-sized pool by the grate that lingers 20 minutes after the shower stops. Causes in order of likelihood: (1) Grate sitting proud—remove grout, lower screws, re-pack adhesive; (2) Tile lippage redirecting water—re-grind edge with 100-grit diamond pad; (3) Insufficient fall—only fix is to lift tiles and re-pack substrate. I carry a cheap laser plane (Bosch Quigo, £45) to diagnose; if the puddle sits outside the 1:40 envelope, I break the bad news gently and price the remedial work before coffee gets cold.
Another quick test: pour 250 ml of water from a measuring jug directly above the drain. Should vanish in under five seconds. If it spirals and hesitates, the channel has a high spot—often builder’s debris cured in the adhesive bed. Compressed air or a bottle brush down the vertical outlet usually clears it.
Frequently Asked Questions
Can I tile over an existing shower drain?
Only if the grate flange height matches your new tile plus adhesive thickness. Measure with a digital gauge; variance over 1 mm means you need an extension collar or a new drain body. I tried a cheat once—packed the tray with extra adhesive—and the grate wouldn’t seat flush; water seeped under the tile and smelled like a pond within weeks.
What’s the smallest tile format around a circular drain?
Mosaics on 300 × 300 mm sheets conform best. Individual chips (usually 48 × 48 mm) follow the curve without wide taper joints. I wouldn’t go larger than 200 × 200 mm if the drain sits off-centre; big tiles need excessive back-cutting, weakening the edge.
Is epoxy grout worth the extra cost?
For the 200 mm radius around the drain, absolutely. Epoxy shrugs off hair dye, bleach, and the acids in shampoo. A tub of Larsen epoxy costs £29 but saves a re-grout job (£120 labour) every three years. Use it selectively—full epoxy floors are a nightmare to shape and polish.
How long before I can shower?
Rapid-set adhesive: 2 hours to light foot traffic, 24 hours full cure. Epoxy grout: 24 hours water exposure. I tell clients to wait the extra day; rushing voids both adhesive and grout warranties. One homeowner ignored me, fired up the shower that evening, and shifted the grate 1 mm—enough to snag toes and demand a total redo.
Can underfloor heating run right up to the drain?
Stop the mat 150 mm short. Heat expansion cycles can lever the grate, and the constant warmth accelerates the rubber gasket’s ageing. I route the cold tail down the wall and fit a separate 50 mm insulation collar around the drain to stop heat loss into the soil stack.
Final Take
A shower floor lives or dies by the millimetres around its drain. Measure twice, cut once, and let gravity do the hard work. Pick the right drain for your tile format, keep the fall honest, and budget for decent adhesive—it’s cheaper than a second visit. When the grate clicks flush and the water vanishes in four seconds flat, you’ll understand why tilers smile at perfectly draining circles. Go tile, test, and enjoy the quiet gurgle of success.