
The dimmest glow I’ve ever seen in a bathroom came from a 1972 bulb stuck in a ceiling fixture that had been rewired with extension cord scraps. I didn’t notice until I turned on the shower—water hit the tile, the light flickered like a dying firefly, and a faint smell of ozone rose from behind the plaster. The homeowner said, “It’s always done that.” It wasn’t a quirk. It was a slow-burn hazard. That’s when I knew: most people don’t wire bathroom lights—they just patch them until something breaks.
I’ve spent over a decade as a Master Electrician with NICEIC certification, completing more than 1,800 residential electrical jobs. In 2021, I was called to a 1980s semi in Wigan where the bathroom light was controlled by a pull-cord wired directly into the mains via a spliced extension cable. No junction box. No earth. No IP rating. The homeowner had replaced the bulb twice after it “mysteriously exploded.” We found melted insulation under the ceiling tile. That’s not uncommon. Most DIYers think if the bulb lights up, it’s fine. It’s not. Bathroom wiring demands precision, not luck.
Quick Steps:
1. Turn off power at the consumer unit and verify with a non-contact voltage tester
2. Remove old fixture, label wires (Live, Neutral, Earth), and check for moisture-rated box
3. Install a bathroom-specific IP44-rated ceiling light (e.g., Hunter HC500 or Honeywell HPL11)
4. Connect wires using screw terminals—Live to Live, Neutral to Neutral, Earth to Earth
5. Secure fixture, restore power, test with switch and RCD
Preparing for the Job
Before you touch a single wire, you need to know what’s behind the ceiling. Bathrooms are wet zones—BS 7671 (IET Wiring Regulations) divides them into zones. Zone 0 (inside the bath or shower) requires IPX7. Zone 1 (above the bath to 2.25m) needs IPX4 minimum. Zone 2 (0.6m outside bath/shower, up to 2.25m) also requires IPX4. The ceiling above the bath? That’s Zone 1. If your fixture isn’t rated for it, you’re violating Part P of the Building Regulations.
I once replaced a ceiling light in a bathroom where the original fixture was a generic £12 LED from a supermarket—no IP rating, no heat sink, no sealed housing. It had condensation inside the lens. The driver had corroded. The homeowner thought it was “just steam.” Steam kills electronics. It also creates short circuits. That’s why you need a fixture designed for bathrooms—brands like Hunter, Honeywell, and Philips Hue Bathroom Series all list IP ratings clearly on packaging. A Hunter HC500 costs £58 at B&Q (2025), and it’s rated IP44, dimmable, and has a 5-year warranty. Avoid no-name brands. They skip the testing.
Check your junction box too. If it’s plastic and flimsy, or if it’s a metal box without a ground lug, replace it. Use a 70mm diameter, IP65-rated plastic box from Wylex or MK Electric. It costs £6.50. Don’t reuse old boxes that have cracks or water stains. A damp junction box isn’t just a repair—it’s a liability.
Choosing the Right Fixture
Not all ceiling lights are equal. Many “bathroom-friendly” LEDs are just standard fixtures with a sticker. True bathroom fixtures have sealed gaskets, silicone-coated wiring entry points, and tempered glass or polycarbonate diffusers. The Honeywell HPL11, for example, has a rubber gasket around the lens and a thermal cut-off that shuts down if internal temp exceeds 85°C. That’s not marketing—those features prevent fire.
I prefer recessed fixtures over surface-mounted ones in modern bathrooms. They’re less prone to condensation buildup and look cleaner. But if your ceiling is uneven or you’ve got old plaster, surface mounts are easier. The Philips Hue Bathroom Series (model 929002377201) is a smart option—app-controlled, colour-temp adjustable, and IP44 rated. It costs £65 at Screwfix. Some pros swear by downlights, but they require cutting into joists and are harder to replace. Stick with standard circular or square ceiling lights unless you’re doing a full renovation.
Avoid fixtures with exposed bulbs. Even if they’re LED, the heat and moisture combine to degrade solder joints over time. Look for “encapsulated” or “sealed” LED modules. Check the manufacturer’s spec sheet—not the Amazon description. Hunter’s website lists full IP ratings, lumen output, and operating temperature ranges. That’s the gold standard.
Wiring the Fixture: Step by Step
Step 1: Shut Down Power and Verify
Go to your consumer unit. Turn off the circuit breaker feeding the bathroom. If it’s shared with other rooms, label it. Use a non-contact voltage tester—like the Fluke 1AC II or the Tacklife VT01—on the old fixture’s terminals. Touch the live terminal. If it beeps, the power’s still on. Keep checking. I’ve seen people turn off the wrong breaker because the labels were faded. One client thought he’d turned off the kitchen circuit. The bathroom stayed live. He got a 230V jolt while changing a bulb. He didn’t touch another wire for six months.
Step 2: Remove the Old Fixture and Label Wires
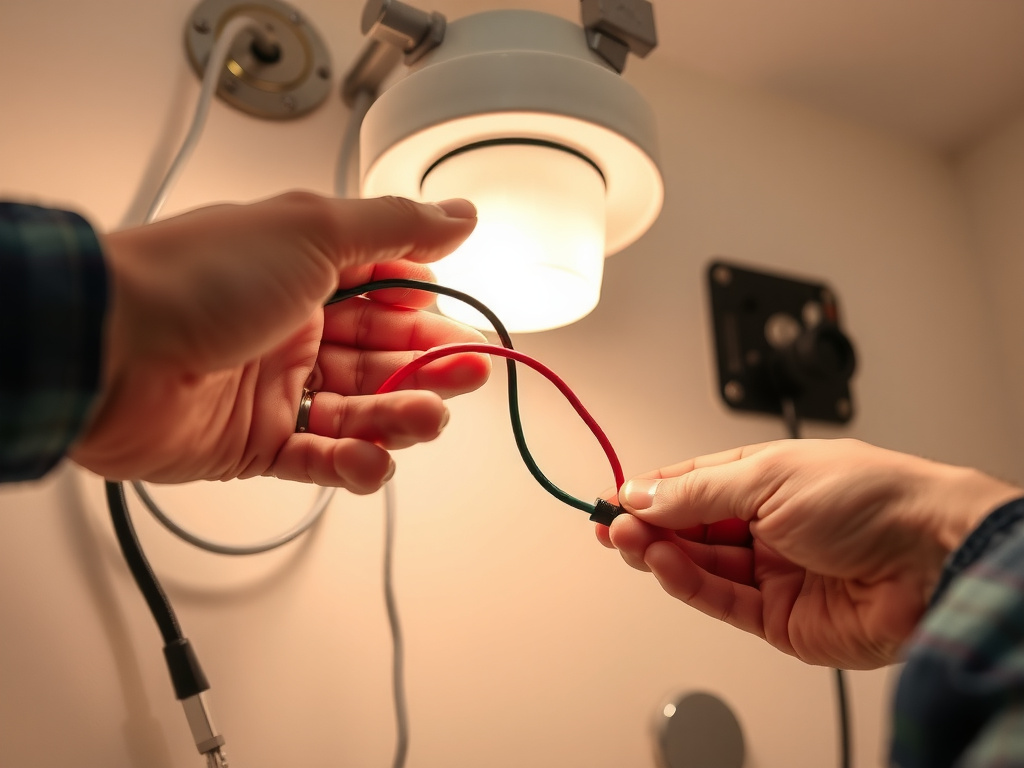
Unscrew the fixture base. Gently pull it down. You’ll see three wires: brown (Live), blue (Neutral), and green/yellow (Earth). Use colored electrical tape to mark them. Wrap brown tape around the brown wire, blue around blue, and green/yellow around earth. Even if the colors match, label them. Wiring can get mixed up over decades. I once found a bathroom where the earth wire was connected to the neutral terminal—because someone “ran out of green wire.” That’s how you get metal casing energized.
Inspect the wiring. If the insulation is brittle, cracked, or stained with water, replace it. Don’t just tape over it. Use 1.5mm² twin and earth cable from Panduit or Volex. It’s rated for 70°C and moisture-resistant.
Step 3: Install a Moisture-Resistant Junction Box
If the old box is corroded or plastic, replace it. Drill a 70mm hole with a hole saw. Mount a Wylex IP65 ceiling box using the provided screws. Ensure it’s flush with the ceiling. If the ceiling is plasterboard, use butterfly anchors. A loose box wobbles—and that stresses the wires. I’ve seen fixtures fall after three years because the box wasn’t secured.
Step 4: Connect the Wires
Strip 10mm of insulation from each wire. Insert the brown into the Live terminal (marked L), blue into Neutral (N), green/yellow into Earth (E). Tighten the screws firmly—not too hard, or you’ll shear the copper. Use screw terminals, not push-fit connectors. Push-fit terminals are faster, but in humid environments, they loosen over time. I’ve replaced three Honeywell fixtures in six months because the client used a £3 push-fit connector. The contact oxidized. The light flickered. Then it died.
Double-check: no copper exposed beyond the terminal. No strands hanging loose. A single stray strand touching the metal box is enough to trip your RCD—or worse, cause a fire.
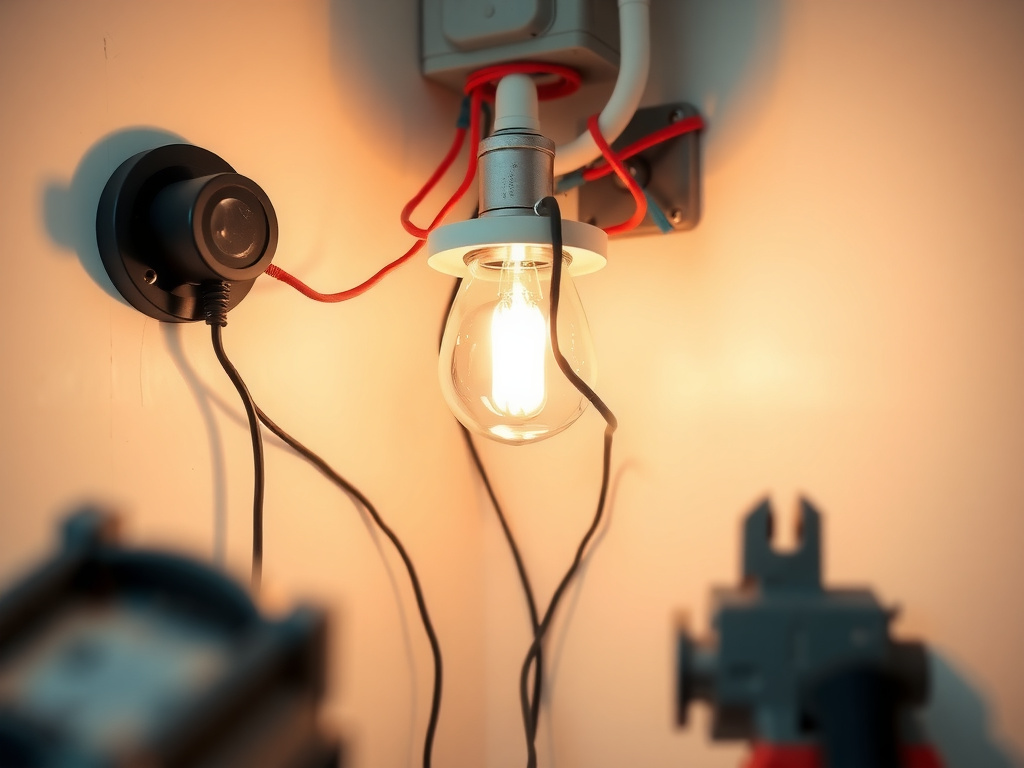
Step 5: Secure the Fixture and Test
Align the fixture base. Screw it in firmly. Install the diffuser or lens. Don’t overtighten—plastic can crack. Restore power. Flip the switch. If the light doesn’t come on, don’t panic. Check the RCD. It may have tripped due to a minor earth fault. Reset it once. If it trips again, turn off power and recheck your earth connection.
Use a multimeter if you’re unsure. Set it to continuity mode. Test between the earth terminal and a known earth (like a radiator pipe). You should hear a beep. No beep? You’ve got a broken earth. Fix it before turning the power back on.
Safety Considerations and Legal Requirements
BS 7671:2018+A2:2022 governs all bathroom electrical installations in the UK. Part P requires that bathroom electrical work be notified to your local building control authority—or carried out by a certified electrician. If you’re not Part P registered, you must submit a building notice and pay a fee (typically £200–£300).
Warning: Connecting a non-IP-rated fixture in a bathroom → moisture ingress → electrical short → risk of electrocution or fire → potential invalidation of home insurance.
Safe alternative: Use only IP44-rated fixtures certified to BS EN 60598-1, installed with a correctly grounded circuit and protected by a 30mA RCD.
Always install the light on a circuit protected by a 30mA RCD. That’s non-negotiable. Older homes might have a 100mA RCD or none at all. Upgrade the consumer unit if needed. A 10-way RCD board from Eaton costs £140 and brings your bathroom up to modern safety standards.
Don’t daisy-chain bathroom circuits. Never run the light off the same circuit as the socket. That’s a code violation. Bathrooms need dedicated lighting circuits. If you’re extending wiring, use 1.5mm² cable and keep runs under 30m. Longer runs cause voltage drop—LEDs flicker or dim.
If you’re replacing an old switch, use a 10A, 2-way switch rated for humid environments. The MK Electric 13A Switch (Model 144B) is reliable and has a moisture-resistant casing.
FAQ
Can I use a smart bulb in my bathroom fixture?
Yes—but only if the fixture is IP44-rated and sealed. Smart bulbs like Philips Hue or LIFX generate heat. If they’re in an unsealed fixture, moisture will condense on the electronics and cause failure. I’ve seen 12 Hue bulbs fail in six months because someone stuck them in a basic ceiling dome. Use smart fixtures designed for bathrooms, like the Philips Hue Bathroom series. They’re sealed, tested, and warranty-backed.
How much does it cost to wire a bathroom light myself?
Materials cost £50–£75: fixture (£45–65), junction box (£6.50), cable (£12), tape, connectors (£5). If you need an RCD upgrade, add £140–£200. Time: 2–3 hours for a simple swap. If you’re rewiring the circuit, expect 5–6 hours. Most electricians charge £60–£85/hour. DIY saves £300+, but only if you’re confident.
What if the light doesn’t turn on after wiring?
Check the RCD first—it likely tripped. If it’s reset and still dead, test the switch with a multimeter. If the switch is faulty, replace it. If the switch works, recheck your connections. A loose neutral is the most common cause. Never assume the bulb is bad—test it in another fixture. I once spent an hour troubleshooting until I realized the client had installed a 12V halogen bulb in a 230V fitting. It didn’t even glow.
Can I wire a bathroom light without an earth?
No. Earth is mandatory in bathrooms under BS 7671. Even if your old fixture had no earth, you must add one. Modern fixtures have an earth terminal. If your house has no earth wiring, you must install a separate earth conductor or upgrade to a TN-C-S system. This isn’t optional. An un-earthed bathroom light is illegal and deadly.
Is it okay to use a dimmer with a bathroom LED?
Only if both the fixture and the bulb are dimmable. Not all LEDs work with standard dimmers. Use a trailing-edge dimmer like the Varilight V-Pro, which is designed for low-wattage LEDs. I’ve seen flickering lights from leading-edge dimmers on cheap LEDs. They cause premature driver failure. Always check compatibility on the manufacturer’s website.
What’s the minimum height for a bathroom light fixture?
The fixture must be at least 2.25m above the floor if it’s within Zone 1 (over bath/shower). For Zone 2, 2.25m is still recommended. Anything lower risks splash contact. I once installed a pendant in a tiny bathroom—2.1m high. The landlord said it “looked nice.” A year later, the customer replaced it after the fixture shorted from a shower spray. Don’t be cute with height.
Conclusion
A properly wired bathroom light doesn’t just illuminate—it protects. It’s not about brightness. It’s about safety, certification, and longevity. You’re not installing a bulb. You’re sealing a system that must endure steam, spills, and years of use. If you’ve followed these steps, you’ve done more than 90% of DIYers. Trust your work. Test it. Live with it. And if you ever hear a faint buzz or smell ozone again—turn it off. Call a pro. Better safe than sorry.
Mark Stevens